
PHOTOCHEMICAL
FILM LOOK
Available as free PowerGrade
COLOR
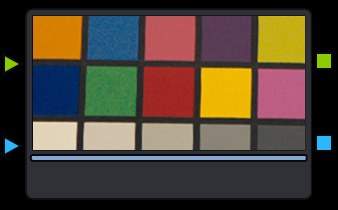
NODE 1
HALATION

NODE 2
GLOW

NODE 3
GATE WEAVE

NODE 4
FLICKER
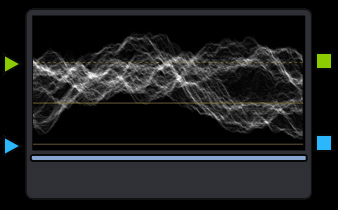
NODE 5
GRAIN
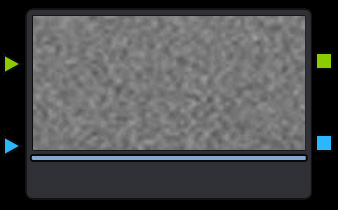
NODE 6
FILM DAMAGE
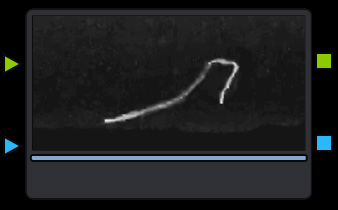
NODE 7
PROLOG
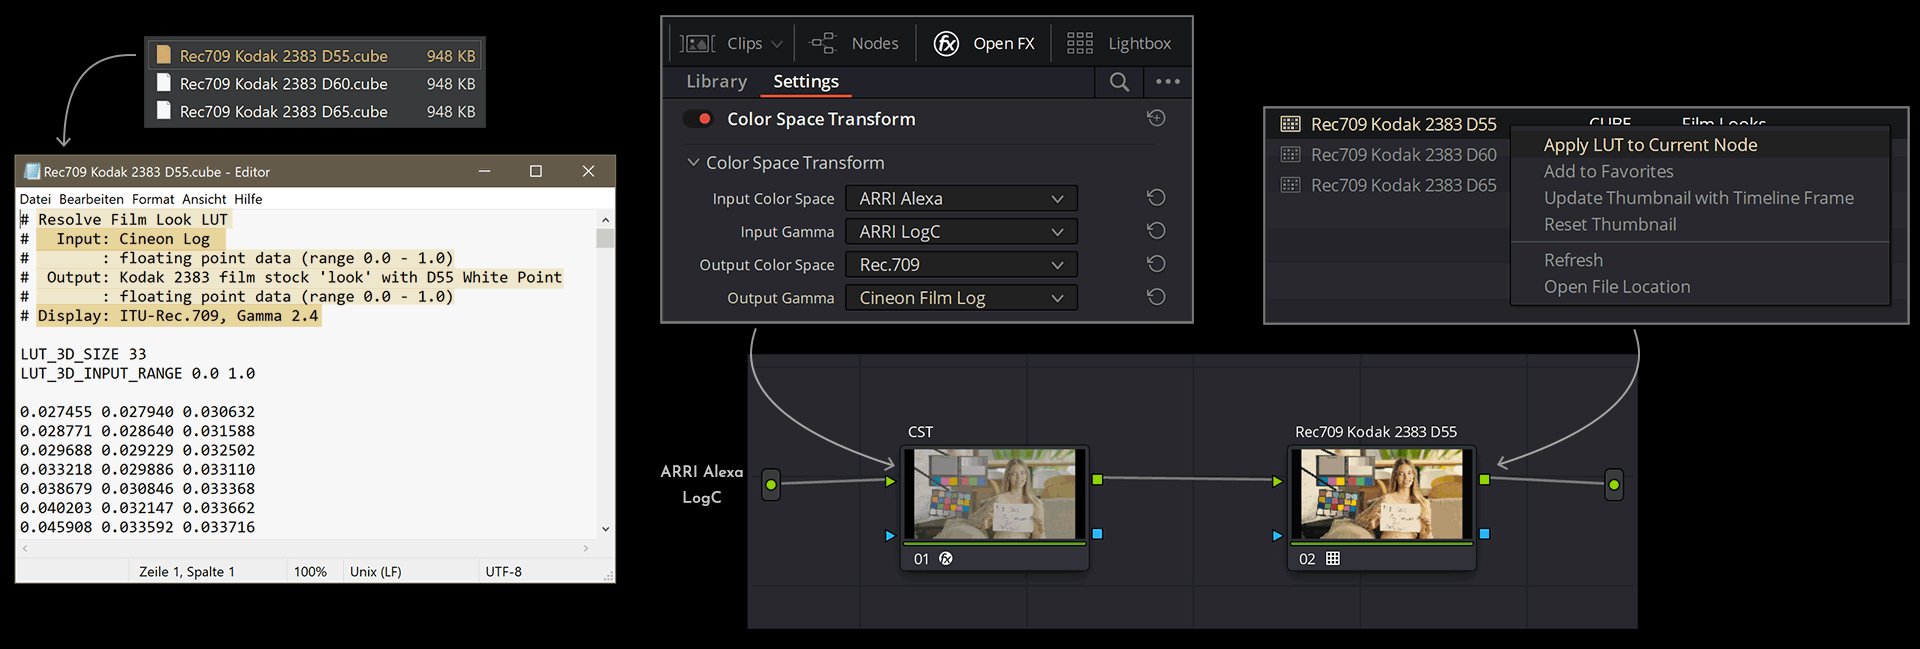
First: Lets pick our goal. I choose “Kodak Vision 2383” as film stock. It is very popular. Almost every film you find on this site was printed on “Kodak Vision 2383”. There are 3 different LUTs for “Kodak 2383” available in Resolve:
– Rec709 LUT Kodak 2383 D55 (5500K)
– Rec709 LUT Kodak 2383 D60 (6000K)
– Rec709 LUT Kodak 2383 D65 (6500K)
I picked the D55 one. The highlights are very warm. And because the white points are “separated” you can easily follow my steps how I rebuild the curve to match the grayscale. And we can compare a typical Arri Rec709 S-Shape to a “film stock” S-Shape.
It is totally fine to use a “Rec709 LUT Kodak 2383 D55” from DaVinci Resolve. Those LUTs have been used on Hollywood Productions and are well-made. You can open the LUT with a text editor and see that the LUT expects “Cineon Log” as Input Gamma. So first we have to transform our Arri Footage to “Cineon Film Log” Gamma. After that we can apply the LUT.
If you want to learn more on how to apply a PFE correctly, please watch “Why Do Film LUTs Look Bad ? – FIXED in 5 MINS” by Darren Mostyn.
So we don’t have to rebuild the LUT. Keep in mind though: If you only apply a LUT and you see that the LUT is changing the colors of your image, you will not learn much about what the LUT is doing to your image.
In general, rebuilding a LUT can be a great exercise, to learn more about colors of different film stocks. It can help you to create your own Look / Power Grade that is consistent. That you can apply to a well exposed image and the Look will “work”. Rebuilding a LUT is also great if you only like ONE specific characteristic of a LUT. Maybe one color. Or you want to shape your own S-Curve. Maybe you want more red in the shadows and blue highlights. Your PowerGrade is fully editable. You are the creator of the Look and you know exactly what is going on in each Node and can change any value you want to change.
So, just for fun, let’s try to recreate the “Rec709 Kodak 2383 D55” LUT and learn more about color grading and colors themselves.
NODE 1
COLOR
For rebuilding the “Rec709 Kodak 2383 D55” LUT I set up 3 Nodes. I packed them all into a “Compound Node”. So inside “Node 1” there are 3 Nodes in total. Node A, Node B, Node C. If you want to learn more about “Compound Nodes” and how to use them, read page 2801. (DaVinci Resolve 17 manual)
Node A = “Arri Alexa LogC to Rec709”.
Node B = “Custom Curves” – shape the RGB curves of “Kodak 2383”.
Node C = “Color Warper” for color matching.
NODE A
Arri Alexa LogC to Rec709

I am using an ARRI image as reference and want to design this PowerGrade for Rec709. So I decided to drop a simple “Arri Alexa LogC to Rec709” LUT in my first Node.
NODE B
CUSTOM CURVES
Here is an Overview between “Rec709” and “Rec709 Kodak 2383 D55”

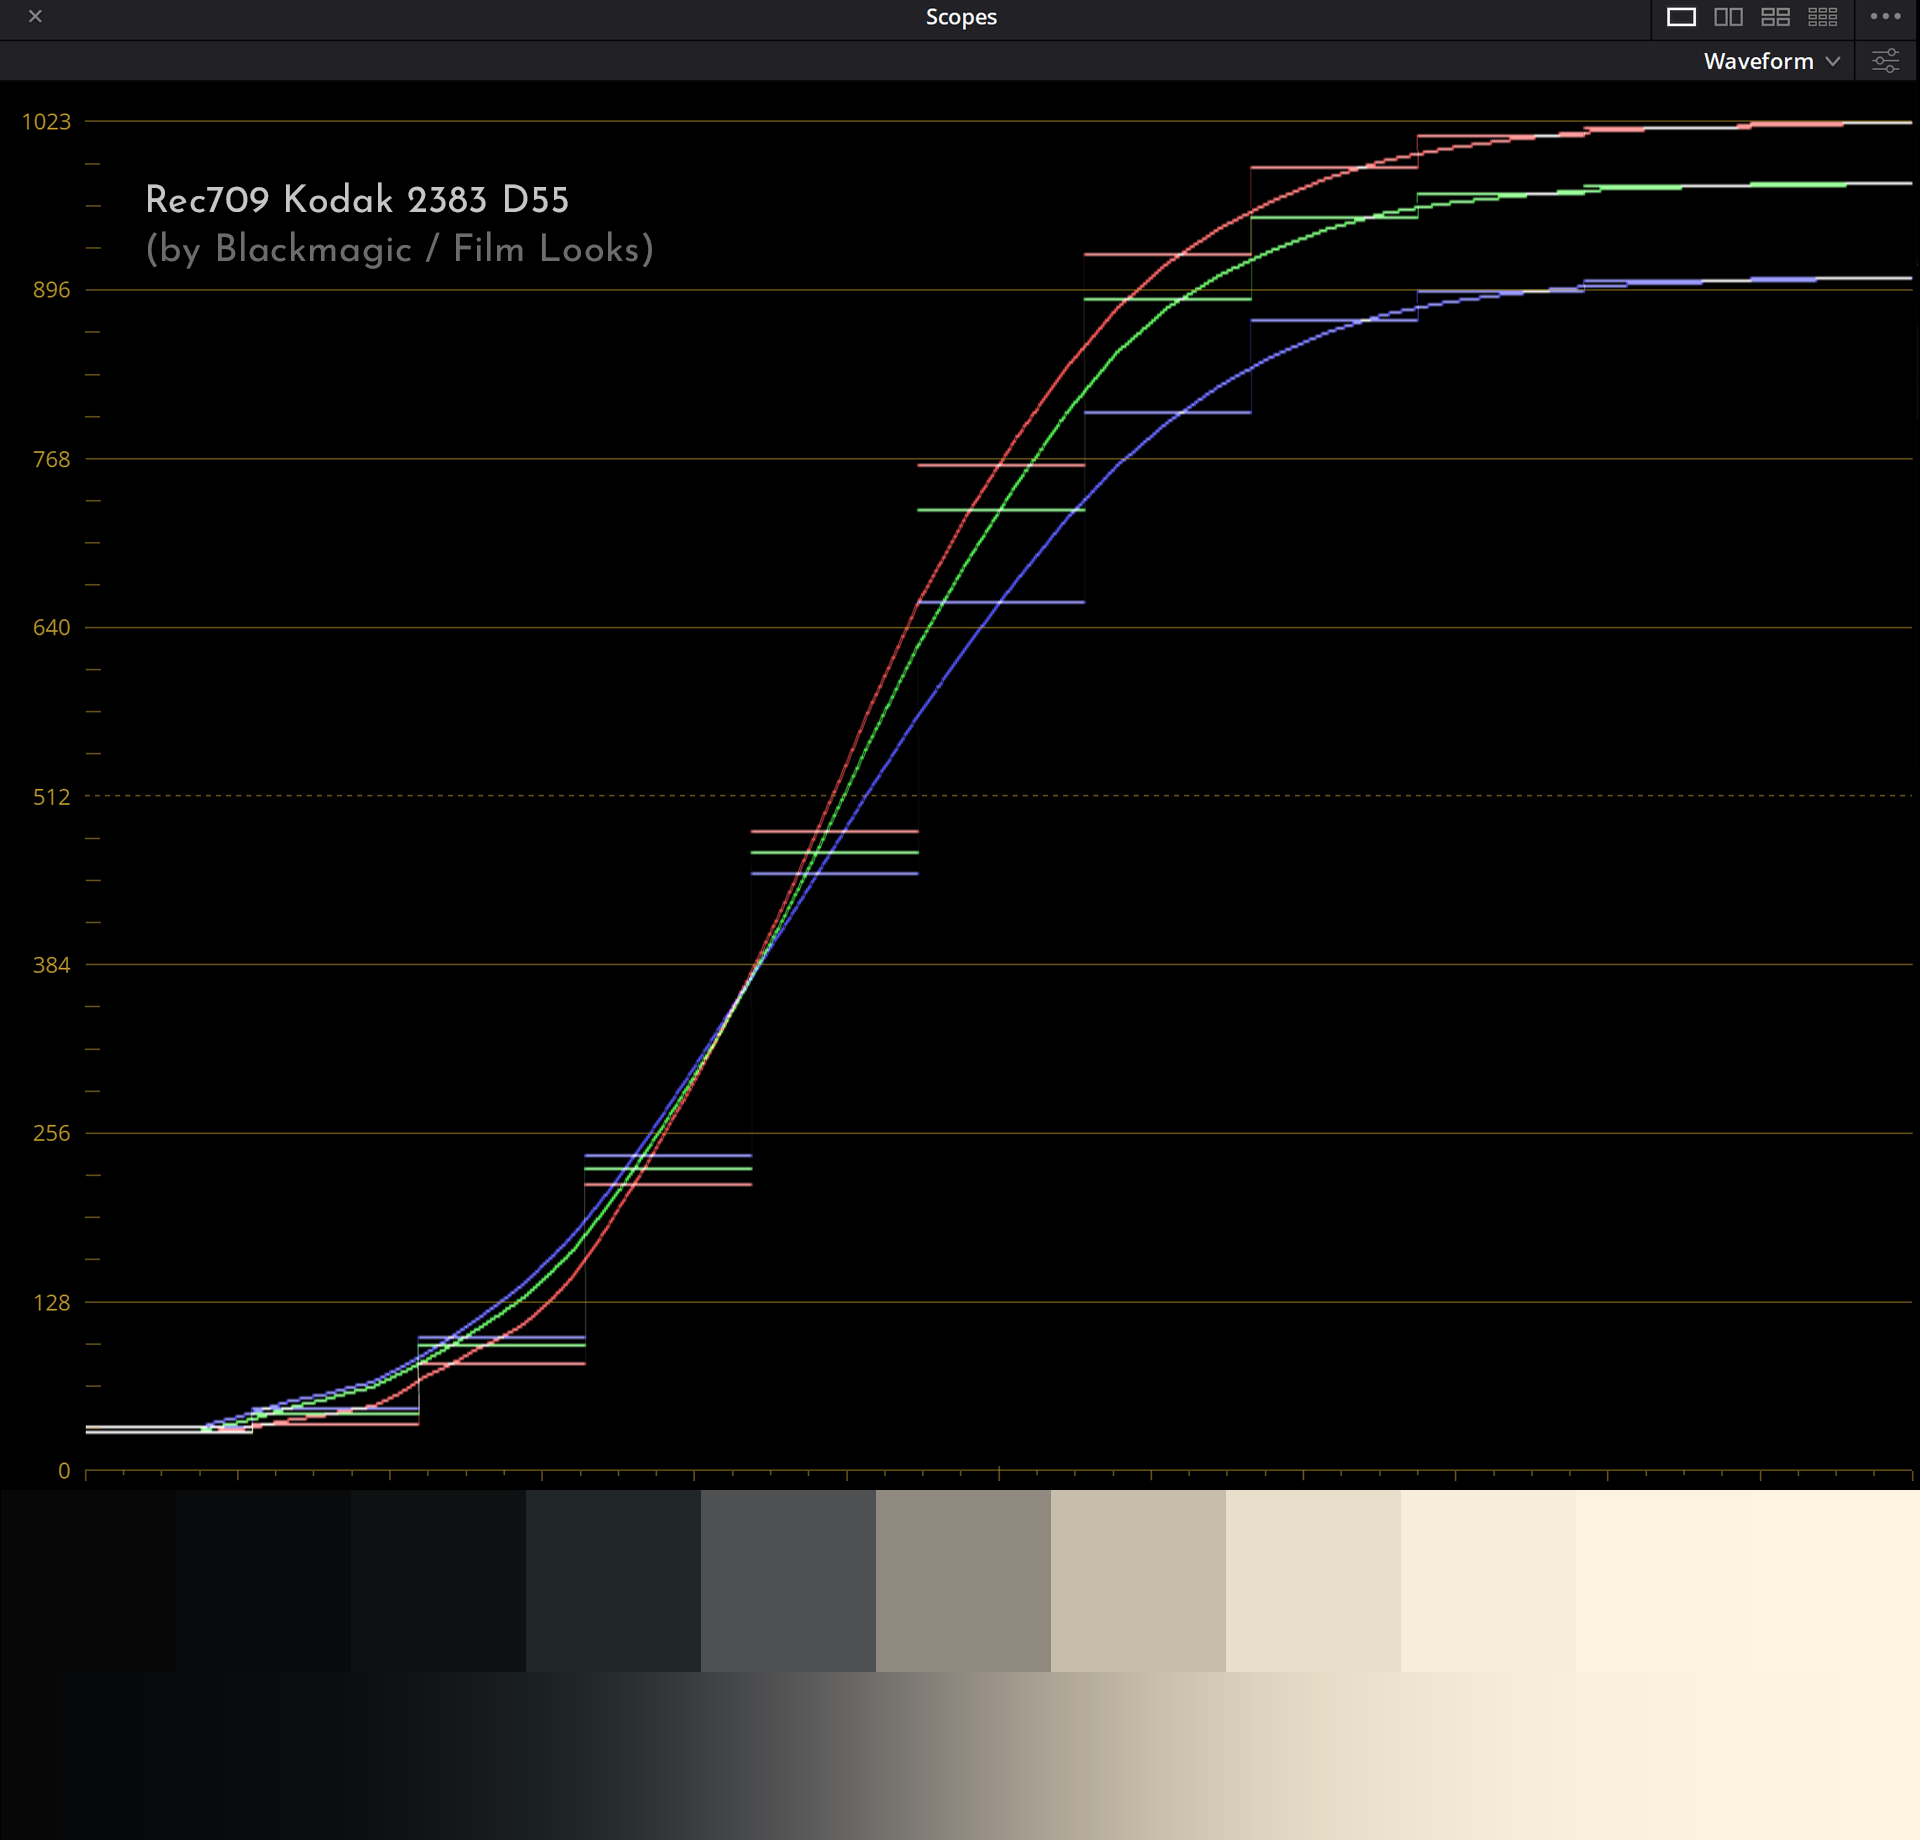

LUT: Arri Alexa LogC to Rec709
LUT: Rec709 Kodak 2383 D55
This is the Curve I want to rebuild.
I take the S-Curve from “Arri Alexa LogC to Rec709”
and create “Custom Curves” to match RGB values.
LUT: Arri Alexa LogC to Rec709
&
Custom Curves
To match the RGB values from the
“Rec709 Kodak 2383 D55” LUT.
My “Custom Curves”

Since I am using the S-Curve by “Arri Alexa LogC to Rec709” I only have to shape the “RGB splines”. I set the Luminance Mixer to 0. I just prefer to work this way. By default, the “Luma Mix” is at 100. At 100 the other channels are compensating my adjustments to keep the luminance level / brightness at the same point. If you don’t want that you can turn the Luma Mixer to 0. If you want to learn more about Luma Mixer check out this video by Darren Mostyn.
FIRST RESULTS
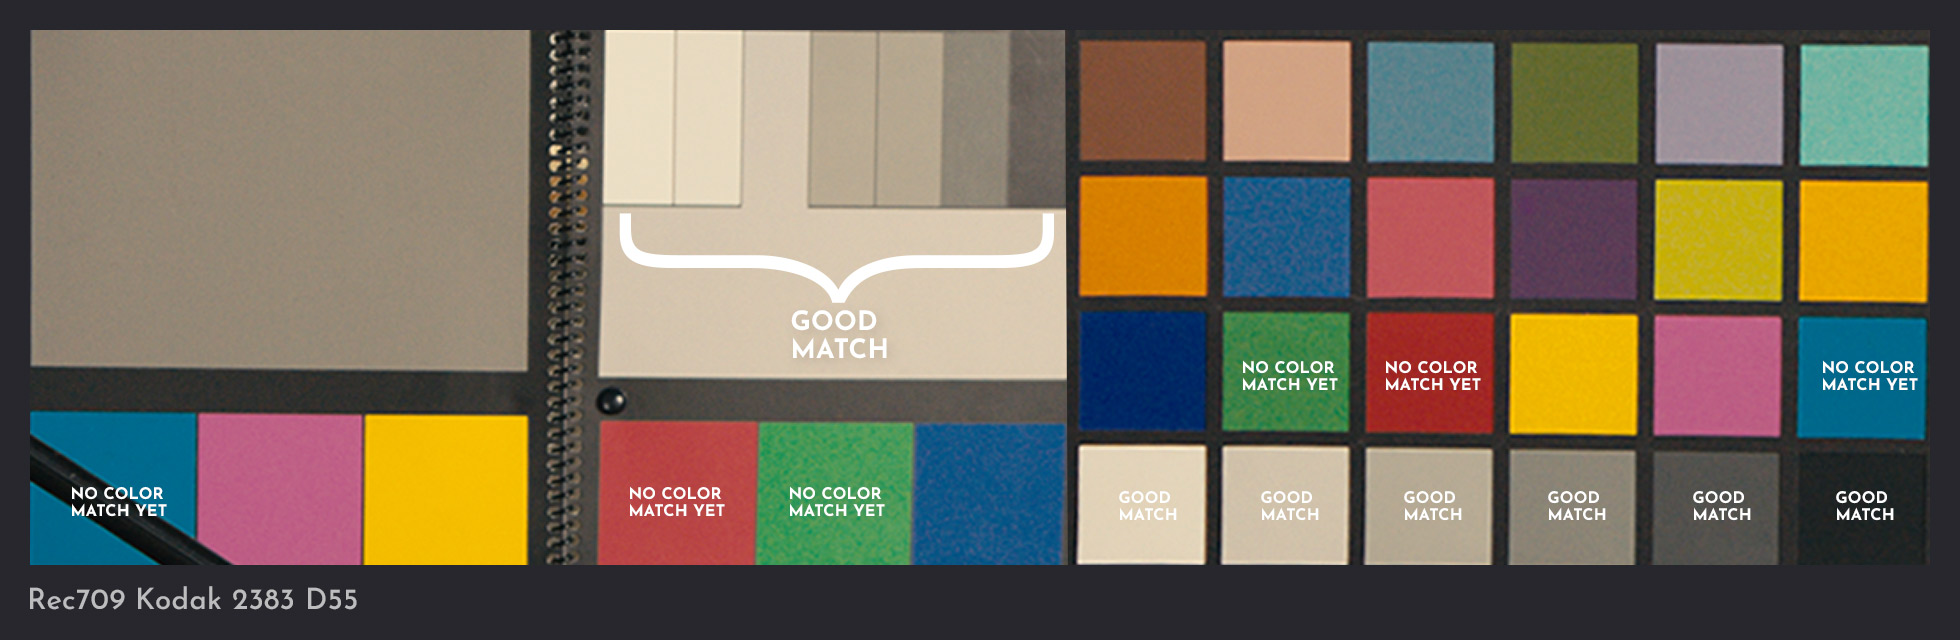

Grayscale match looks good. The next step is to match the colors. But first I want to take a short break and “observe” in what direction the colors should be shifted to create a “Photochemical Film Look”.
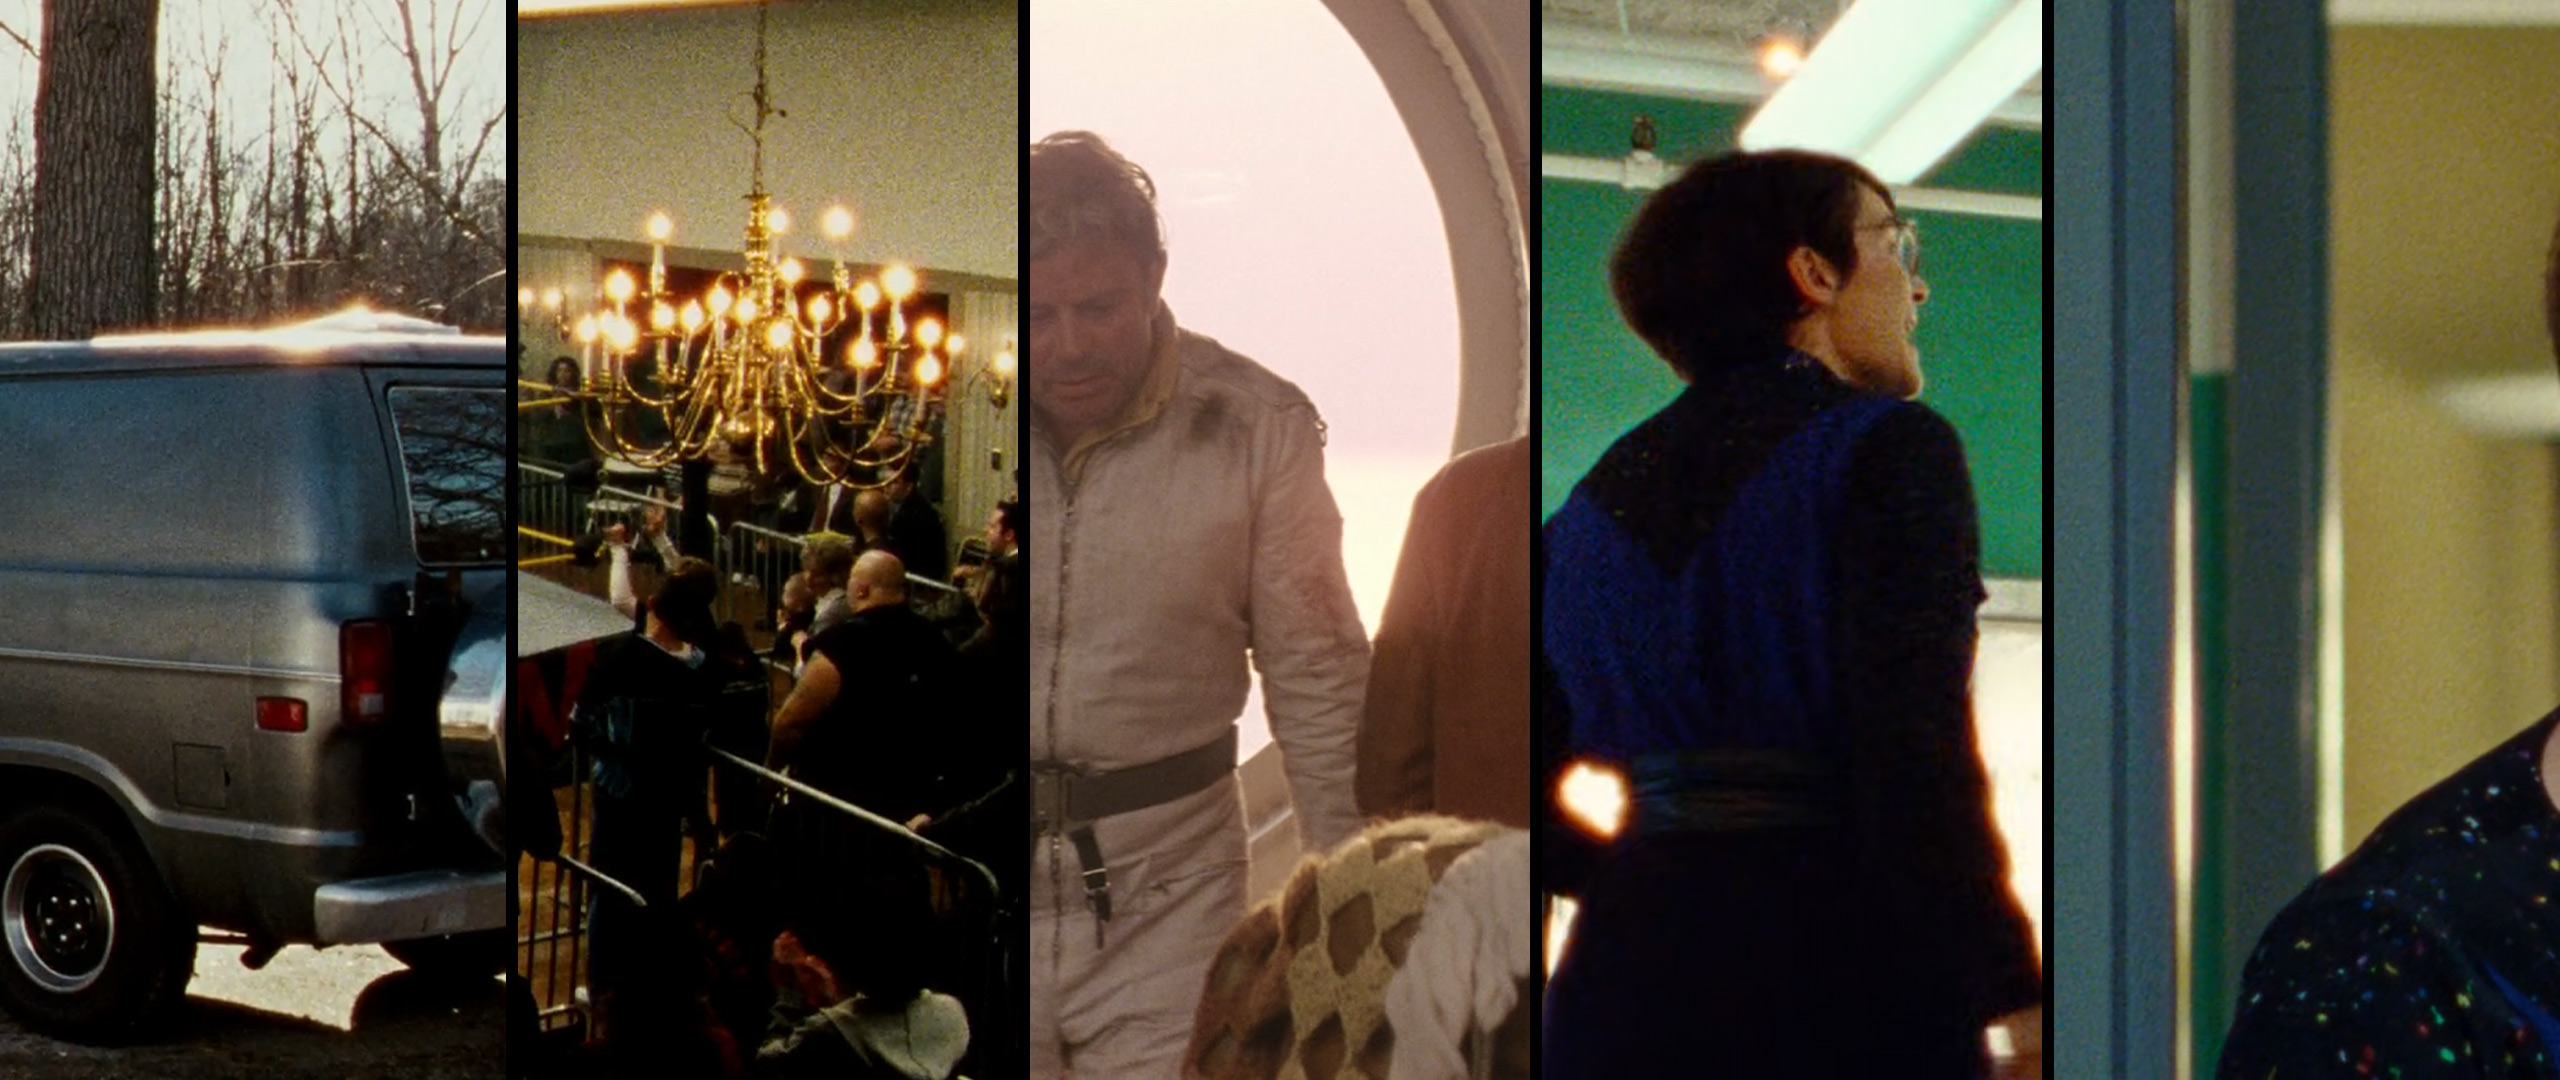
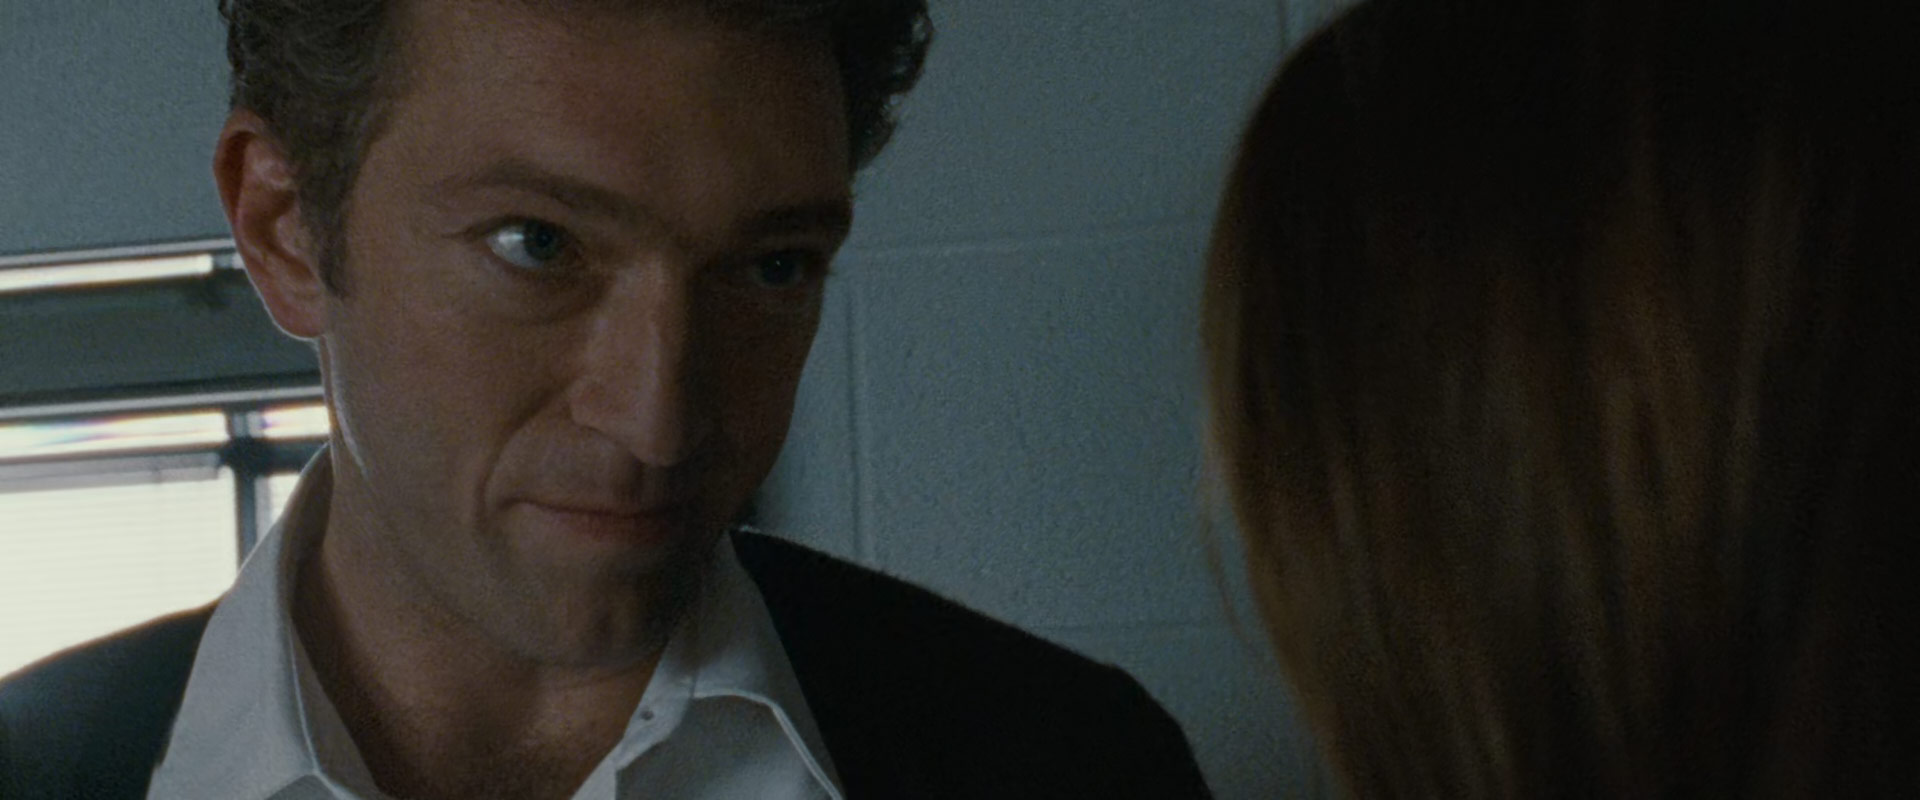
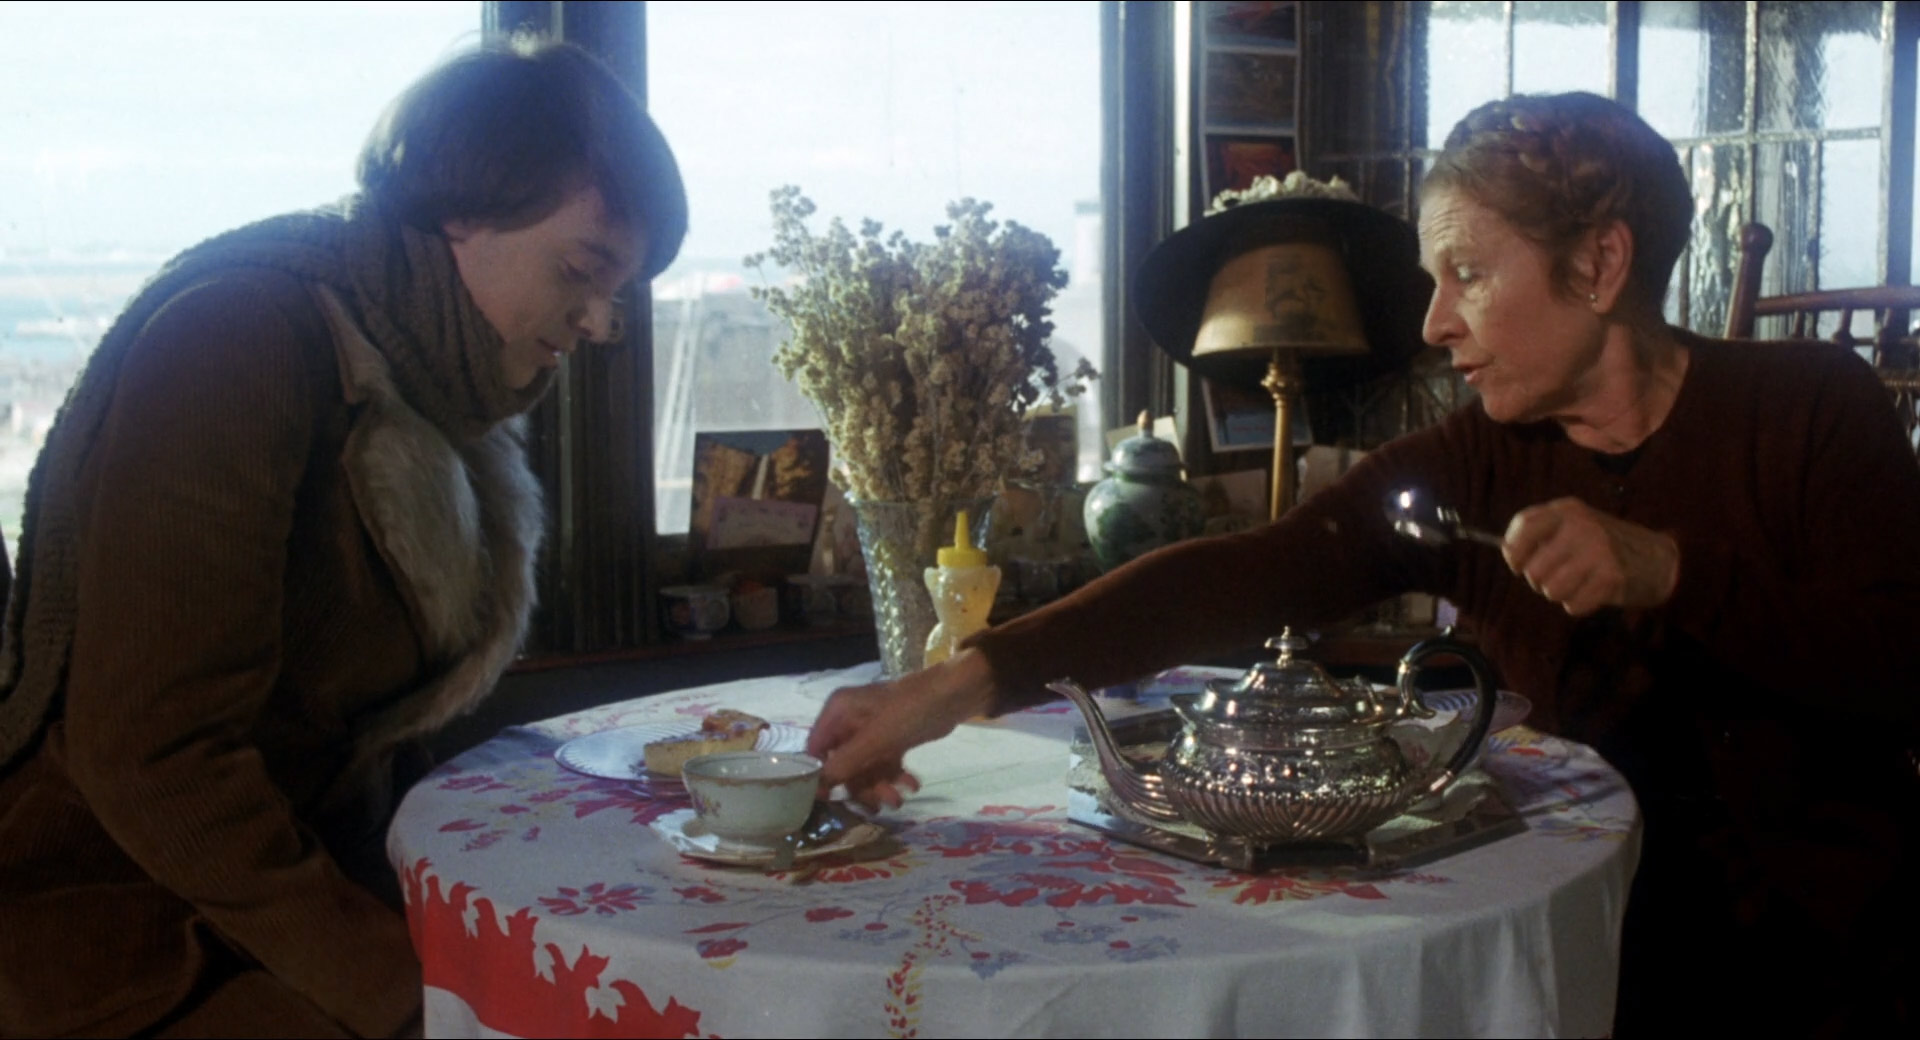
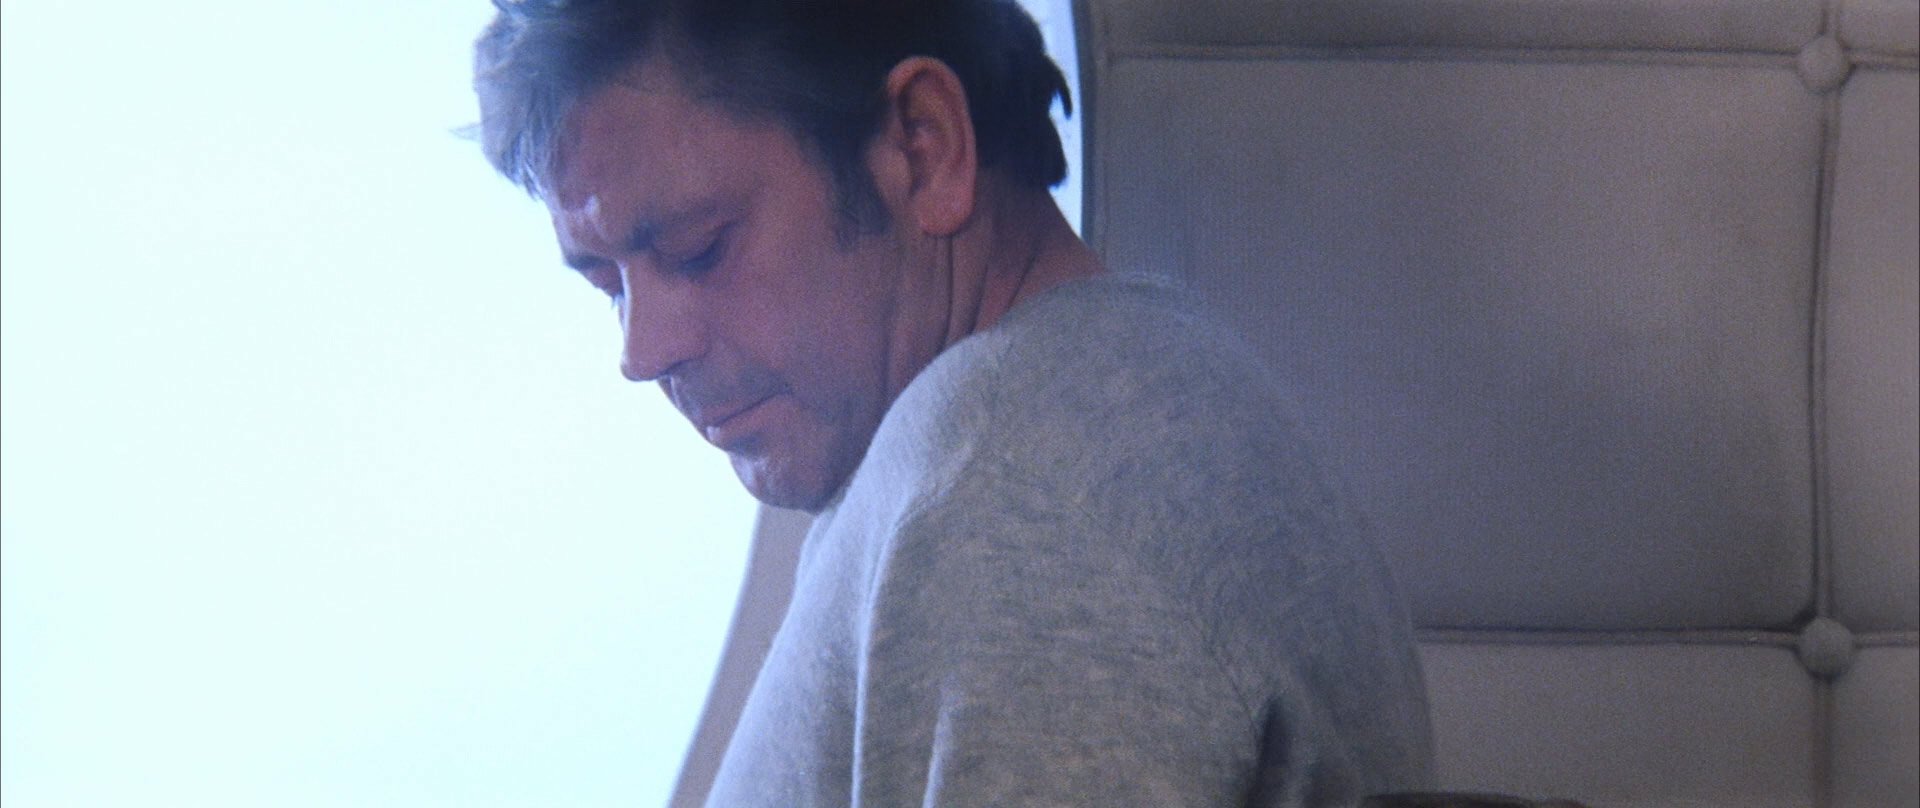
Let’s pick the color red for example and watch some “real film” examples before we go to rebuild the look. We notice that for a “film look” aesthetic, we need to reduce red in luma and saturation.
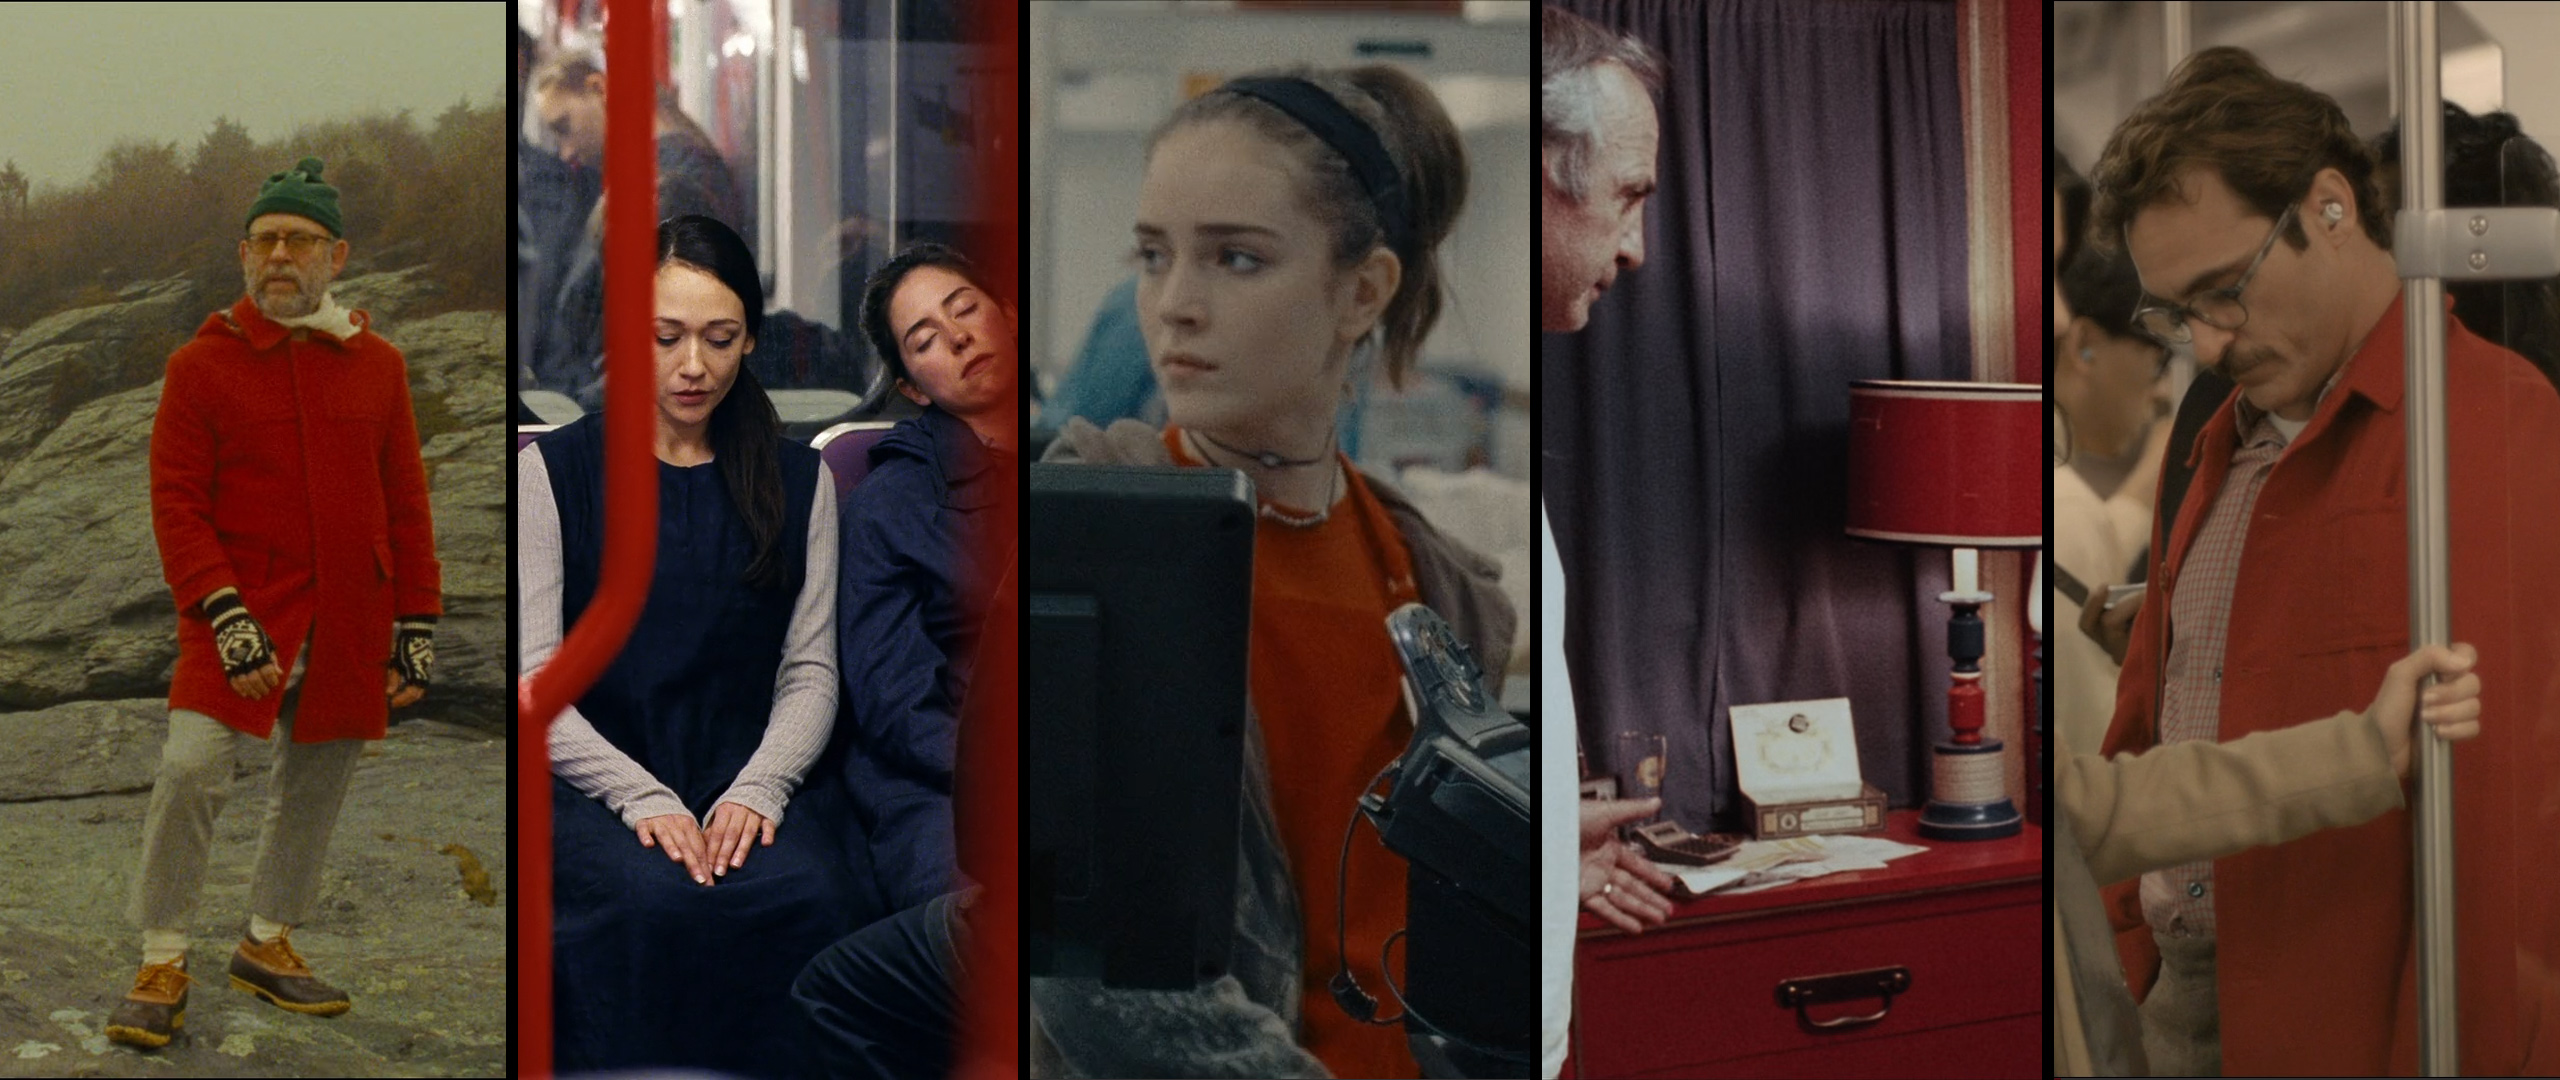
Moonrise Kingdom (2012)
Directed by Wes Anderson
© Focus Features
Negative Format: 16 mm
(Kodak Vision3 200T 7213) /
Printed Format: 35 mm
(Kodak Vision 2383)
Anima (2019)
Directed by P. T. Anderson
© released for Netflix
Negative Format: 35 mm
(horizontal) (Kodak) /
Printed Film Format: D-Cinema
Never Rarely Sometimes Always
2002 / Directed by Eliza Hittman
© Universal Pictures
Negative Format: 16 mm
(Kodak Vision3 500T 7219) /
Printed Film Format: D-Cinema
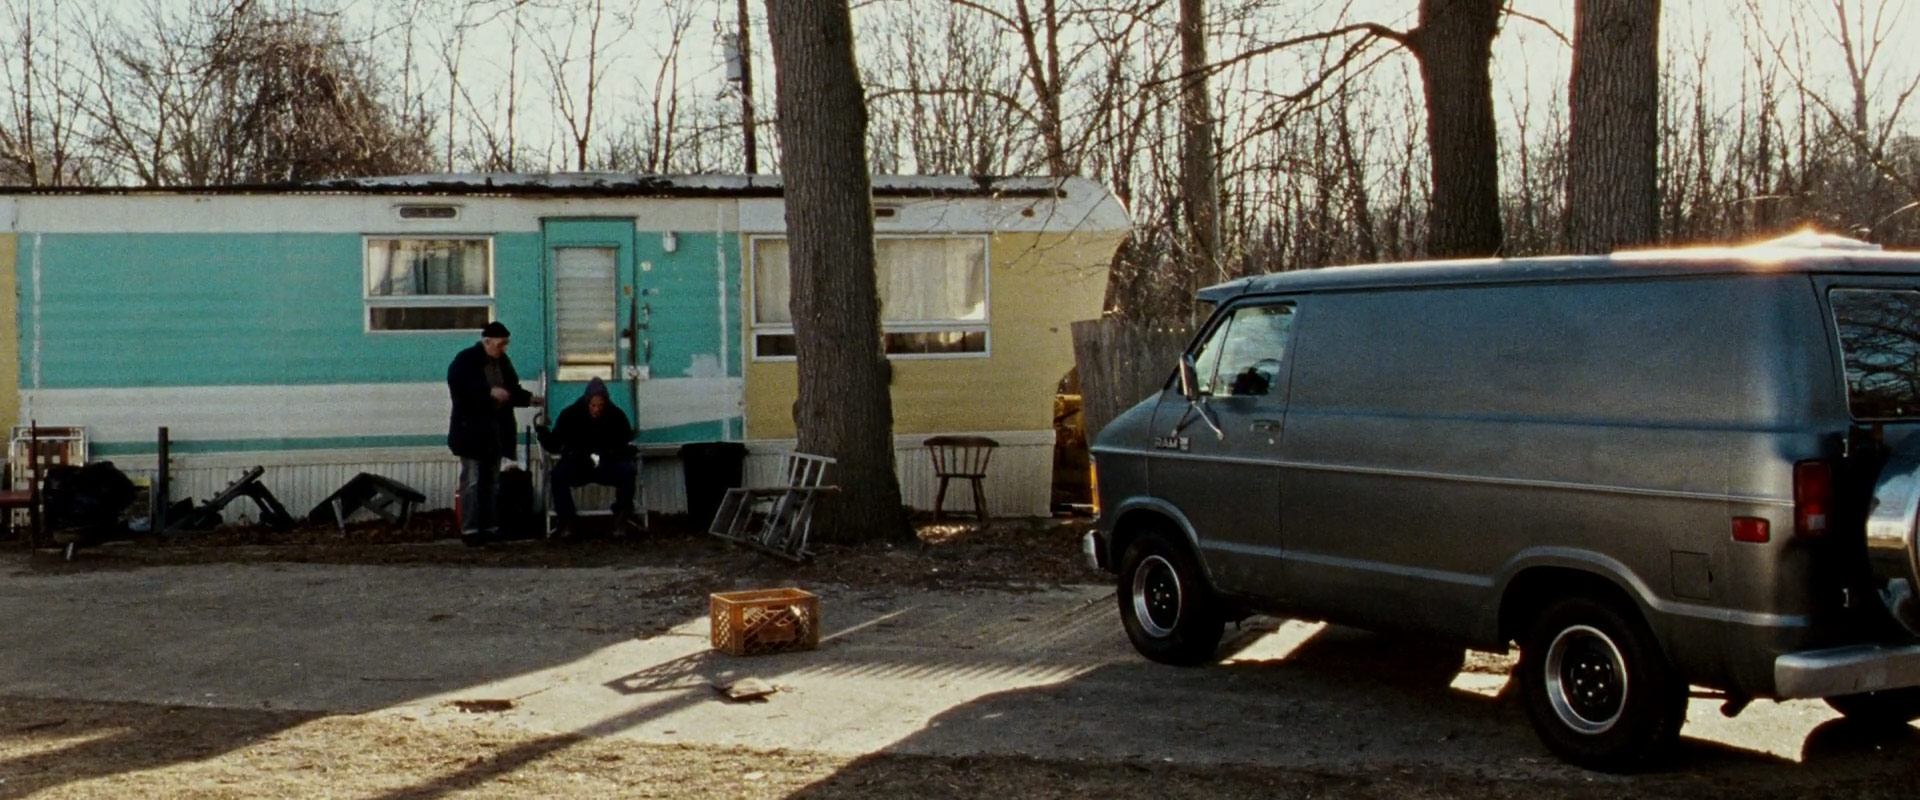
Buffalo ’66 (1998)
Directed by Vincent Gallo
© Lions Gate Films
Negative Format: 35 mm
(Eastman Ektachrome 160T 5239) /
Printed Film Format: 35 mm
Her (2013)
Directed by Spike Jonze
© Warner Bros. Pictures
Negative Format: Codex /
Printed Film Format: 35 mm
(spherical) (Kodak Vision 2383)
NODE C
COLOR WARPER

I tried different methods matching the colors and ended up using the “Color Warper”. I tried to be as gentle as I could to not “break” the colors and keep a smooth transition between them. The final result looks ok, but I am pretty sure the “Rec709 Kodak 2383 D55” LUT by Blackmagic is much “cleaner”!
When we create a look from scratch we learn a lot about the colors and the look itself. I see it as an exercise. But when we recreate the colors with tools like the Color Warper (or other native tools) we quickly hit the limits of DaVinci Resolve and I wouldn’t use the “Color Warper” version because it just isn’t “clean”.
FINAL RESULTS
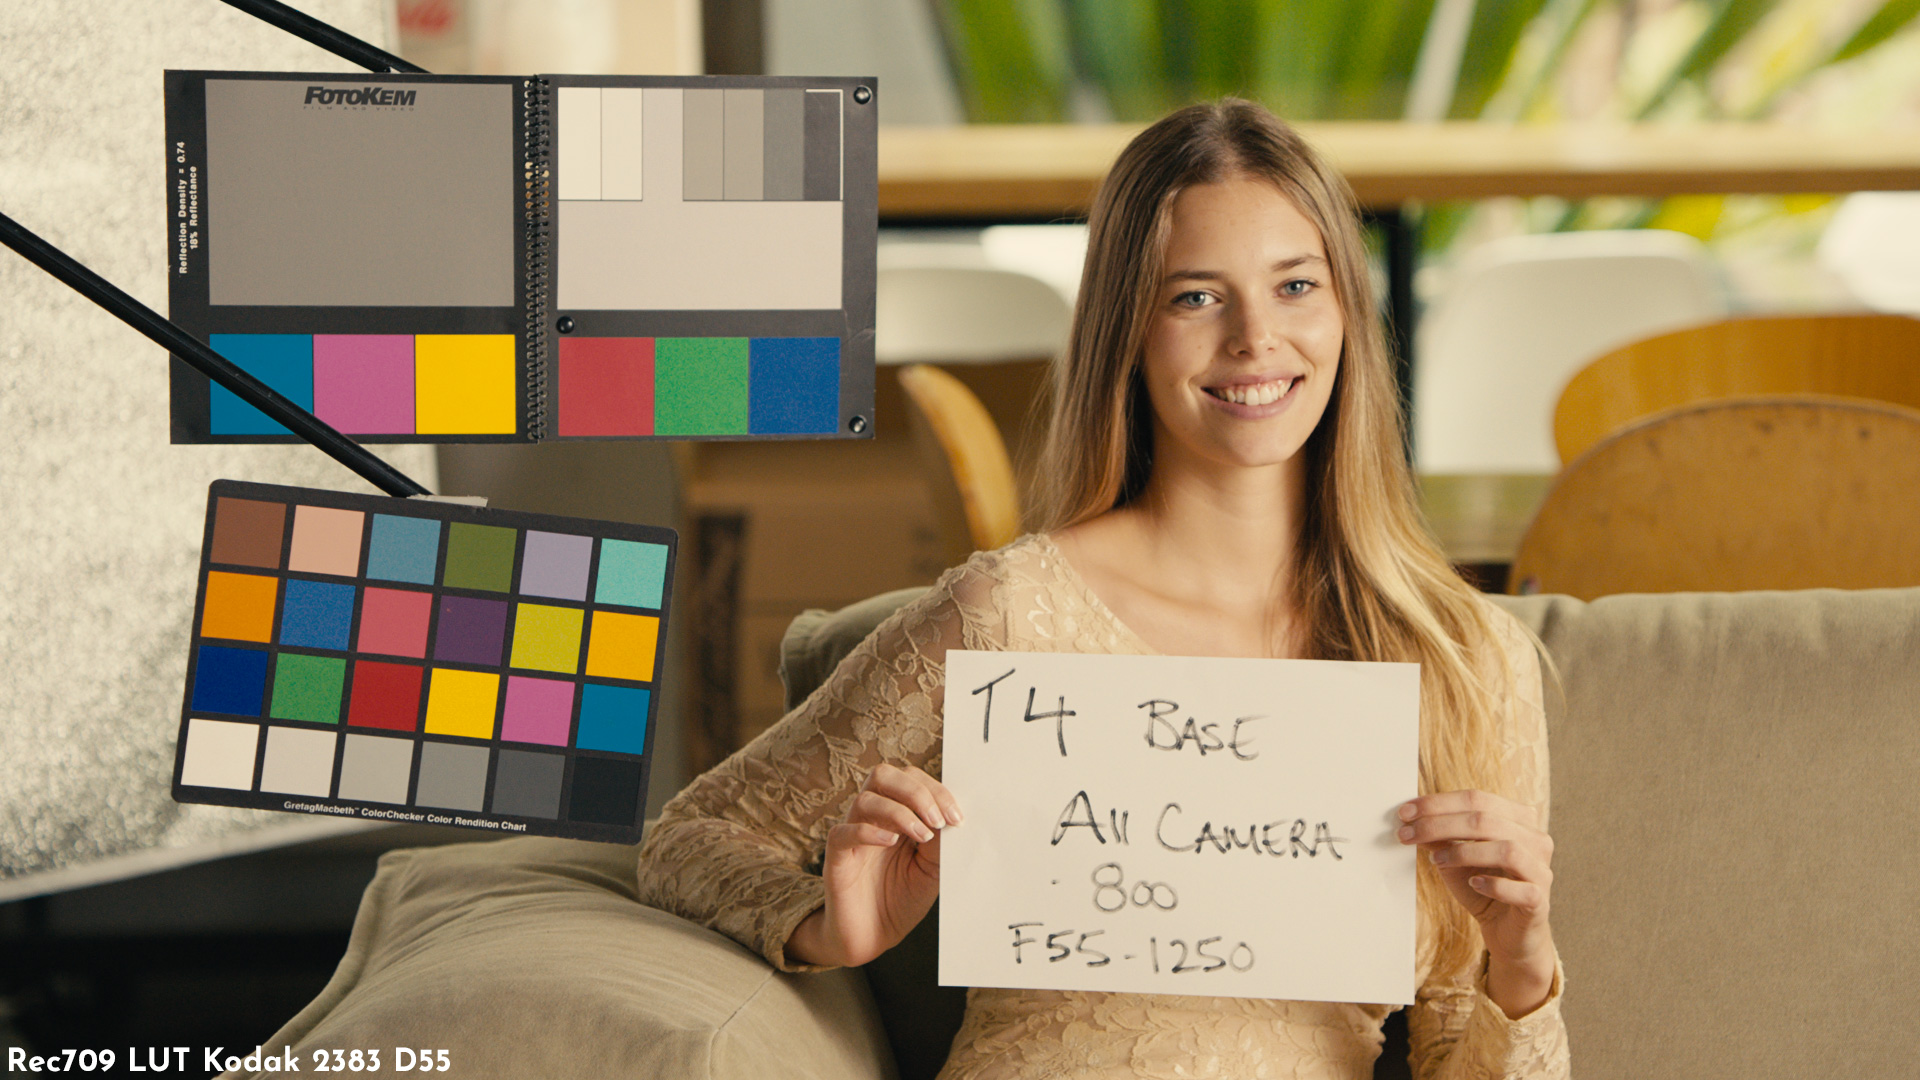

Image source: https://www.cinematography.net/edited-pages/camera-match.html
Rec709 LUT Kodak 2383 D55
Node A = CST to “Cineon Film Log”
Node B = Kodak 2383 D55 LUT
PowerGrade (COLOR)
Node A = Arri LogC to Rec709
Node B = Custom Curves
Node C = Color Warper
NODE 2
HALATION

Halation is a characteristic of celluloid film when a bright light bounces back a few times exposing the film a second time only affecting the red layer (and a bit of the green layer) of the film resulting in a reddish/orange glow. The Halation tint may be different based on white balance adjustments / color grading.

An anti-halation layer usually is a coating on the back of the film base, though it is sometimes incorporated between the light-sensitive emulsion and the base. Its purpose is preventing any light from being reflected back through the emulsion from the rear surface of the base, or from anything behind the film. This prevents a halo-like effect (halation). Even with an anti halation-layer there might be a Halo effect because the layer is not 100% black.
Here are some examples
The Wrestler (2008)
Directed by Darren Aronofsky
© Fox Searchlight Pictures
The Wrestler (2008)
Directed by Darren Aronofsky
© Fox Searchlight Pictures
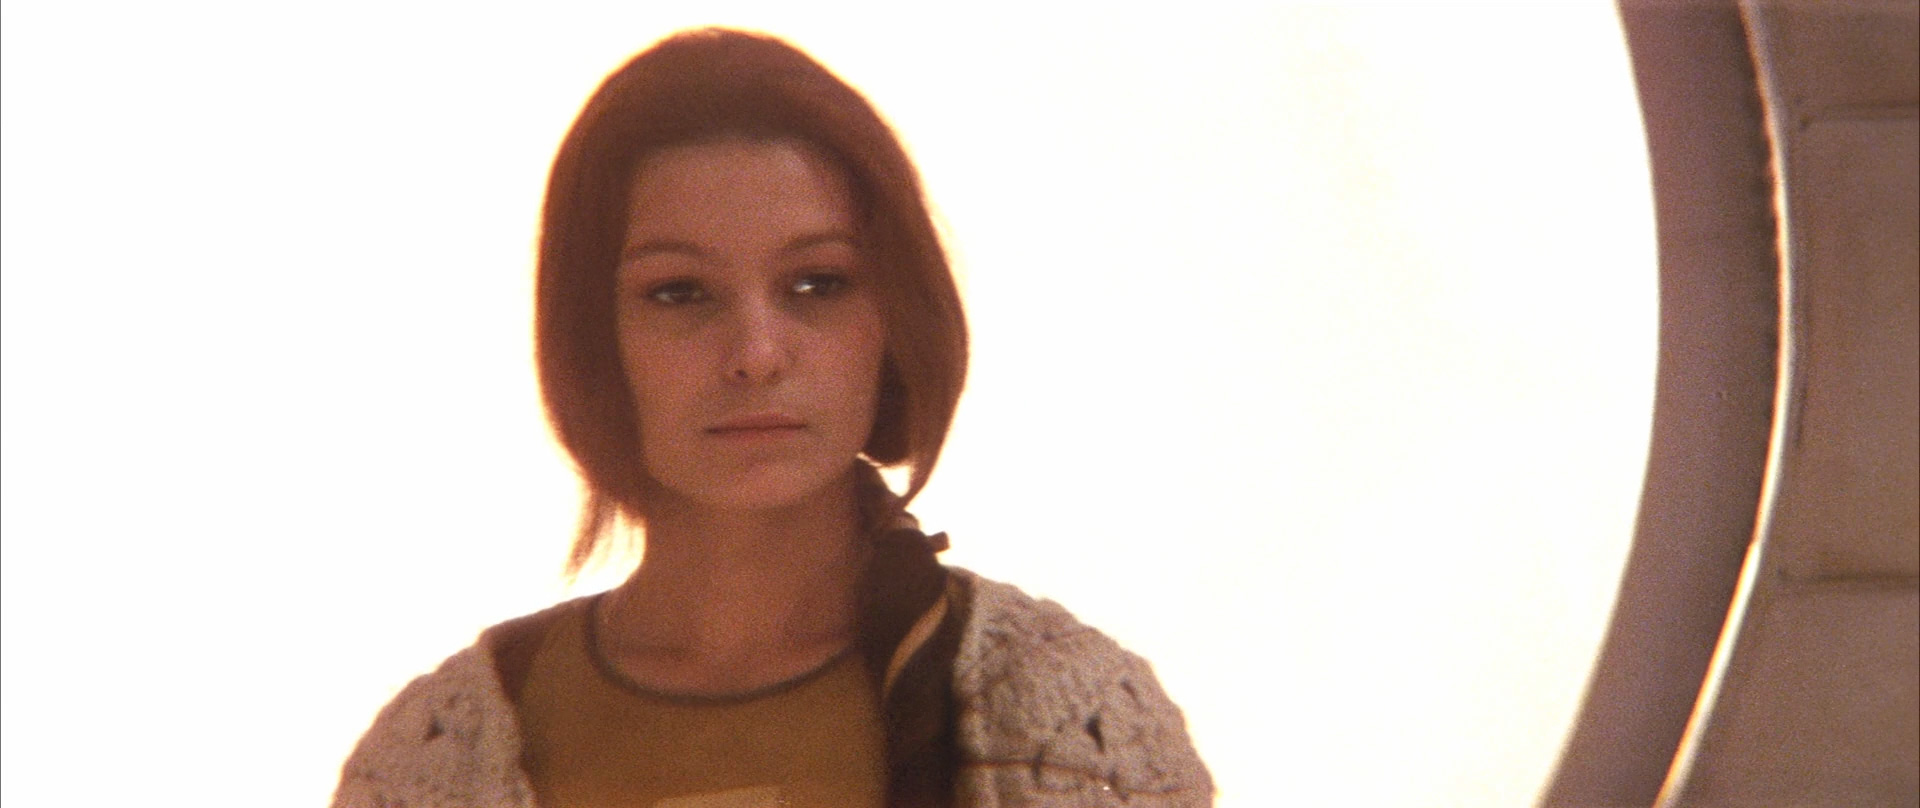
Solaris (1972)
Directed by Andrei Tarkovsky
© Mosfilm
Steve Jobs (2015)
Directed by Danny Boyle
© Universal Pictures
Steve Jobs (2015)
Directed by Danny Boyle
© Universal Pictures

The Wrestler (2008)
Directed by Darren Aronofsky
© Fox Searchlight Pictures
Camera:
Arriflex 416, Zeiss Ultra 16 and Angenieux Optimo Lenses
Negative Format:
16 mm (Kodak Vision2 200T 7217, Vision3 500T 7219)
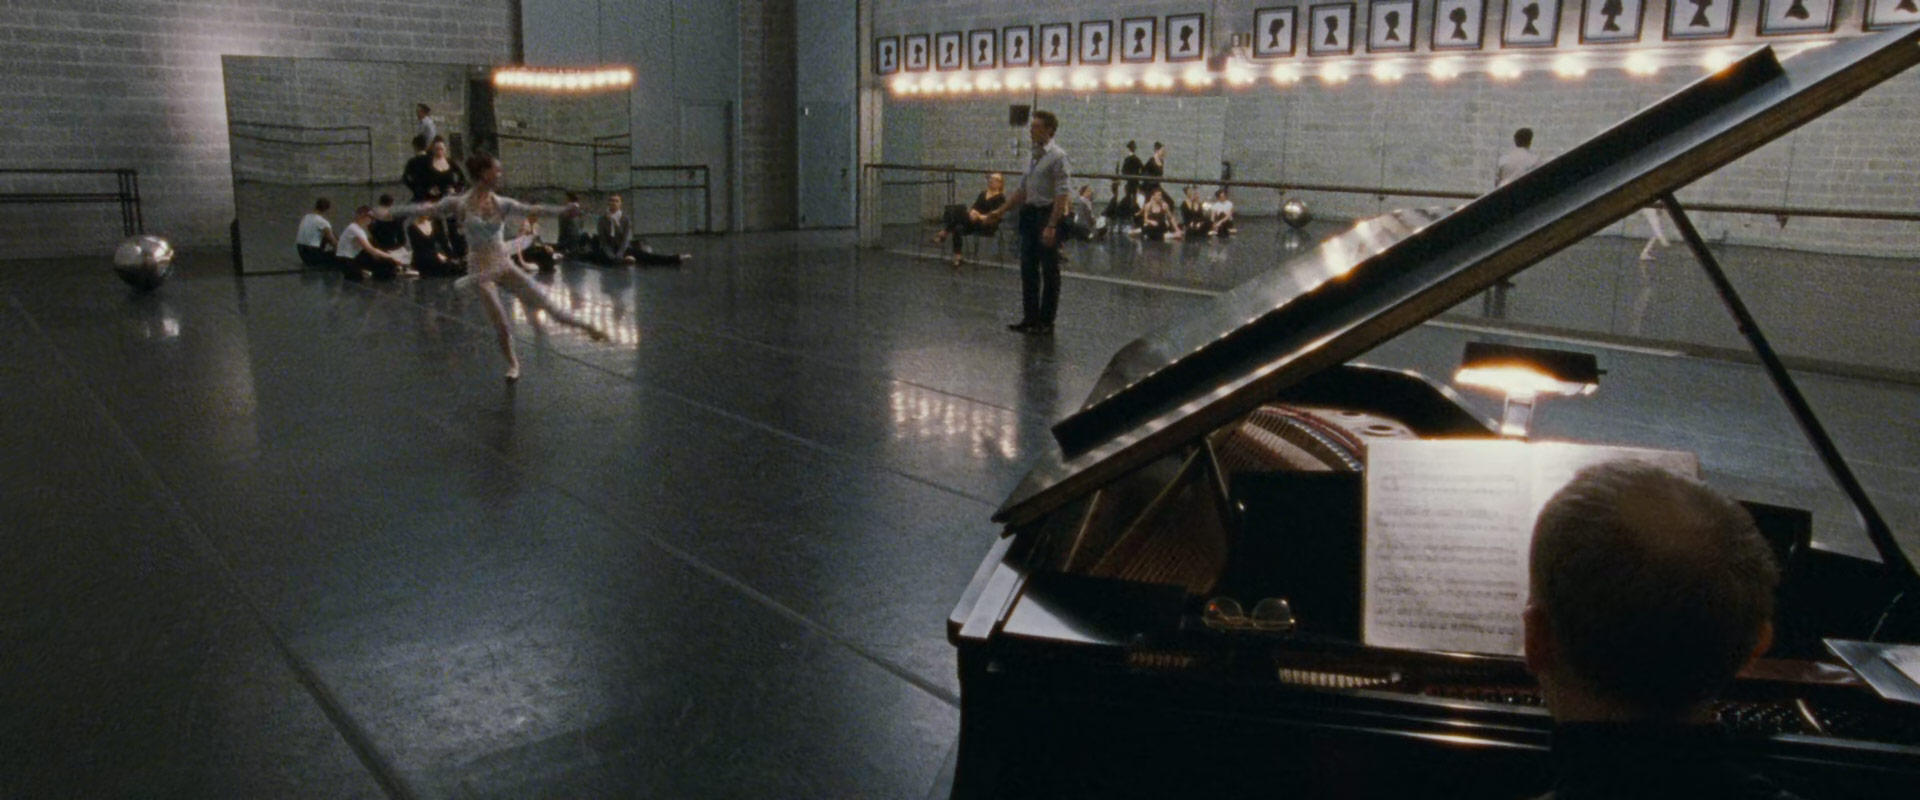
Black Swan (2010)
Directed by Darren Aronofsky
© Fox Searchlight Pictures
Camera:
Arriflex 16 SR3, Zeiss Ultra 16 Lenses Arriflex 416, Zeiss Ultra 16 Lenses
Negative Format:
16 mm (Fuji Eterna Vivid 160T 8643, Eterna Vivid 500T 8647)
Steve Jobs (2015)
Directed by Danny Boyle
© Universal Pictures
Camera:
Arriflex 416 Plus,
Cooke Panchro and Zeiss
Standard Speed Lenses
Negative Format:
16 mm (Kodak Vision3 500T 7219)
Solaris (1972)
Directed by Andrei Tarkovsky
© Mosfilm
Camera:
Rodina Cameras
Nageative Format:
35 mm
(Eastman Double-X 5222)
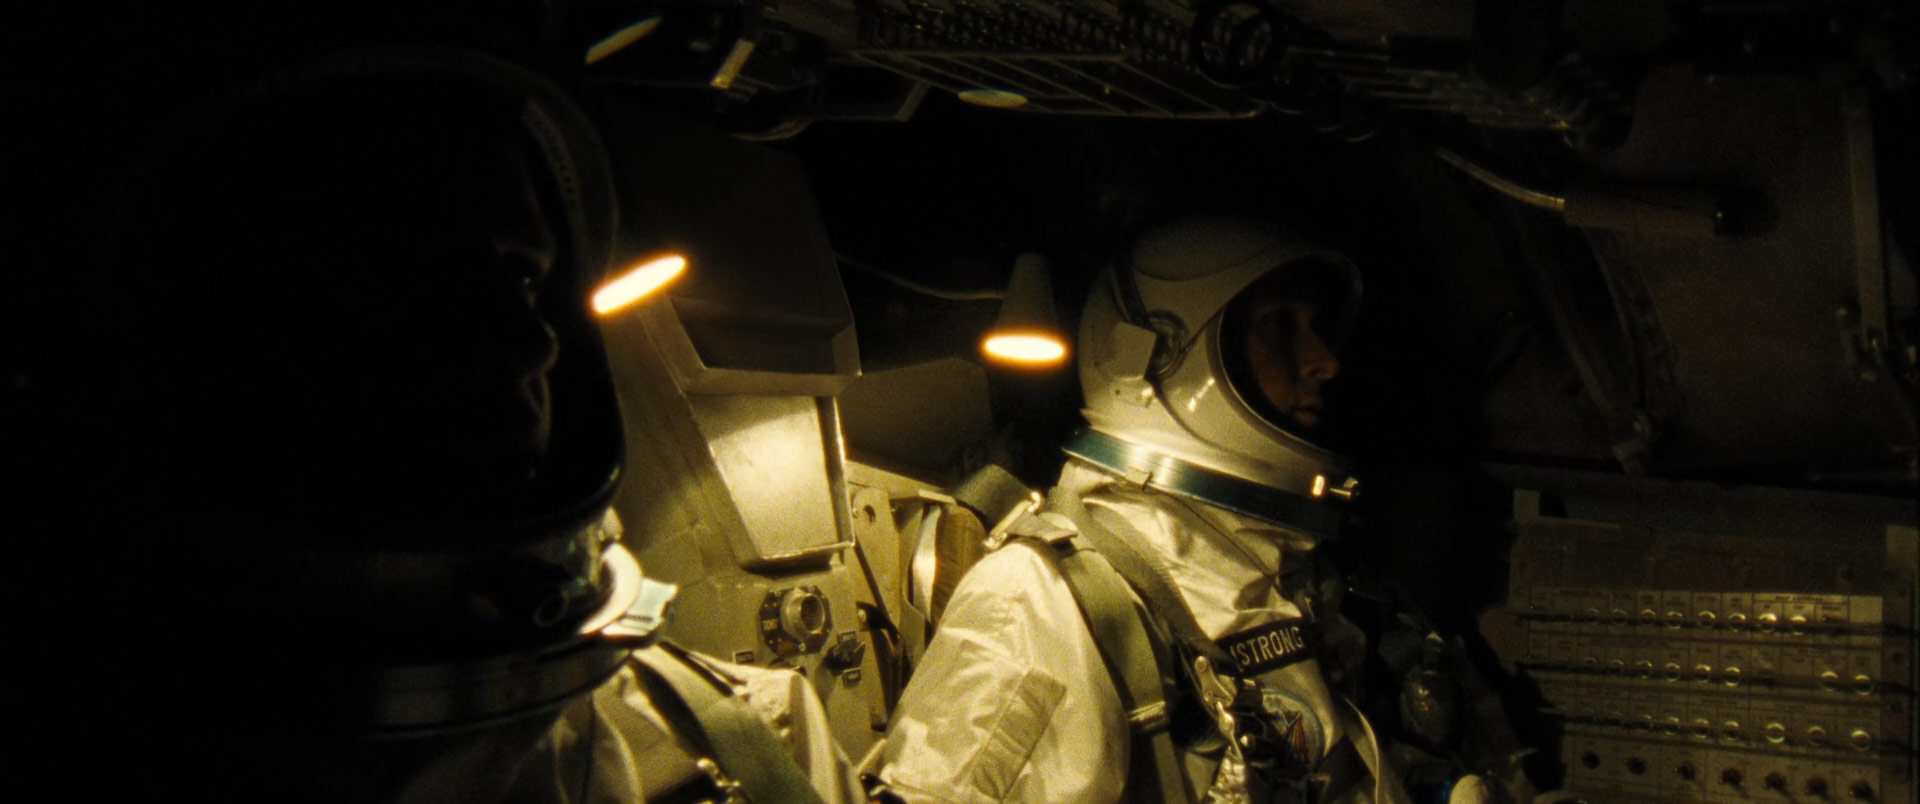
First Man (2018)
Directed by Damien Chazelle
© Universal Pictures
Camera:
Aaton A-Minima, Zeiss Ultra 16, Kowa Cine Prominar / Arriflex 416 Plus, Zeiss Ultra 16, Kowa Cine Prominar, and more….
Negative Format:
16 mm (Kodak Vision3 50D 7203, Vision3 250D 7207, Vision3 500T 7219)
Halation Compound Node
Recreation of Halation in Resolve

Here is the Halation Node Tree. Packed in ONE “Compound Node” to keep the Node tree tidy and clean.
1. Add a CST Node: In “Color Space Transform” set Output Gamma to “Linear”.
2. Add a Layer Mixer Node. Set Composite Mode to “Add”.
3. Add a Curves Node: Shape the Curve like in the picture.
4. Add a Node for Blur & Gain: Blur the red channel more than the green channel. Play with the values. You can also tint the glow more towards orange using Gain.
5. Add another CST Node. Set Input Gamma to “Linear”.
“Input Color Space” and “Input Gamma” should match your camera.
The curve should look like in the picture. Put the “Halation Compound Node” at the first position of your node tree! I did not come up with this Idea. I found it by watching this “Grade School Episode 3” video by Cullen Kelly.
RESULTS


NODE 3
GLOW

Glowing / Blooming is an optical effect where light from a bright source appears to leak into surrounding objects. The glowing effect is most prominent when shooting with vintage lenses or with special optical filters. For example: “Pro-Mist”, “Glow-Mist”, “Cinebloom”, …
Here are some examples


Lost Highway (1997)
Directed by David Lynch
© October Films
Camera:
Panavision Panaflex Gold II, Panavision Primo Lenses
Panavision Panaflex Platinum, Panavision Primo Lenses
Mitchell GC, Panavision Primo Lenses (some shots)
Negative Format:
35 mm (Eastman EXR 200T 5293, EXR 500T 5298)
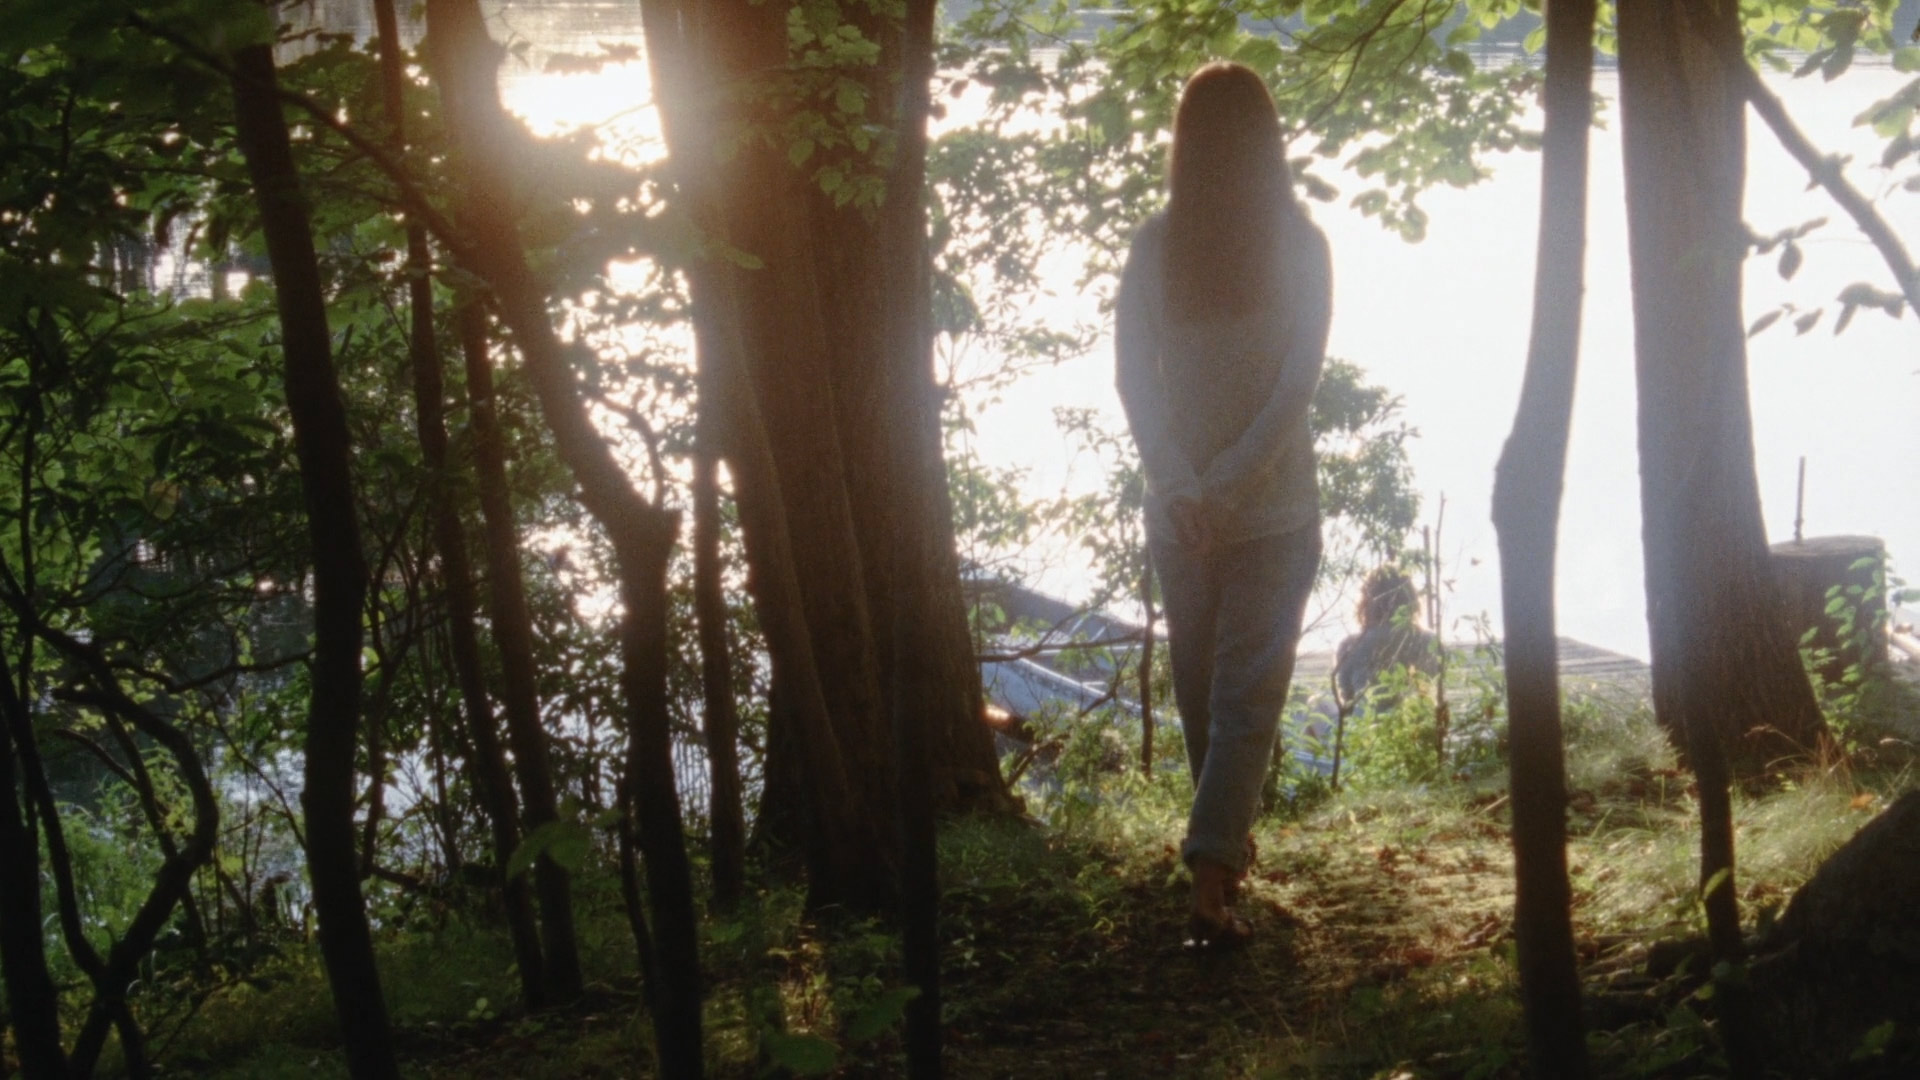
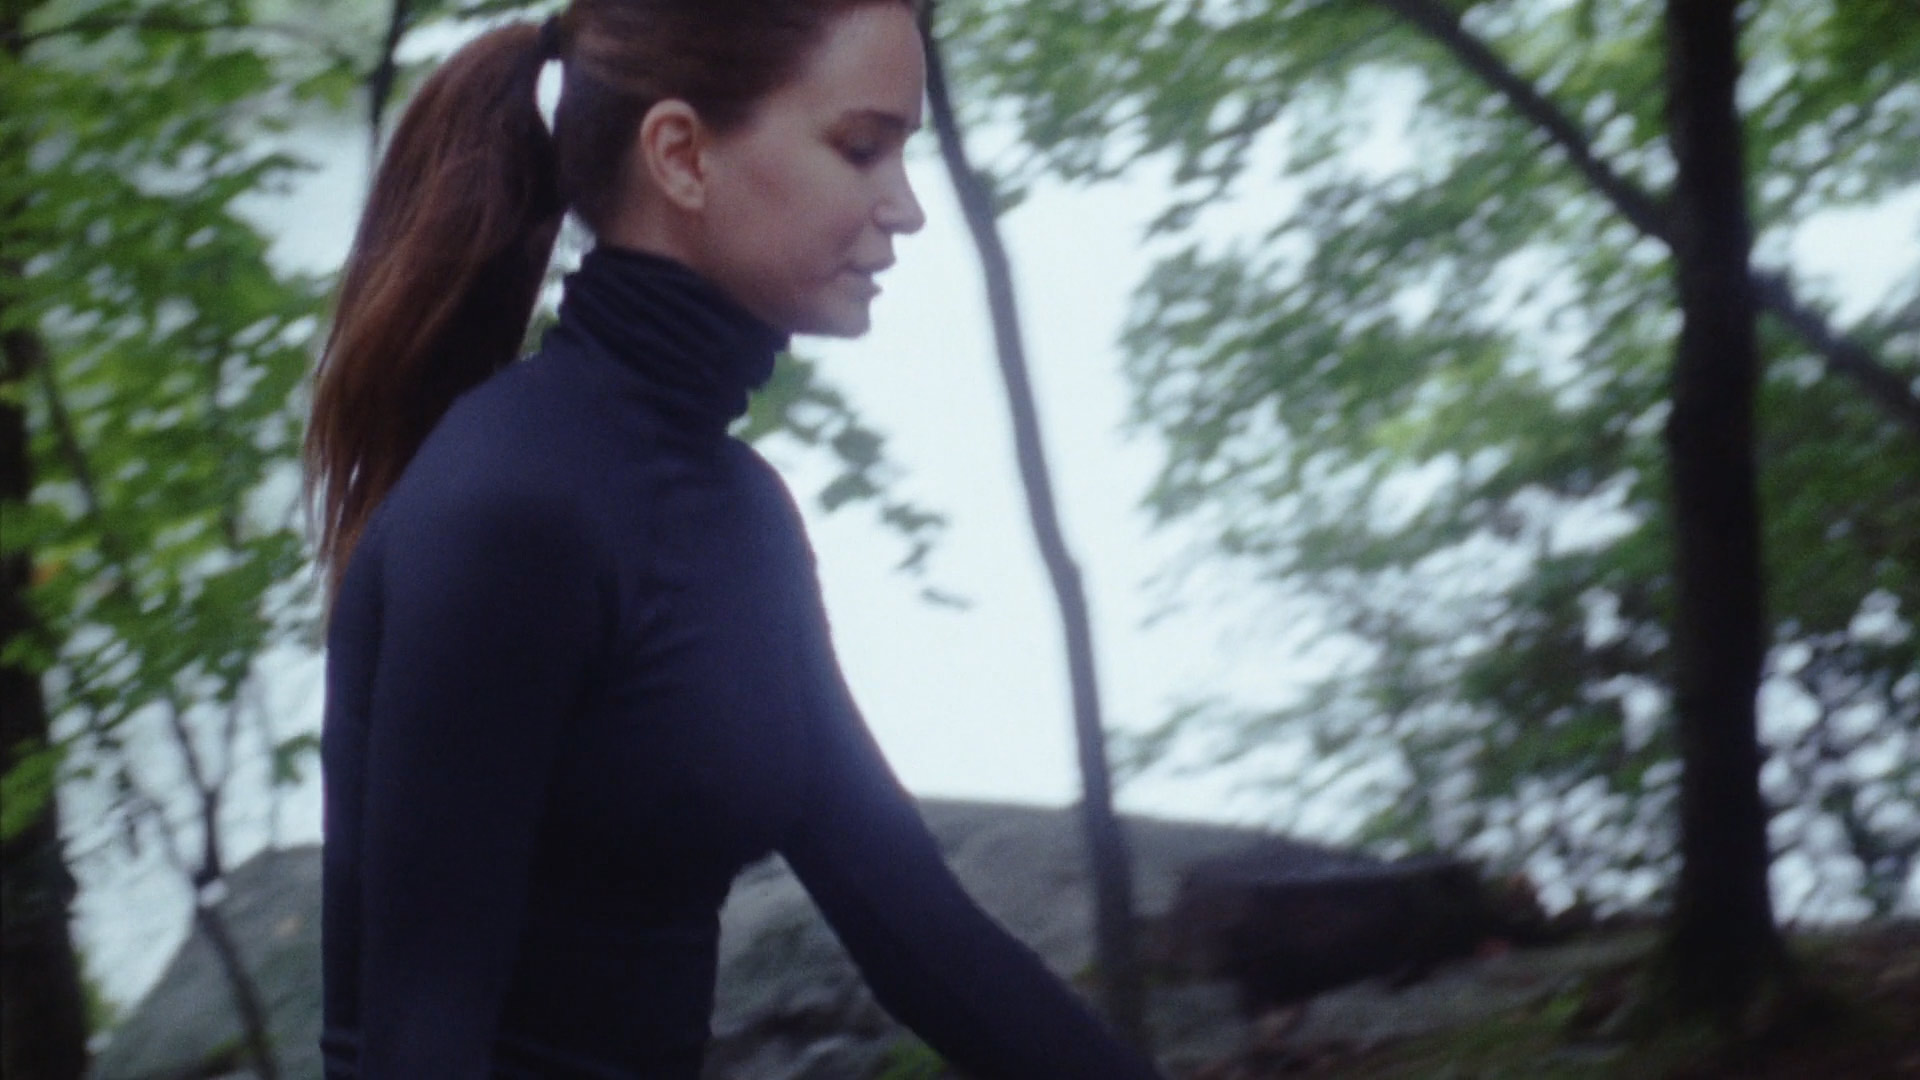
Queen of Earth (2015)
Directed by Alex Ross Perry
© IFC Films
Negative Format:
16 mm (Kodak Vision3 250D 7207, Vision3 500T 7219)
Harold and Maude (1971)
Directed by Hal Ashby
© Paramount Pictures
Camera:
Arriflex 35 IIC
Panavision PSR
Negative Format:
35 mm
Solaris (1972)
Directed by Andrei Tarkovsky
© Mosfilm
Camera:
Rodina Cameras
Nageative Format:
35 mm
(Eastman Double-X 5222)
There Will Be Blood (2007)
Directed by Paul Thomas Anderson
© Miramax Films
Camera:
Panavision Panaflex Millennium XL, Panavision C-, E-Series, Super High Speed, SP and Pathé Lenses
Panavision Panaflex Platinum, Panavision C-, E-Series, Super High Speed and SP Lenses
Negative Format:
35 mm (Kodak Vision2 50D 5201, Vision2 200T 5217)
Open FX
Glow

There is really not much to say about the Glow FX plugin. It works. It is fast. Furthermore, it gives good results. You can separate red, green and blue values, change Horizontal / Vertical Ratio. Activate “glow” only, change composite mode, etc. Great.
NODE 4
GATE WEAVE
Film is always moving. When a film frame passes through a camera, scanner or projector, sprockets control the motion of the frames. A film can become warped or gear can wear out, causing the frame to appear to move side to side.
Even with the best cameras, projectors and scanners there will always be a subtle “Gate Weave” effect. Here are some examples:
Sex, Lies, and Videotape (1989)
Directed by Steven Soderbergh
© Miramax Films
Camera:
Panaflex Camera and Lenses by Panavision
Negative Format:
35 mm (Agfa XT 320)
Laboratory:
Allied/WBS Film & Video Services, Texas, USA (processing)
Consolidated Film Industries (CFI), Hollywood (CA), USA (prints)
Sex, Lies, and Videotape (1989)
Directed by Steven Soderbergh
© Miramax Films
Camera:
Panaflex Camera and Lenses by Panavision
Negative Format:
35 mm (Agfa XT 320)
Laboratory:
Allied/WBS Film & Video Services, Texas, USA (processing)
Consolidated Film Industries (CFI), Hollywood (CA), USA (prints)
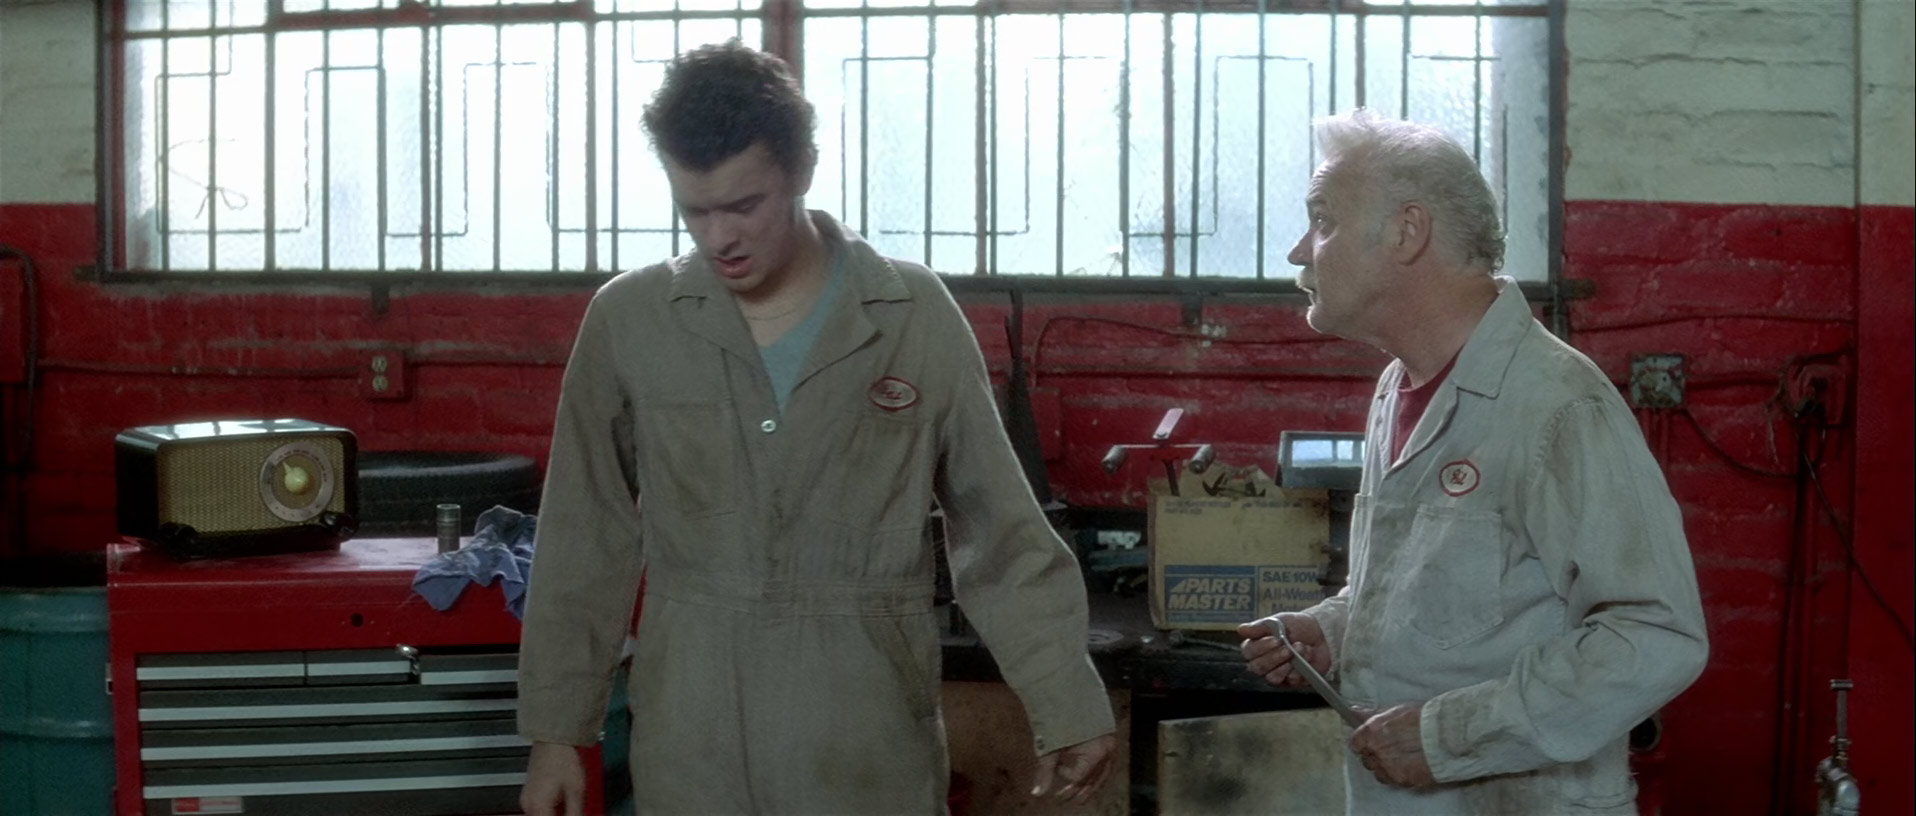
Buffalo ’66 (1998)
Directed by Vincent Gallo
© Lions Gate Films
Camera:
Arriflex 435 ES, Zeiss Super Speed Lenses
Moviecam Compact, Zeiss Super Speed
Moviecam SL, Zeiss Super Speed Lenses
Negative Format:
35 mm (Eastman Ektachrome 160T 5239)
Laboratory:
Bono Film Labs, Arlington (VA), USA
John E. Allen Associates, USA
Open FX
Camera Shake


I am using the “Camera Shake” Plugin in Resolve. The settings you see here are a starting point. I did not measure the pixels. Works great in a 1080p timeline, but you might change the settings for 4k. Try also to experiment with multiple camera shakes movements in extra nodes. First node: A high speed “wiggle” effect for a “micro jitter effect” combined with a slower camera shake wave movement in a second node. “Gate weave” can look like a soft sway left and right.
NODE 5
FLICKER

If you scroll back up and look at the “gate weave” examples, you will also notice some “flickering”. The exposure shifts. With “flicker/flickering” I don’t mean movements from side to side or up and down. I am talking about shifts in exposure, contrast, color.
Open FX
Flicker Addition


I am using the “Flicker Addition” plugin. Those settings are a starting point. I suggest keeping the “Range” very low. Something between 0.005 and 0.010.
NODE 6
GRAIN
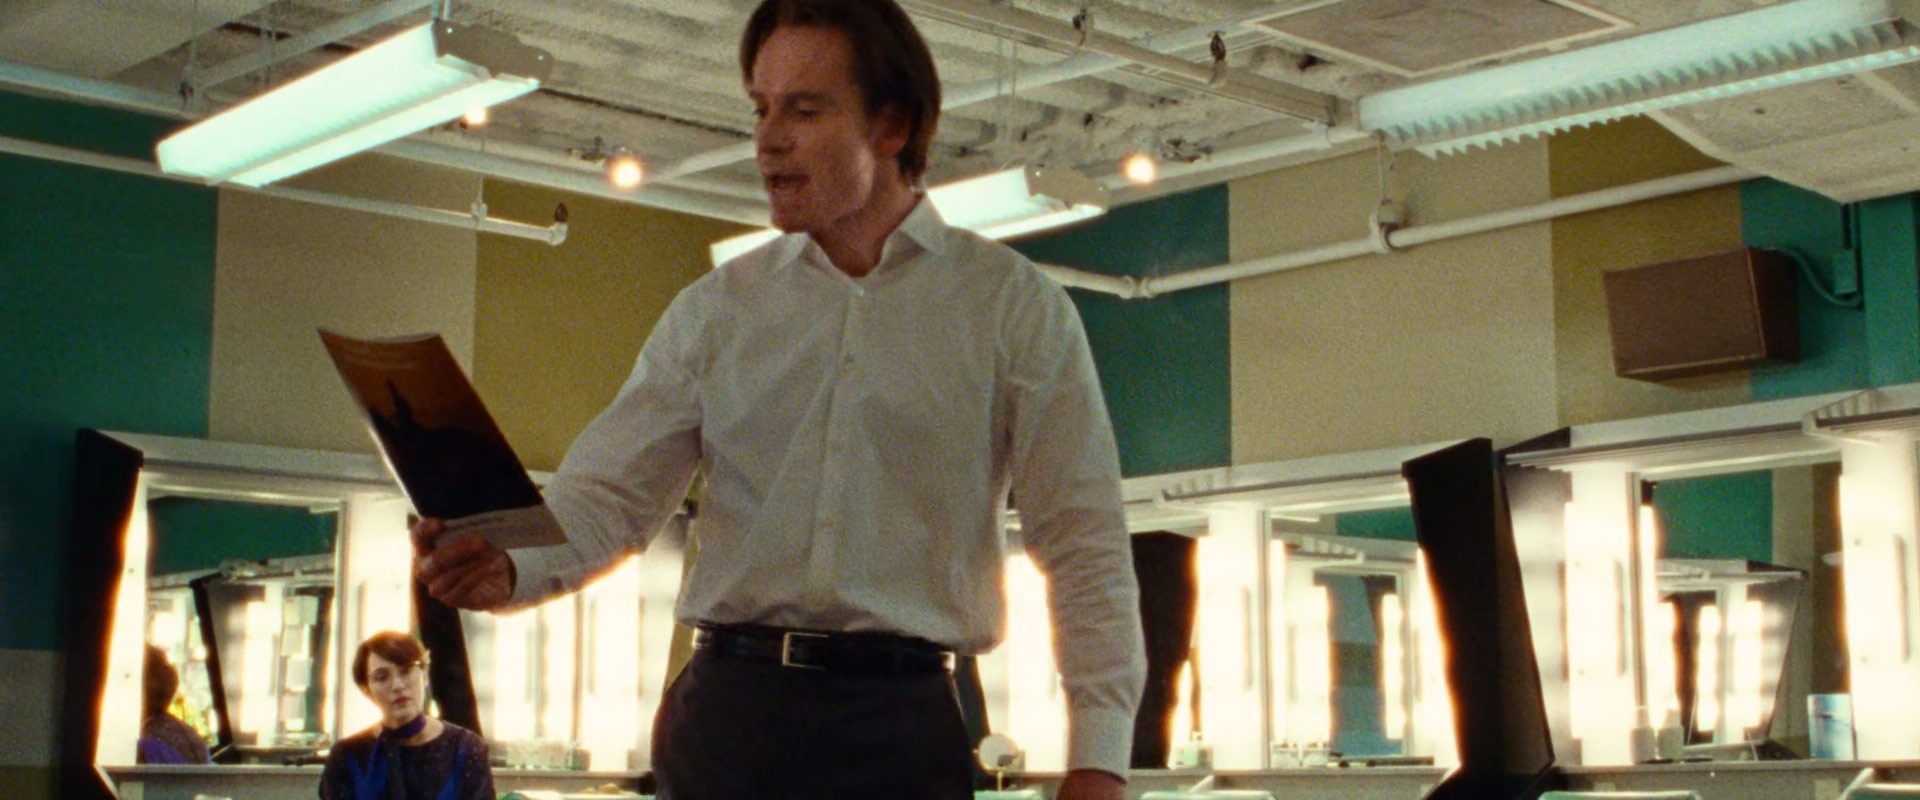
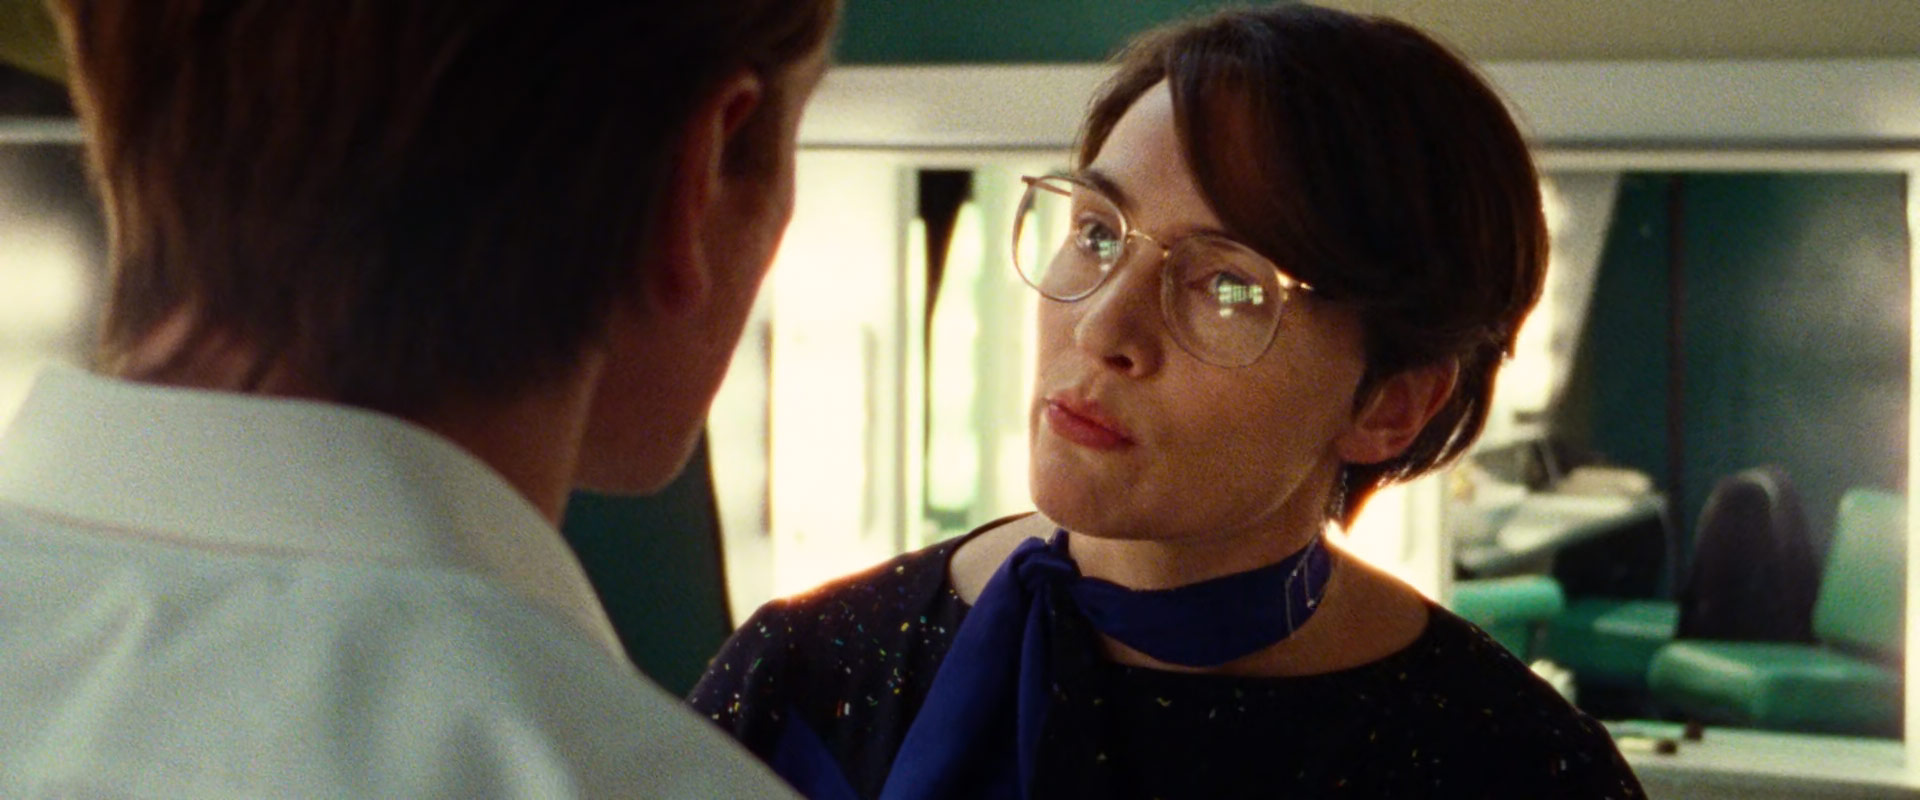
Film grain is the random optical texture of processed photographic film of light-sensitive silver halides that change into pure metallic silver when exposed to light. Here some side by side examples. Left side = original movie. Right side = My attempt to match the grain.
For the movie “The Lighthouse (2019)” I found some plain, clean “behind the scenes” footage with no grain. For “La Pianiste (2001)” and “Carol (2015)” I decided to just do a painting in Photoshop with zero texture and try out if I can match the grain using DaVinci Resolve Open FX Film Grain plugin.

The Lighthouse (2019)
Directed by Robert Eggers
© Focus Features / Universal Pictures
© A24 (United States)
Camera:
Panavision Panaflex Millennium XL2,
Bausch & Lomb Baltar, Pathé and
Petzval Lenses
Negative Format:
35 mm (Eastman Double-X 5222)
La Pianiste (2001)
Directed by Michael Haneke
© Concorde Filmverleih (Germany)
© MK2 Diffusion (France)
Camera:
Moviecam Compact,
Cooke S4 and Varotal Lenses
Negative Format:
35 mm (Kodak Vision 800T 5289)
Carol (2015)
Directed by Todd Haynes
© The Weinstein Company (United States)
© StudioCanal (United Kingdom)
Camera:
Arriflex 416 Plus, Cooke Speed Panchro, Varopanchro, S4,
Zeiss Ultra 16, Master Zoom and Angenieux HR Lenses
Negative Format: 16 mm
(Kodak Vision3 50D 7203, Vision3 250D 7207,
Vision3 200T 7213, Vision3 500T 7219)
Details


Open FX
Film Grain
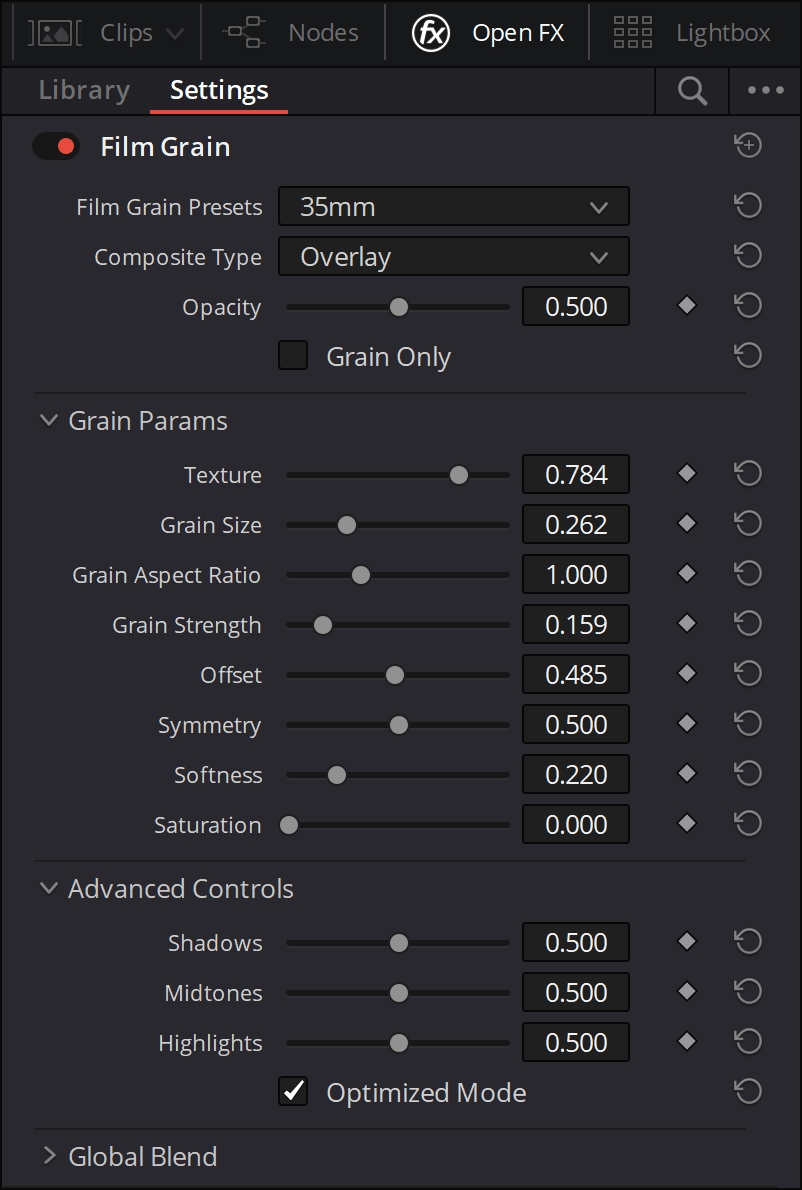
Here are the reasons I switched from using
grain overlays to DaVinci Resolve “Film Grain”:
1.
It just looks good. I love the Texture. It just “feels” like real grain. Even on the examples above where I used “Film Grain” on super clean gradients which I made in Photoshop. It looks even better on “real footage” with some texture.
2.
The parameters are easy to adjust. You can quickly change Texture, Grain Size, Strength, Softness, Saturation. Controls for Shadows, Midtones and Highlights could be better but it is good enough. You can switch from a hard black & white texture to a soft saturated version in seconds and save it as a PowerGrade.
3.
It is fast. You can preview it in real-time, and
it is rendering fast, which is super important.
NODE 7
FILM DAMAGE

There is an Open FX “Film Damage” plugin in DaVinci Resolve, but I don’t like it. It is very slow. You can only change the Density between 1-9. It doesn’t work for me.
I am more interested in “hair”, “dots”, “smut” overlays that appears maybe only in certain shots or every 20 seconds. I want it subtle. I want more control. Therefore, I am building my own “Film Damage Generator“. Have a look.
FINAL NODE TREE
PHOTOCHEMICAL FILM LOOK

I switched “HALATION” and “COLOR” because it is better to start with Halation. Followed by Glow, Gate Weave, Flicker and Grain.
Keep in mind that this is NOT a “complete” Node Tree. You have to add additional Nodes for balancing your shots and color grade. I would suggest doing it between the CST (Color Space Transformation) and the Print Film Emulation LUT.
Furthermore, you might want to add a node after the LUT to bring down the blacks closer to zero, using the LOG wheels. You also might want to place the “glow” node between CST and PFE, instead of behind the LUT.
This “Node tree” here is just a starting point! This blog post is more about the single elements that creates a photochemical film look, and is less about the node tree itself.
SOME EXAMPLE FOOTAGE
VIMEO / YOUTUBE
vimeo: https://vimeo.com/562305696
youtube: https://youtu.be/knYcM9SUOyM
DOWNLOAD
POWERGRADE
ko-fi.com / 978 KB
mediafire.com / 978 KB
FILM EMULATION
ADVANCED

I’m excited to share my new product! This project is about reproducing characteristics that I personally associate with film aesthetics. It goes beyond the print film emulation and the elements you see on this page.
I have dealt intensively with the emulation of Film Stock and decided to built two film stocks of my own.
In addition, the film aesthetic does not end with matching colors. I’m interested in lens flaws like chromatic aberration, lens distortion, Petzval field curvature, special “sharpness aesthetics” and more.
I will also show you some techniques on how to achieve a higher “color density”. For print film emulation, I’ve created some PowerGrades that will teach you how to be more flexible with PFE LUTs and customize them to your own preferences. Additionally, I designed some dirty mattes and created digital sprocket holes for an overscan look to top it all off.
Features:
Have a closer look at:
https://mononodes.com/film-emulation/
Have fun.
If you have any questions / suggestions / comments, feel free
to contact me at stefanATmononodesDOTcom
If you want to support me and the content here,
then you can ‘buy me a coffee‘. Always appreciated.