
WHY I BUILD LUTS
AND HOW
Let me address the question of why I don’t just use the native tools in DaVinci Resolve to create film stock or film prints. There is this blog post by Steve Yedlin entitled: “Two Kind Of Saturation” where he writes about how film doesn’t produce “garish reds” and how difficult it is to get a “deep rich saturated red” using native grading tools.
If you use “regular desaturation tools” the garish red often becomes grayish. Using “different math” allows us to add more density to the color red that is closer to the way film would capture it. Here’s an example:
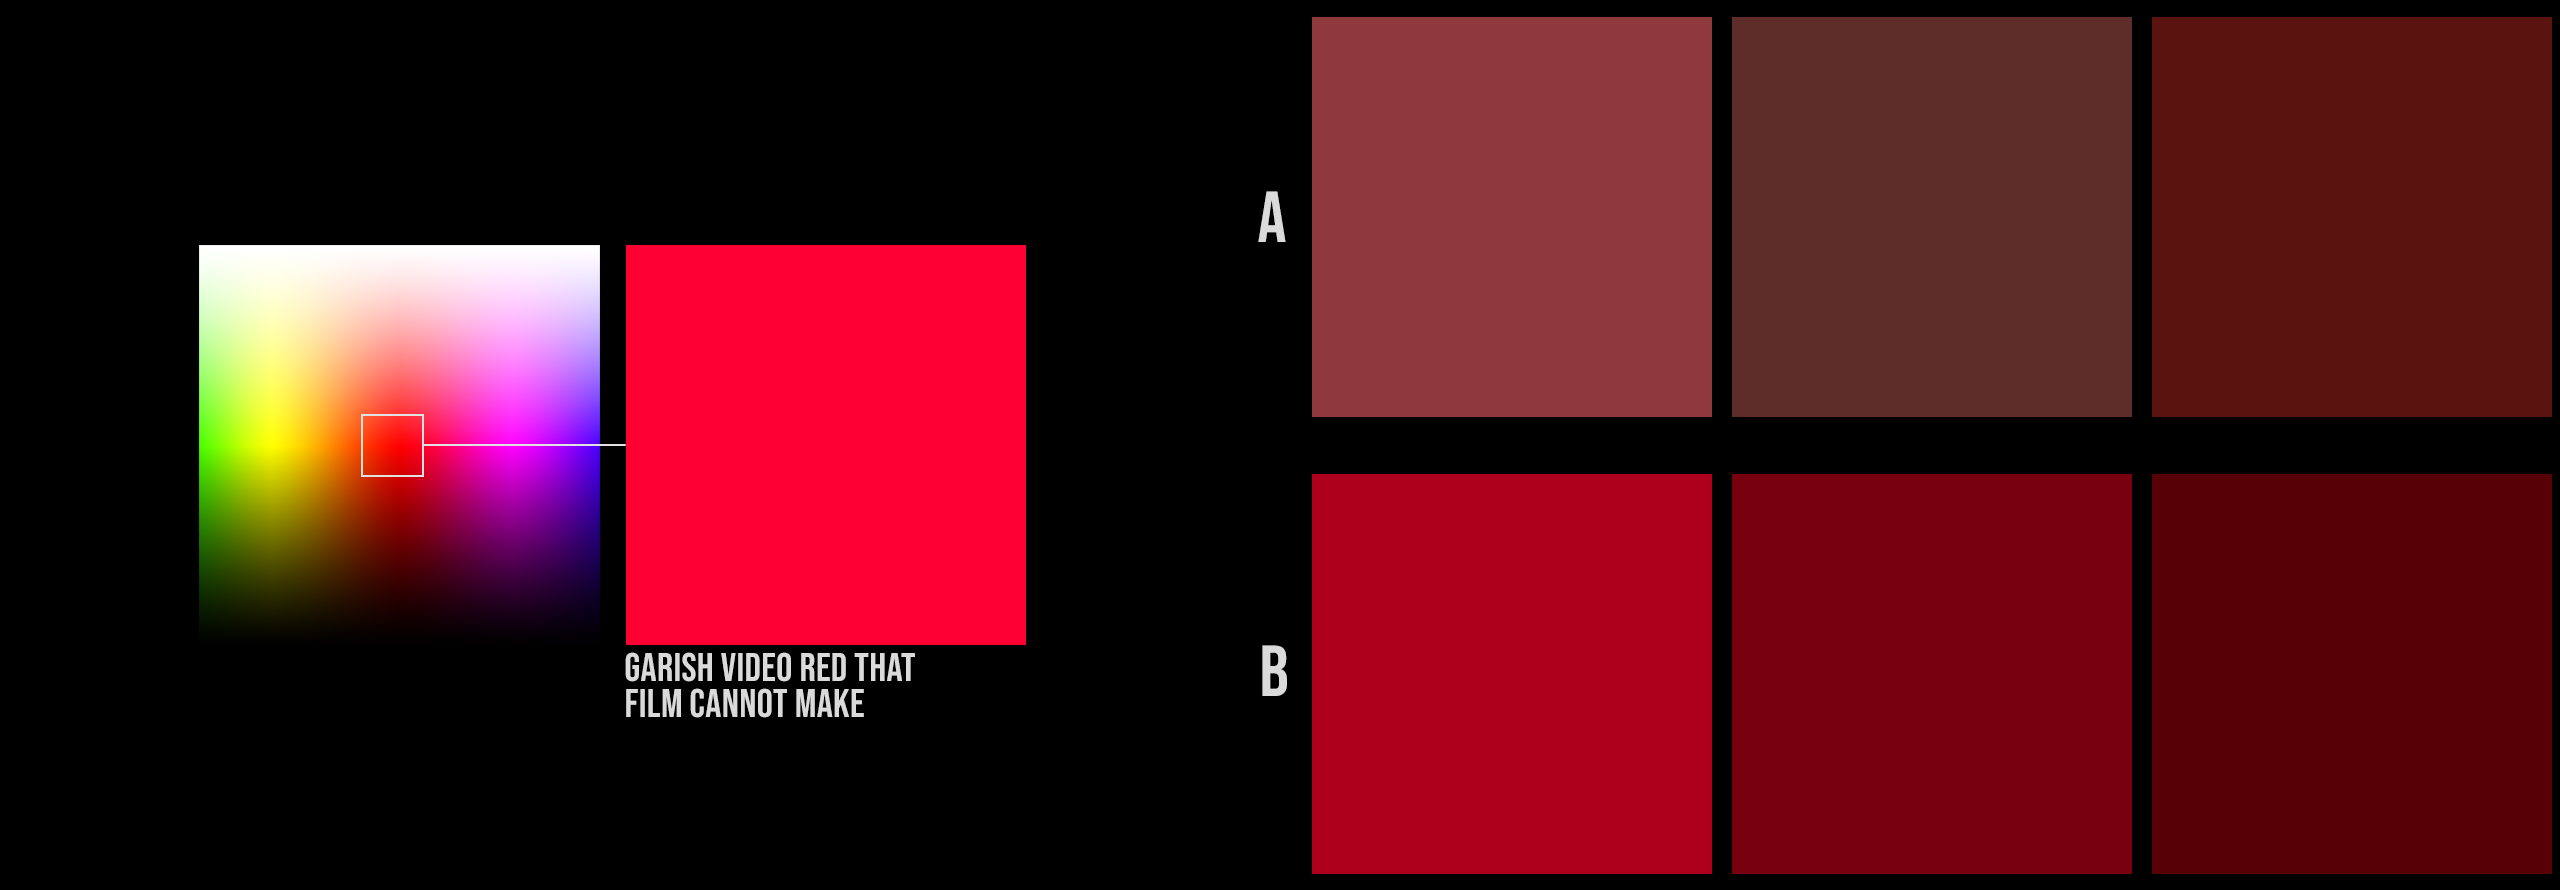
A shows “normal desaturation methods”, which often end up in a grayish red.
B shows a different method that transforms a garish red more into a “film-style red”.
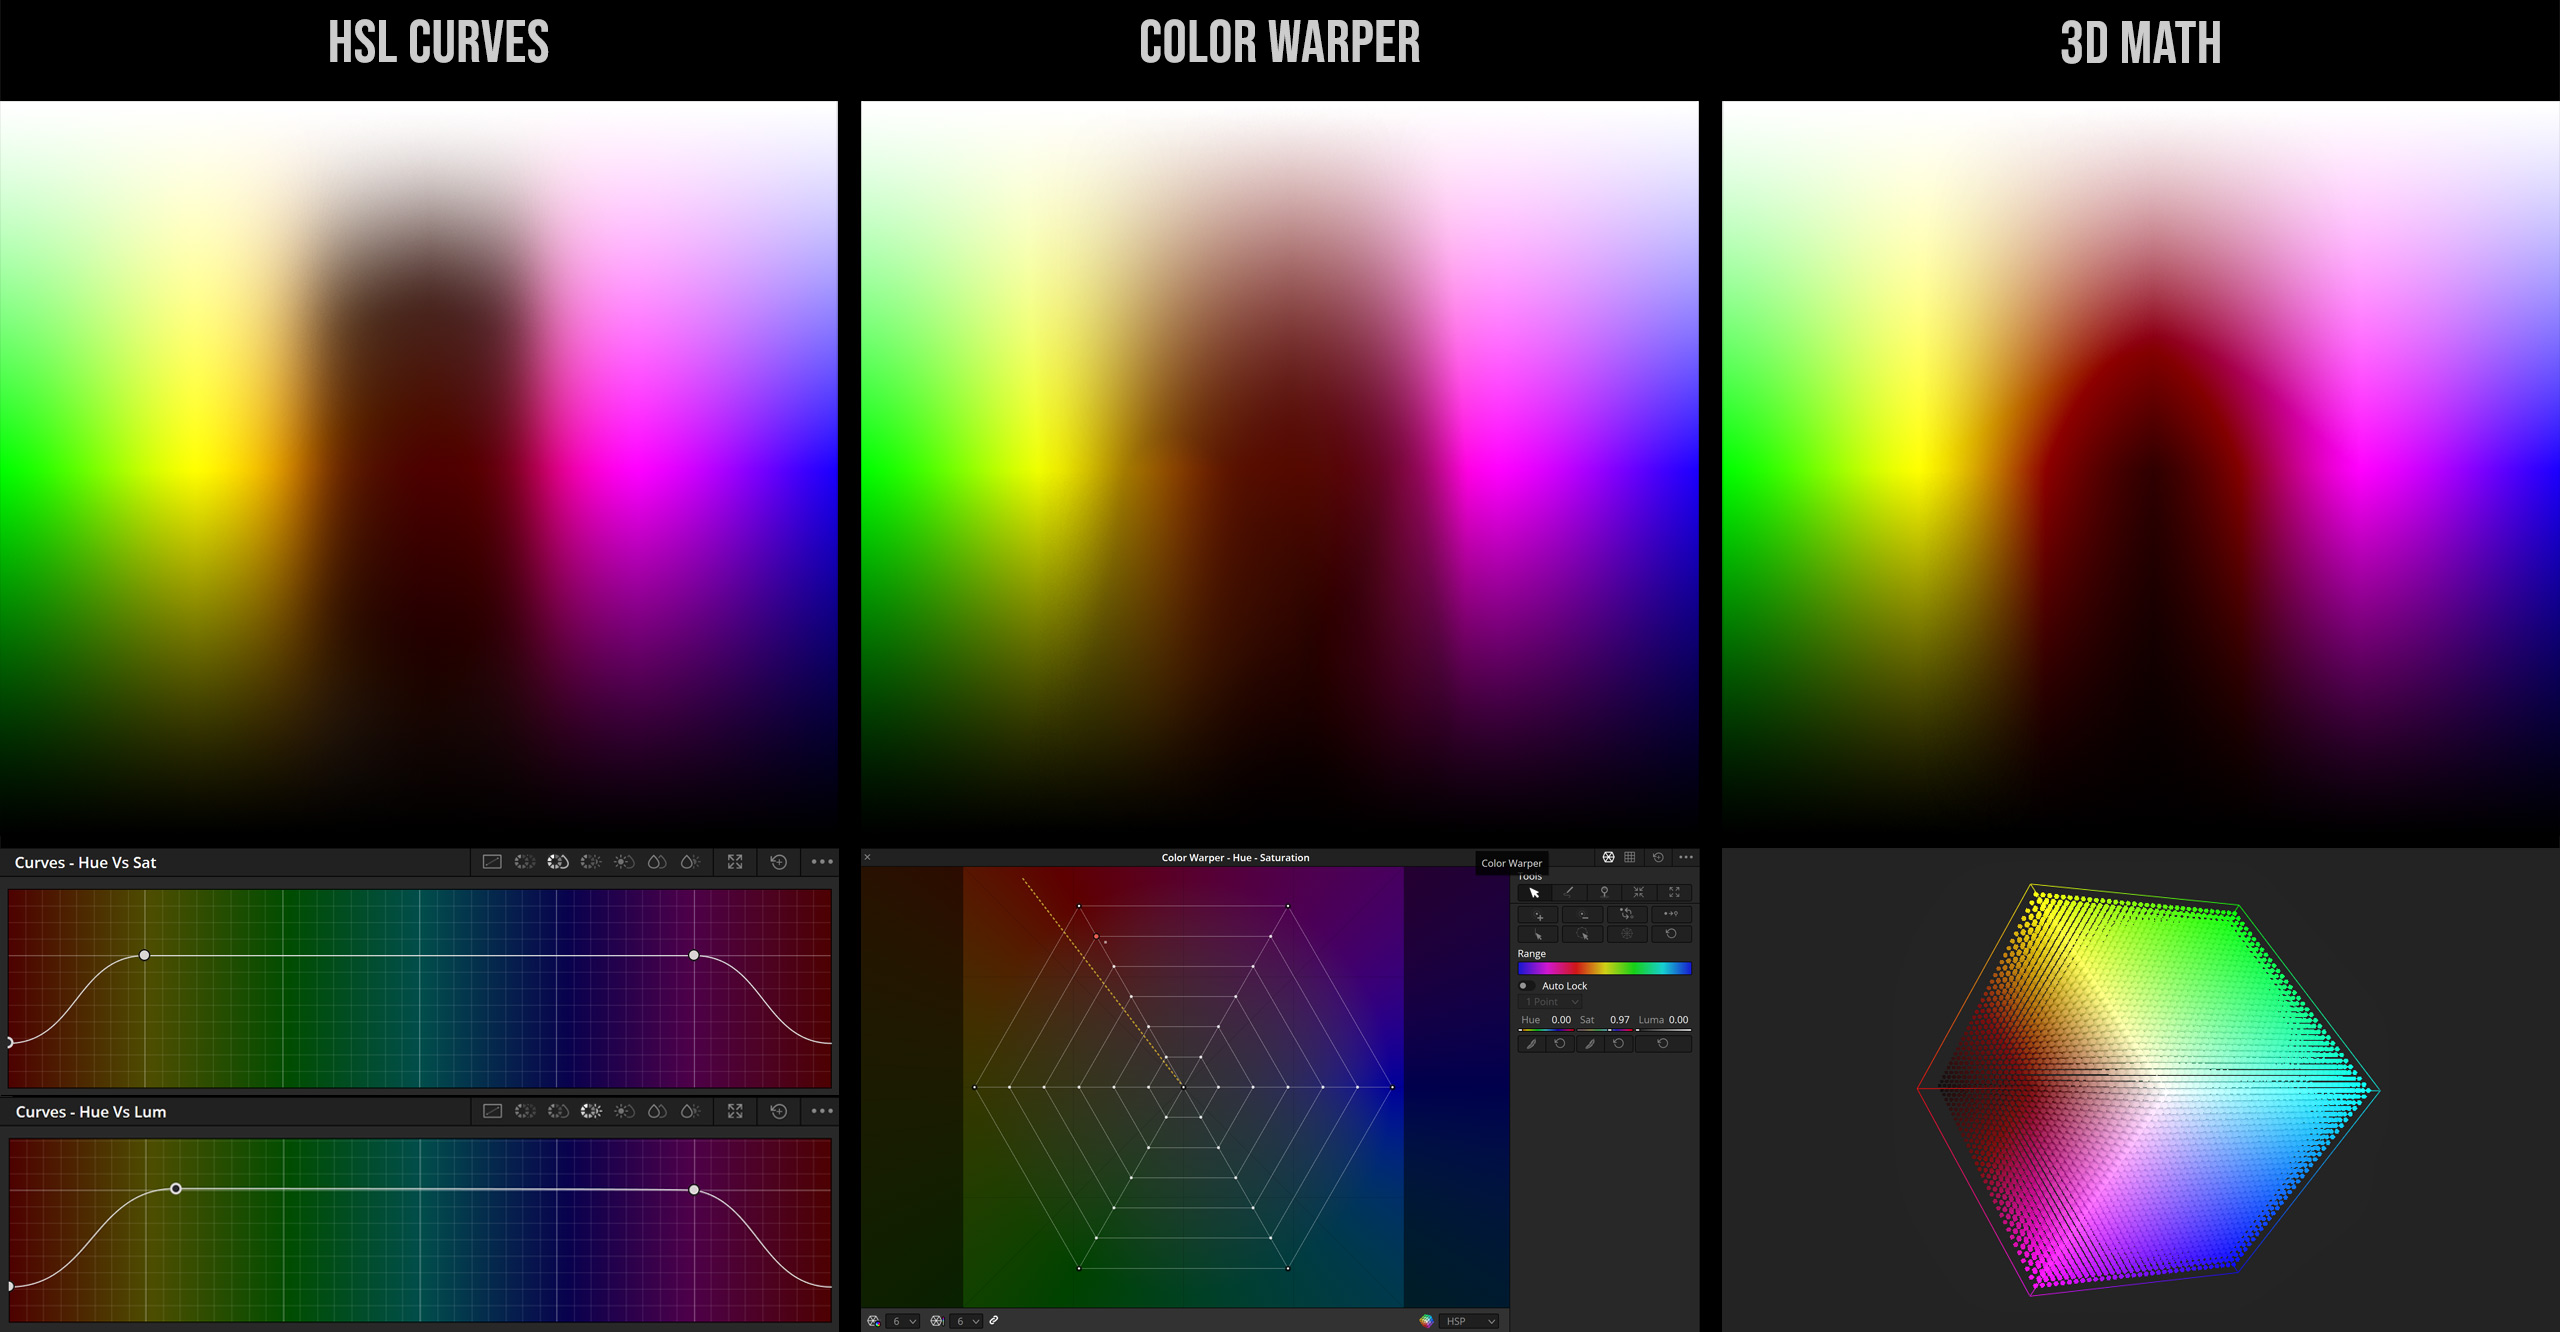
I’ll start with this very simple test and show you three different methods to turn a garish red into “film red”. I’ve tried to keep the other colors untouched, no matter if they are as garish as the red.
DETAILS
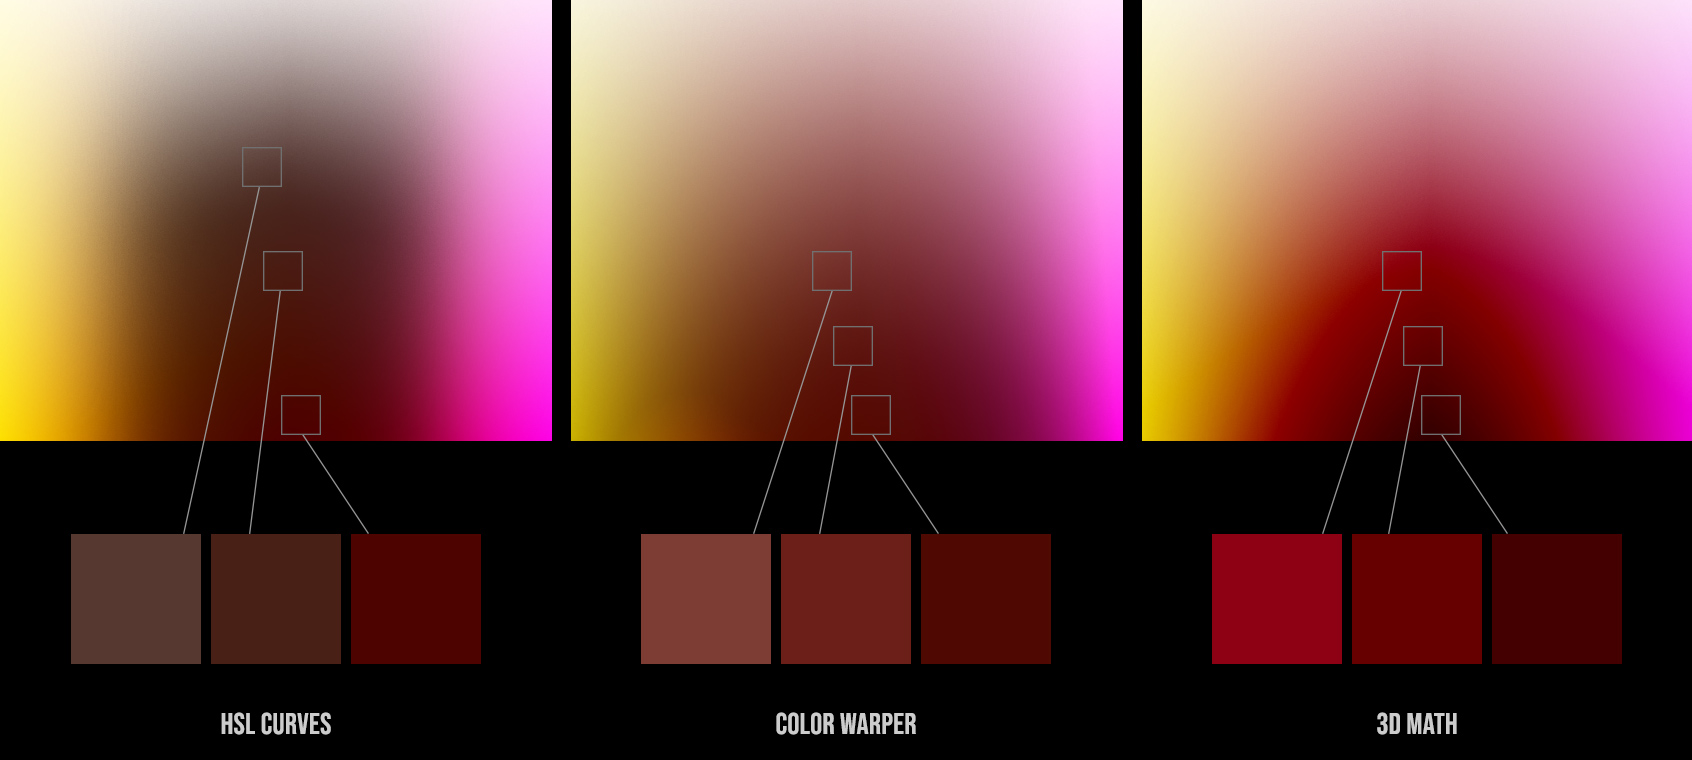
We can observe that If we try to desaturate the garish red with the HSL or Color Warper Tool, the RED ends up grayish. Of course there are more tools/techniques available, but in my experience it’s not possible to get results as clean as with 3D math that can be stored in a LUT.
CREATING LUTS
THE ART OF CODE
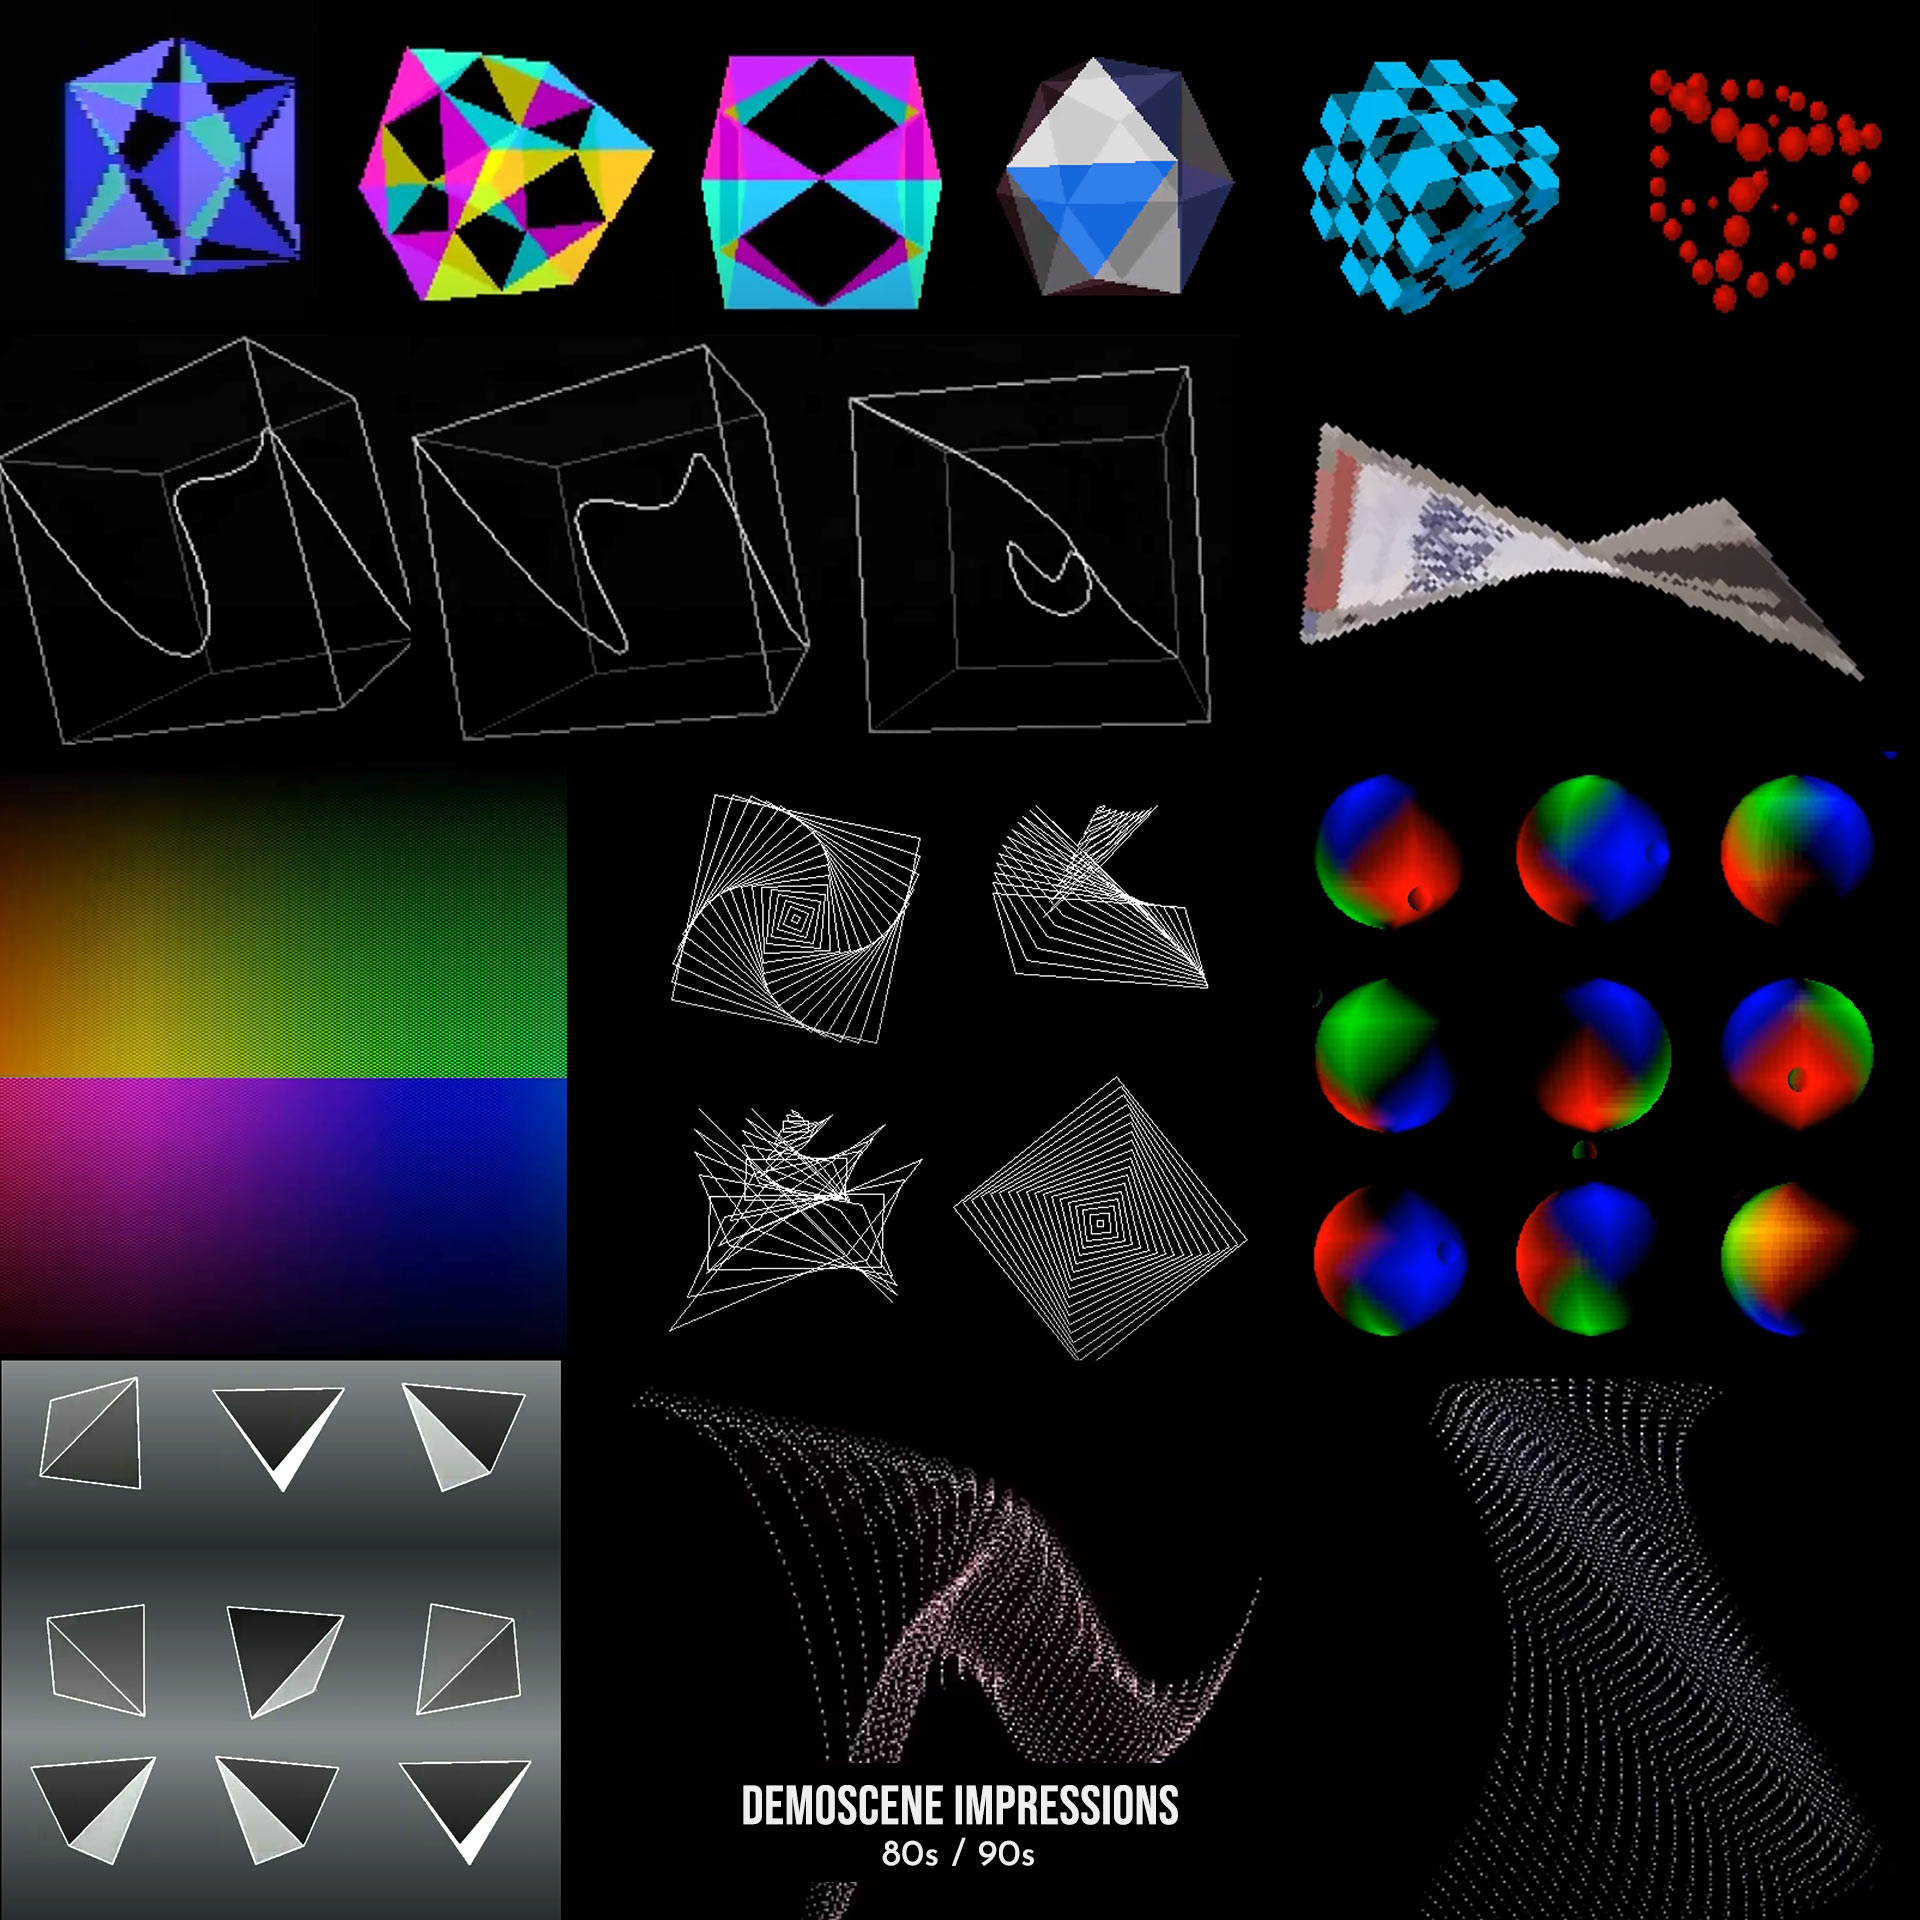
Back in the 90s, I was part of the Demoscene. I created 3D shapes and worked with programmers to artistically rotate, stretch, scale and shape incoming data. Working with a 3D cube, collect, transform and sculpt data using math and make sure nothing will break is very familiar to me.
Creating LUTs is a long process. Converting data from color patches can be partially automated using various tools, but you still have to make manual decisions in the process of creating LUTs.
For now, I won’t go into detail on how to create LUTs exactly, but I want to share two videos about the artistic aspect of what code can do. The first is a 90 minute documentary about the 80’s and 90’s demoscene entitled:
“Demoscene – The Art of the Algorithms (2012)” and the second video is called “The Art of Code – By Dylan Beattie“.
Code can free us from the limitations of tools within a grading software and create strokes that otherwise would not be possible.
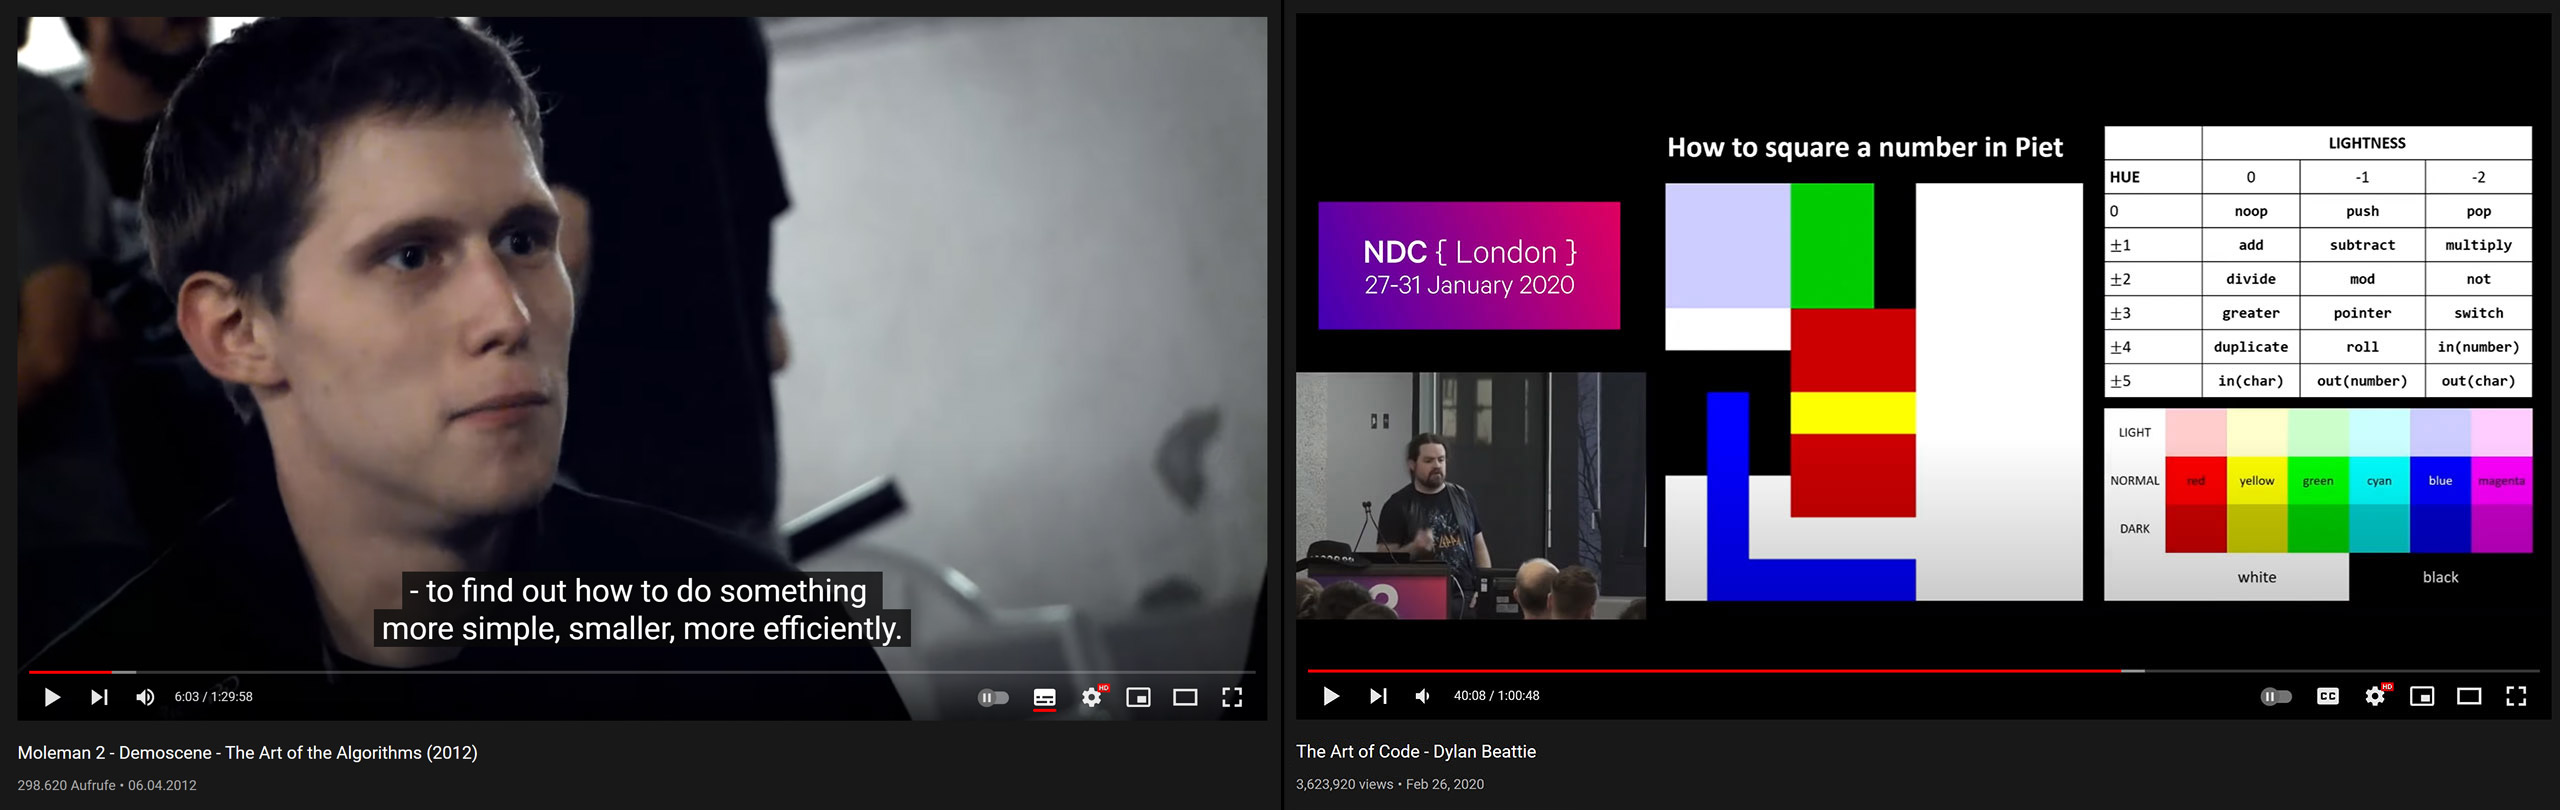
Demoscene – The Art of the Algorithms
The Art of Code – Dylan Beattie
MATCHING PROCESS
I like to match manually. Rather than matching one patch at a time, I’m trying to find the underlying math to match multiple patches at once. It is an ongoing process that combines various mathematical calculations to achieve the desired result.
NEXT STEP
After Stress testing the LUT, the next step is to apply the LUT to a variety of “real world” footage. Hundreds of shots by ARRI, but also footage from RED, Blackmagic, Sony cameras color space transformed to ARRI. It is important to get a “feel” for the LUT. How the LUT reacts to sunny, cloudy and night scenes. Also images with neon lights, bright colors, tungsten light, and so on.

KD 2254 KEM
inspired by SHIFTai
“SHIFTai” is a method developed by FotoKem to ‘use’ film without ‘shooting’ film. Visit the FotoKems SHIFTai website for more information.
Quote: “Digital footage is laser recorded to a new film negative, printed, and scanned back to digital, ‘Shifting’ the digital image with the subtle nuances and inherent qualities of film negative and print.”
Based on available online information, Fotokem used ‘Kodak 2254’, a Kodak Vision3 Color Digital Intermediate Film, with no further information on the scanner they used. Their final print was on ‘Kodak 2383’. I designed the ‘KD 2254 KEM’ LUT for ‘ARRI LogC’, and matched it to the ‘Kodak 2383 LUT D60’ by DaVinci Resolve using 3D math. The inspiration for this LUT comes solely from studying the color aesthetics of publicly available footage online. This product has no official association with FotoKem. Here you can see the result:
BUTTERFLY COMPARISON VIDEO
SHIFTai vs. LUT
Images courtesy of V-Film. All Rights Reserved
Butterfly Comparison – Print-Scan vs. LUT: https://vimeo.com/685093740
Original SHIFTai Demo by FotoKem: https://vimeo.com/596236368/539fa37a38

While there’s a lot of guesswork involved, on the whole I’m happy with the results for now. Note that this LUT was created based on the data and information available online. It was tricky to work without any color patches.
My goal was to create a LUT that can be applied to all different scenes without additional grading. That worked pretty well.
In addition to the LUT, I added the following nodes:
Soften, Gate Weave, Film Damage Overlay, Flicker, Grain.
In some scenes, the skin tone is slightly different but overal I am very satisfied with the current result (V2 – released 06-10-2022) and I hope that you like it too.
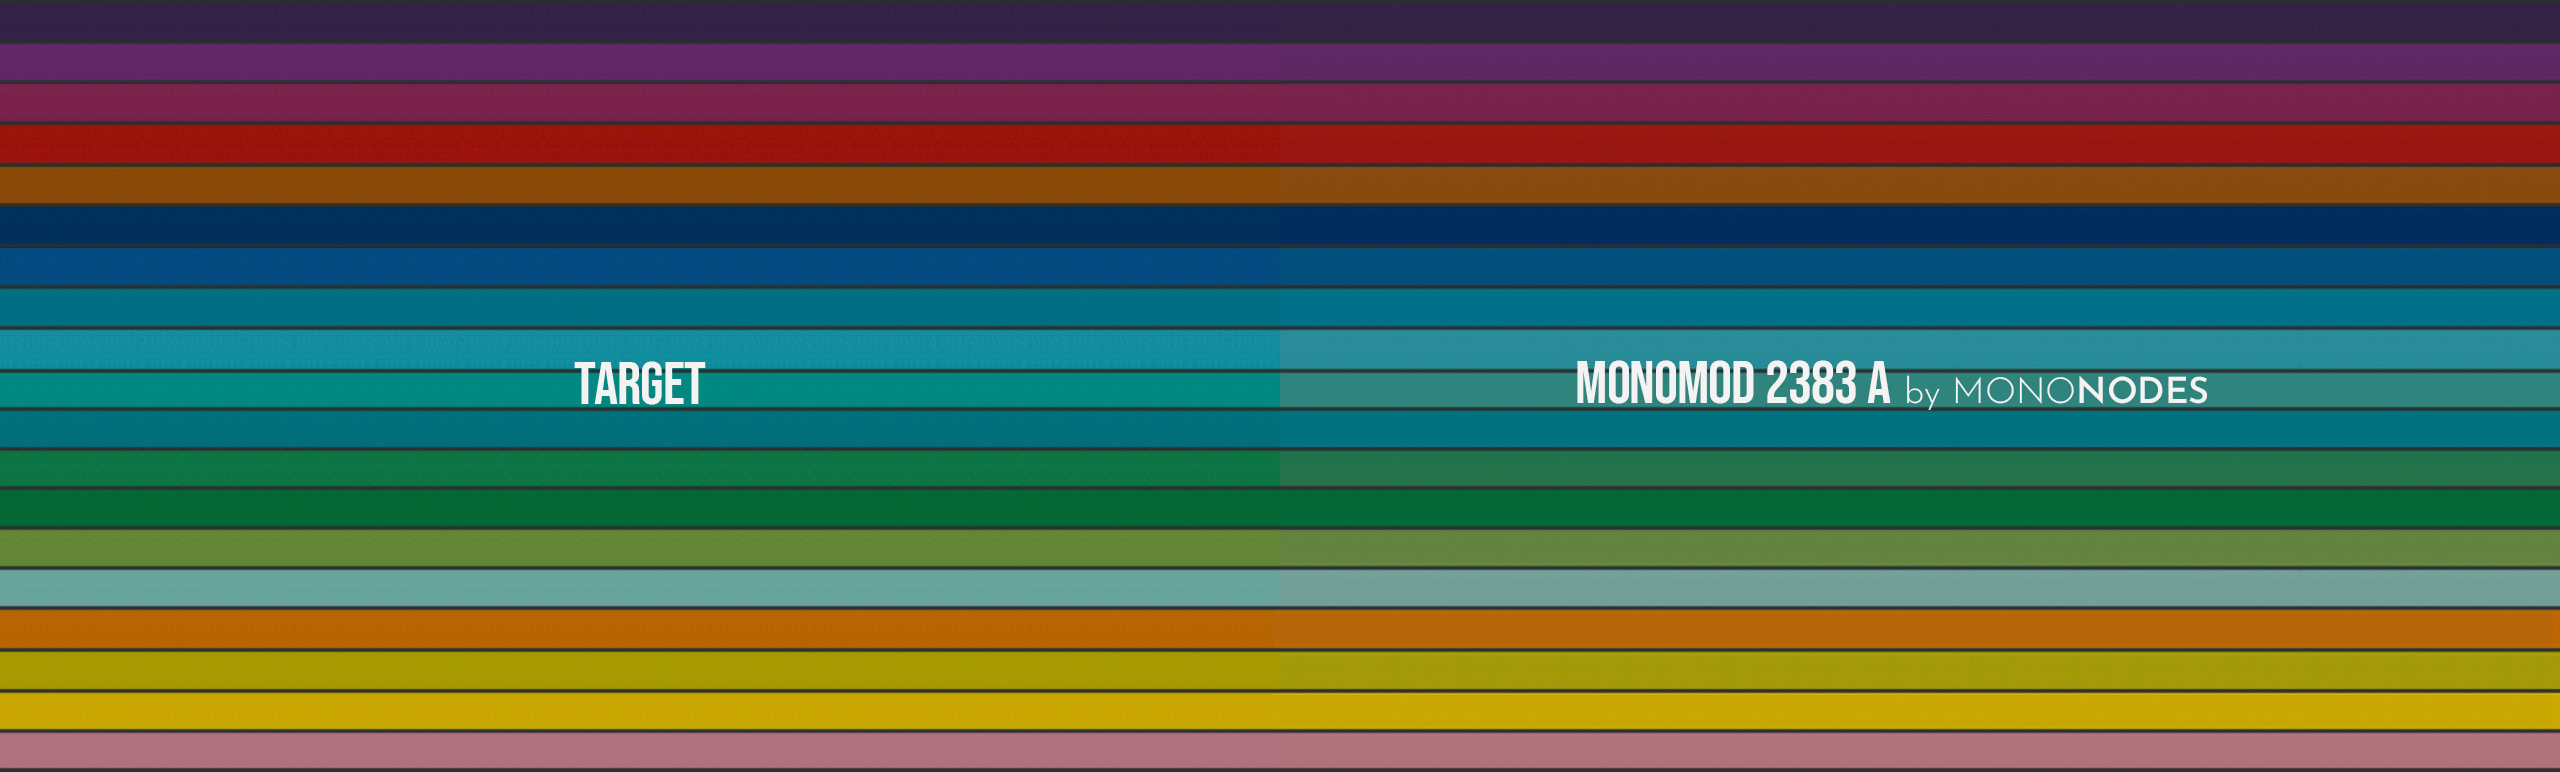
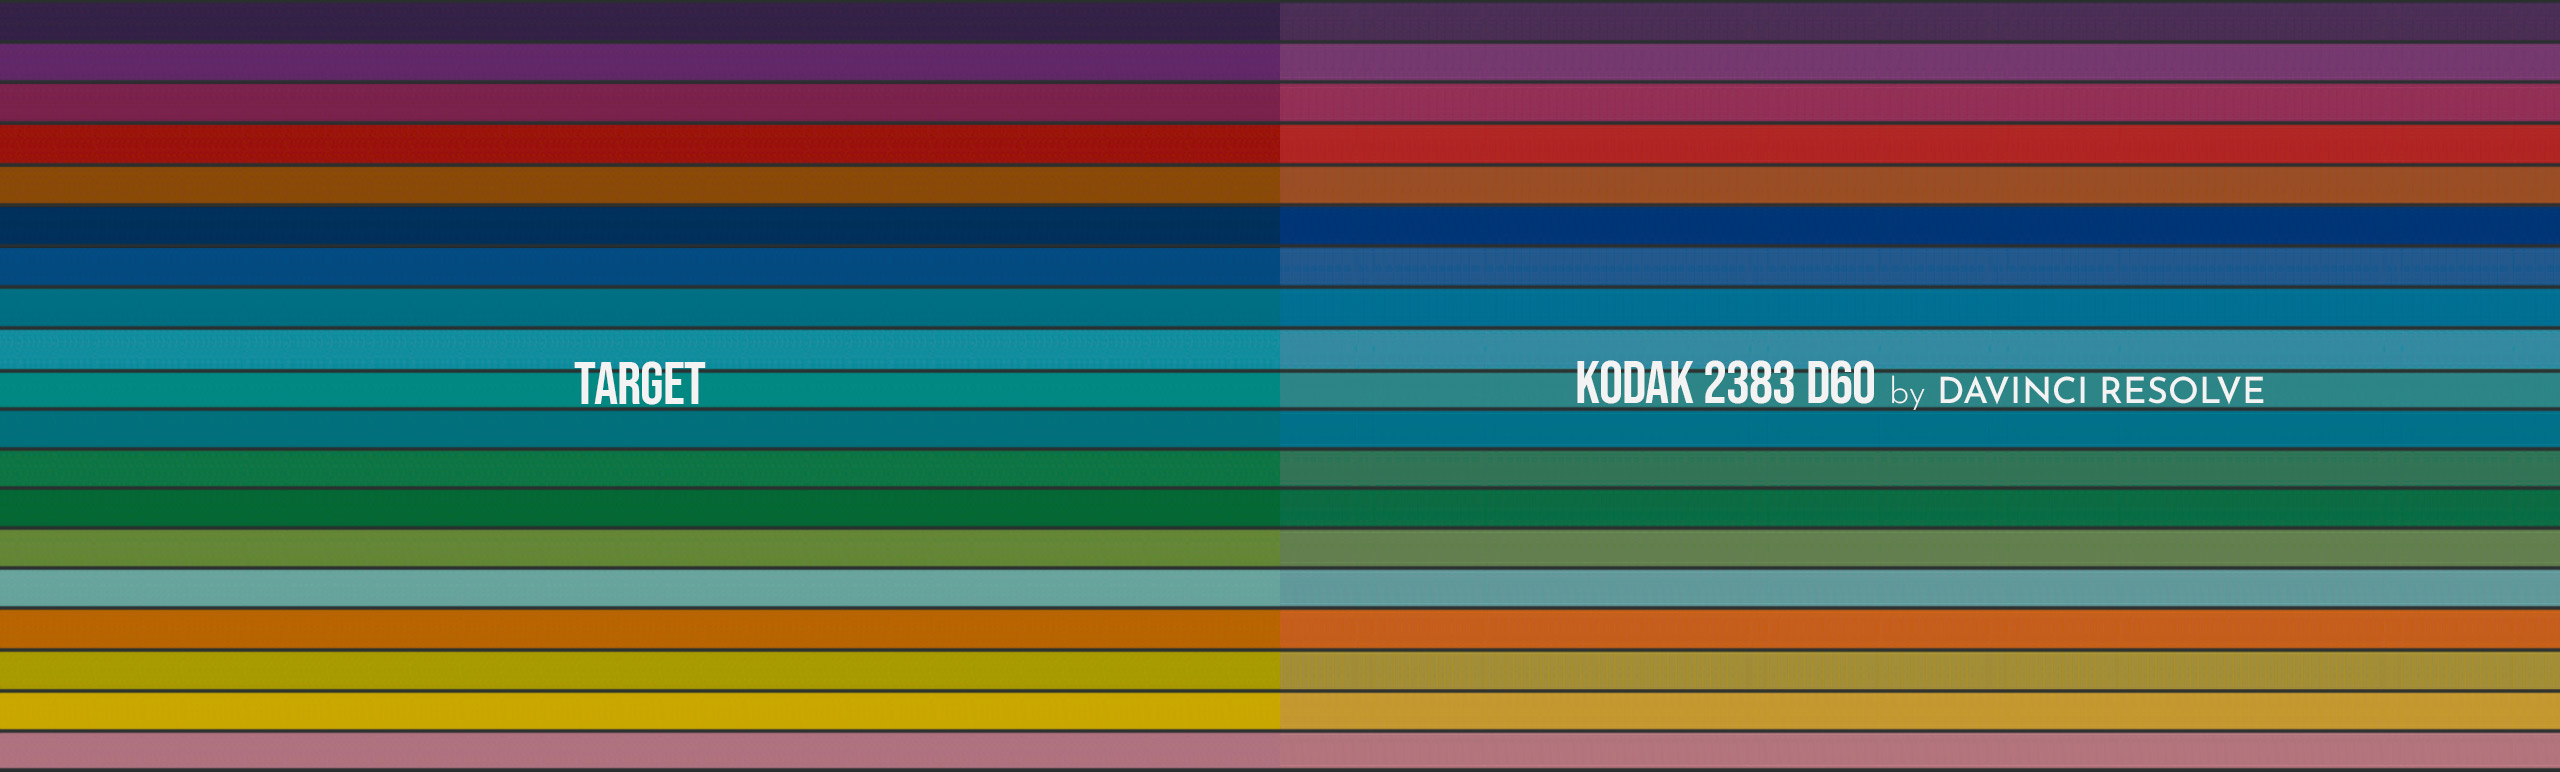
MONOMOD 2383 A
The “MONOMOD 2383 A” is a modification of the “Kodak 2383 D60 LUT” by DaVinci Resolve. The modification includes neg. Film, a matrix replication (Arriscan) and a different kind of 2383 Print. Instead of creating the LUT from scratch, it was easier to use the Kodak 2383 as a base. That is why I call this LUT “MONOMOD 2383 A”. MOD = modification of the Kodak 2383 LUT which comes free with DaVinci Resolve. Here is a comparison image with some patches.
KD 5213
Inspired by Kodak VISION3 200T
Color Negative Film 5213
KD 5213′ LUT: Crafted with inspiration from ‘KODAK VISION3 200T Color Negative Film 5213’. No official association with Kodak. I used this LUT in all the example images. The LUT has been stress tested and do not cause any artifacts.
All LUTs created expects “Arri Alexa / Arri LogC” (Color Space / Gamma) as input signal and are designed to work with DaVinci Resolve’s Rec709 Print Film Emulation LUTs.
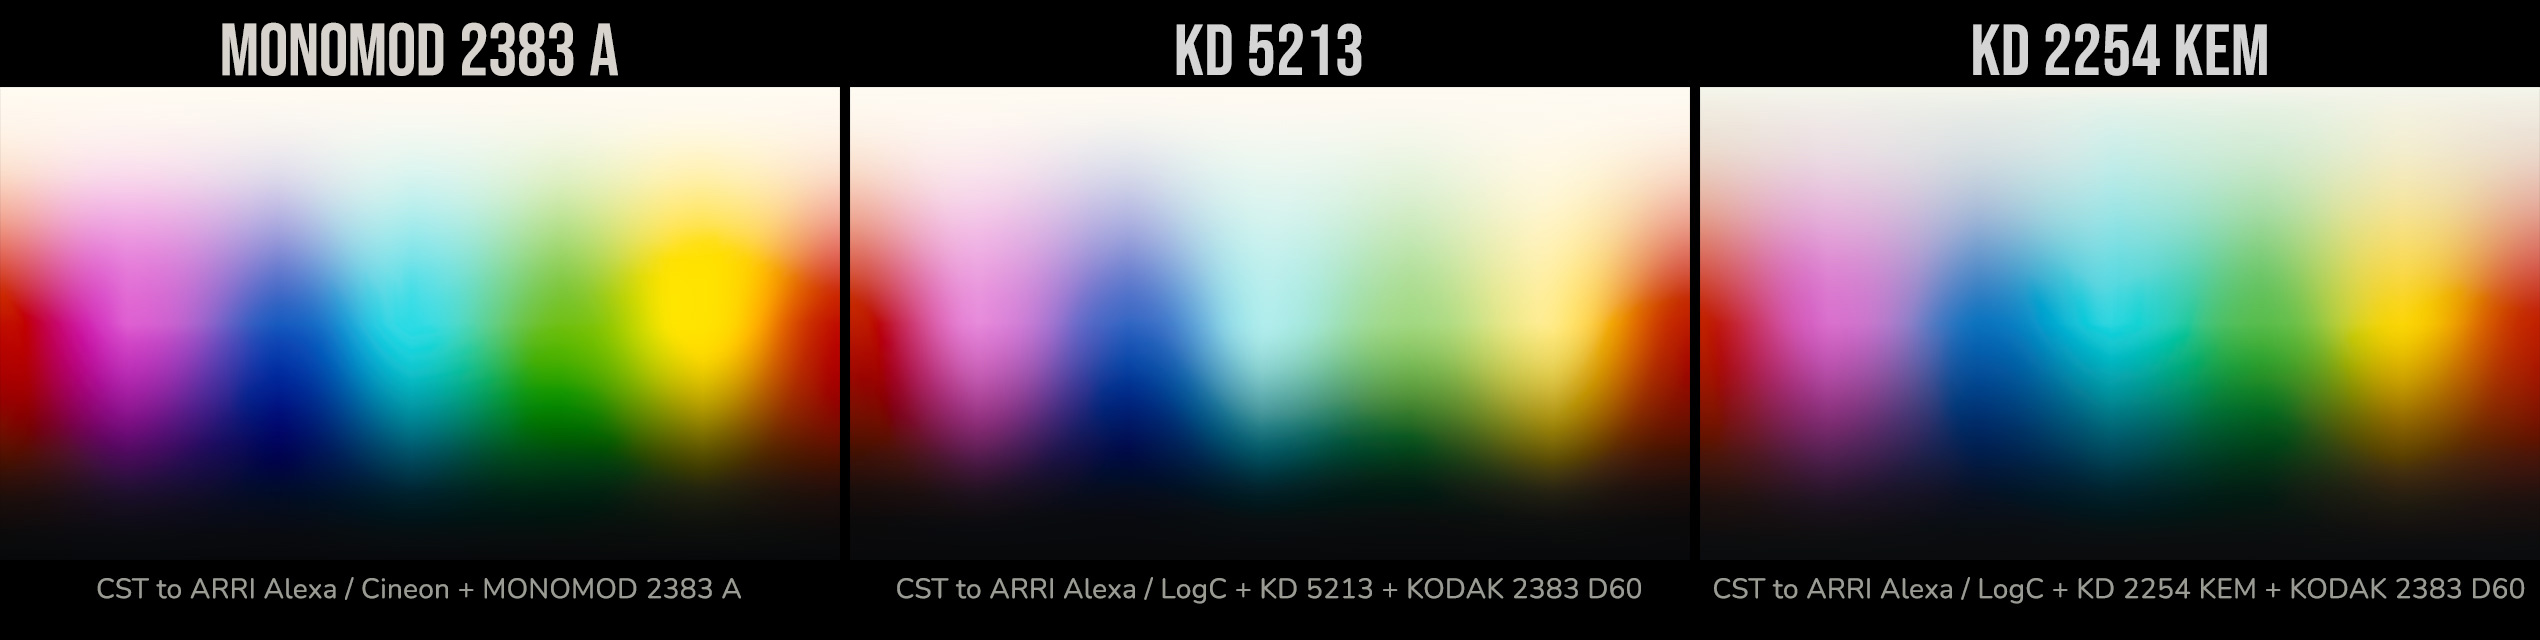
GRADIENT PREVIEW
SHOULD I USE LUTS?
HOW TO FIND OUT WHICH LUTS I CAN TRUST

If you want to learn more about using LUTs, I recommend the “Masters of Color” Podcast. Cullen Kelly is interviewing renowned colorists and speaks about the art and science of high-end color grading. Of course, not every colorist has to become a programmer. Large studios have their own software developers/color scientists. You don’t have to code/shape LUTs yourself to become a great colorist.
In my opinion, it’s important that you understand what LUTs can do, how to test them, and make sure these are the right tools to get the results you want.
Have fun.
If you have any questions / suggestions / comments, feel free
to contact me at stefanATmononodesDOTcom