
SOFT 2 STRIP
POWERGRADES
&
USER GUIDE
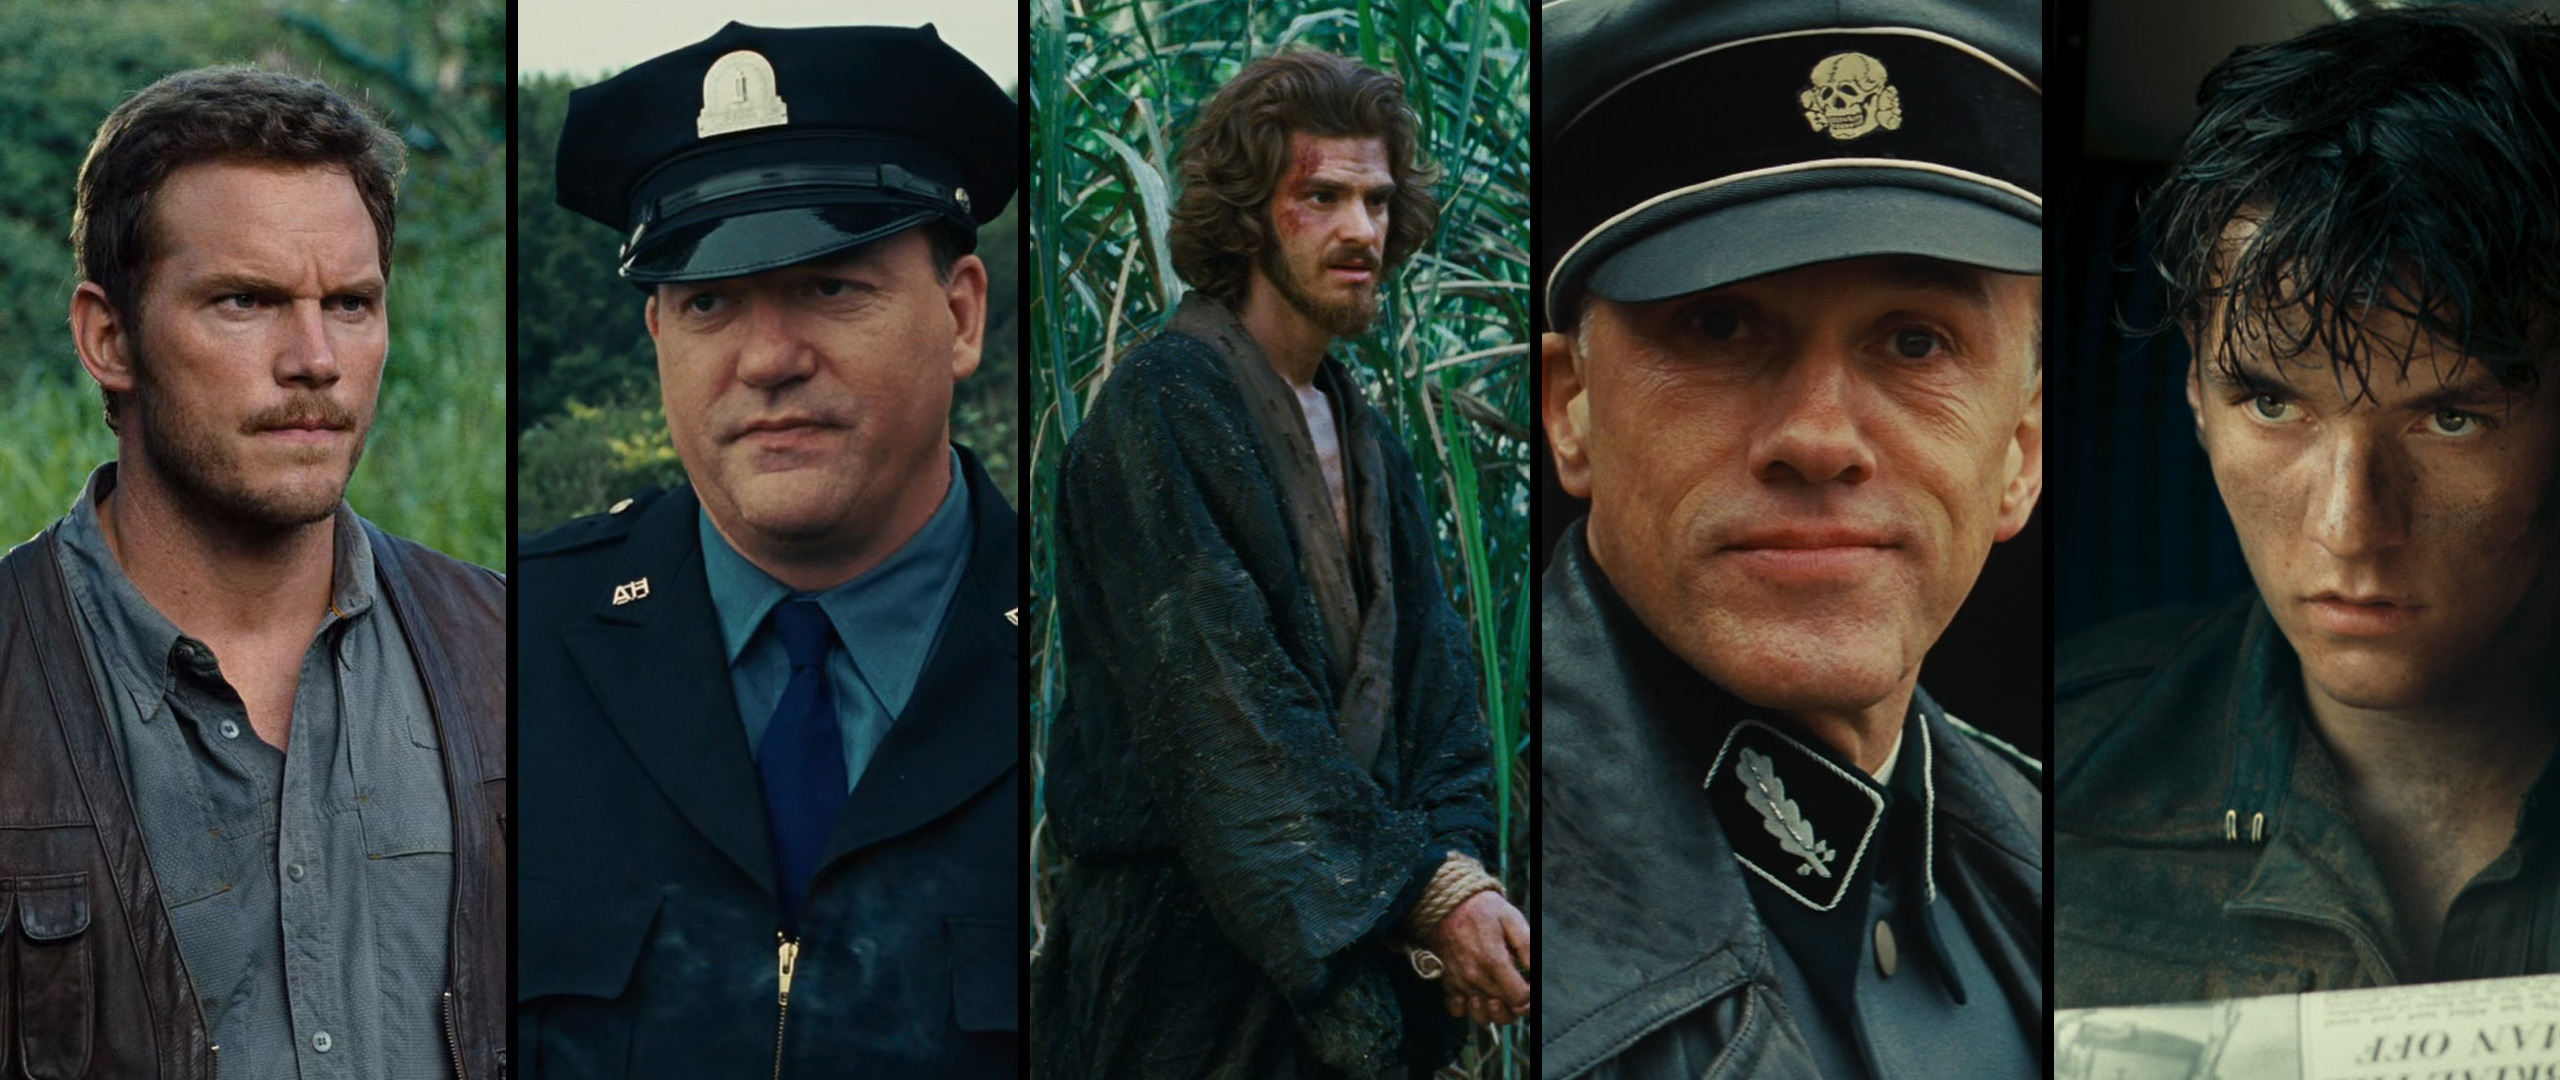
I recently came across films like Martin Scorsese’s “Shutter Island” and “Silence” which have what I call a “Soft 2 Strip” look. So does “Jurassic World” by Colin Trevorrow and “Inglorious Basterds” by Quentin Tarantino. It is a variation of the popular “Teal & Orange” Look, but partly less saturated. Sometimes it can look a bit like a “Technicolor 2 Strip”, but way less harsh than a true “Technicolor 2 Strip”, so I call the look “Soft 2 Strip”.
There are also variations of “that look” … a warmer, redder version in “A Quiet Place” or in films like “Dunkirk”, “Iron Man 2” and “Skyfall” the colors tend to shift towards yellow. Here are some References.
REFERENCES
Jurassic World (2015)
Directed by Colin Trevorrow
© Universal Pictures
Shutter Island (2010)
Directed by Martin Scorsese
© Paramount Pictures
Silence (2016)
Directed by Martin Scorsese
© Paramount Pictures
Inglourious Basterds (2009)
Directed by Quentin Tarantino
© Universal Pictures
Dunkirk (2017)
Directed by Christopher Nolan
© Warner Bros. Pictures
Almost all the references shown here were printed on Kodak 2383, so I started with that. Then I analyzed the scopes and created my own fixed node tree consisting of 6 Nodes. Node 1 for CST, Node 2 is for balance, Node 3, 4, 5 and 6 are for look development. After creating “my Soft 2 Strip version” I was collecting behind the scenes images and wanted to see if I could use my minimal approach to match scenes from the original film. So far I was able to recreate scenes from 12 different films.
THE NODE TREE
6 NODES
All 68 PowerGrades in this pack
have this fixed node structure
consisting of 6 nodes:

NODE 1
CST
Color Space Transform
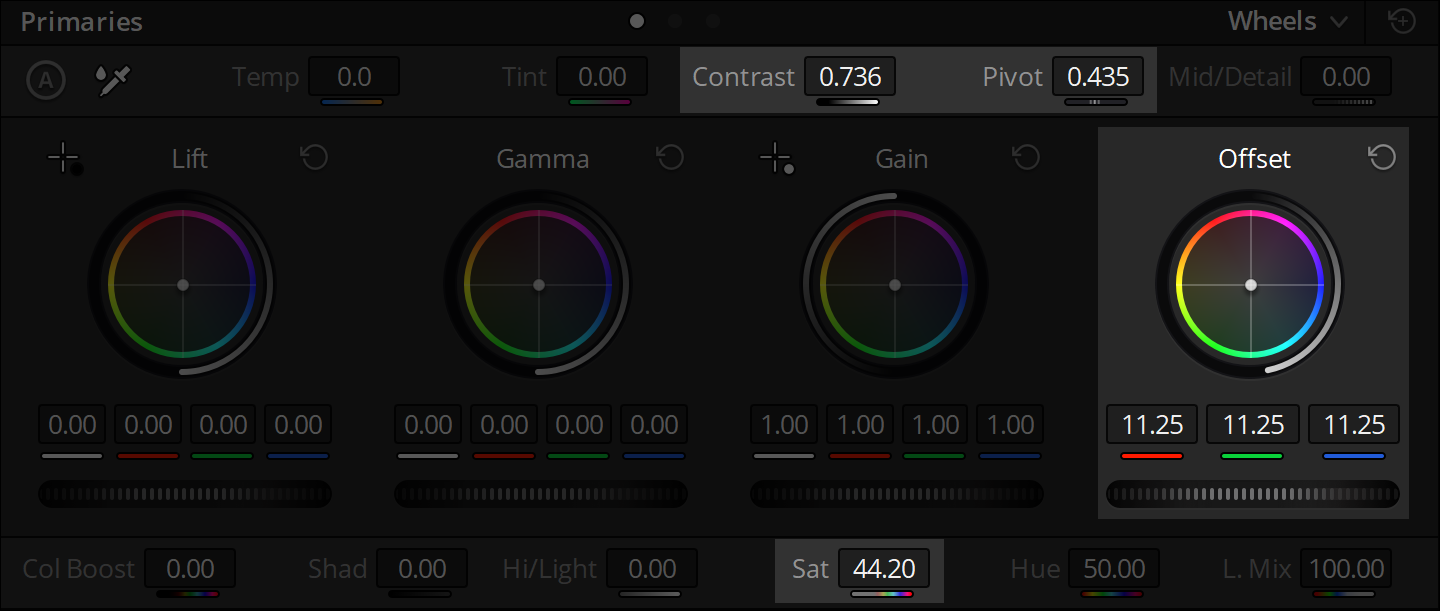
NODE 2
BALANCE
Offset
Contrast
Saturation
NODE 3
–
Look
Development
NODE 4
–
Look
Development
NODE 5
KODAK 2383
Rec709 LUT
Kodak 2383
NODE 6
–
Look
Development
Regarding the node structure, you might be curious why I placed the Color Space Transform (CST) in the first node. Typically, with “real log footage,” it’s best to stay in the log as long as possible, utilizing a scene-referred workflow, and situating the CST towards the end of your node tree, just prior to the Kodak 2383 LUT. However, the strategy slightly differs for “behind the scenes” footage.
Such footage is predominantly in RGB format, which closely aligns with the Rec709 color space. Consequently, in the first node, I remain in Rec709, as it’s the anticipated input color space for the Kodak 2383 LUT. Nonetheless, I adjust the “gamma” to “cineon film log,” which Kodak 2383 expects. This approach permits me to grade within these parameters, ultimately providing the best results.
I’ve compiled PowerGrades for you to analyze and comprehend the transformation of color from behind-the-scenes images to the final film. You can dissect these color grading techniques and integrate them into a workflow that involves log footage. The method I’ve demonstrated, marked by its minimalism, cleanliness, and consistency, can also be adapted to handle log footage.
To implement this adaptation, you simply need to rearrange the node structure, making sure to stay within your camera’s log space for as long as possible. Begin by balancing the shot, then proceed with “Look Development”. Next, place the Color Space Transform (CST) just before the Kodak 2383 LUT, which will allow a transition from your camera’s log space to Rec709/cineon film log. This is what the Kodak 2383 LUT expects.
NODE 1
CST / COLOR SPACE TRANSFORM
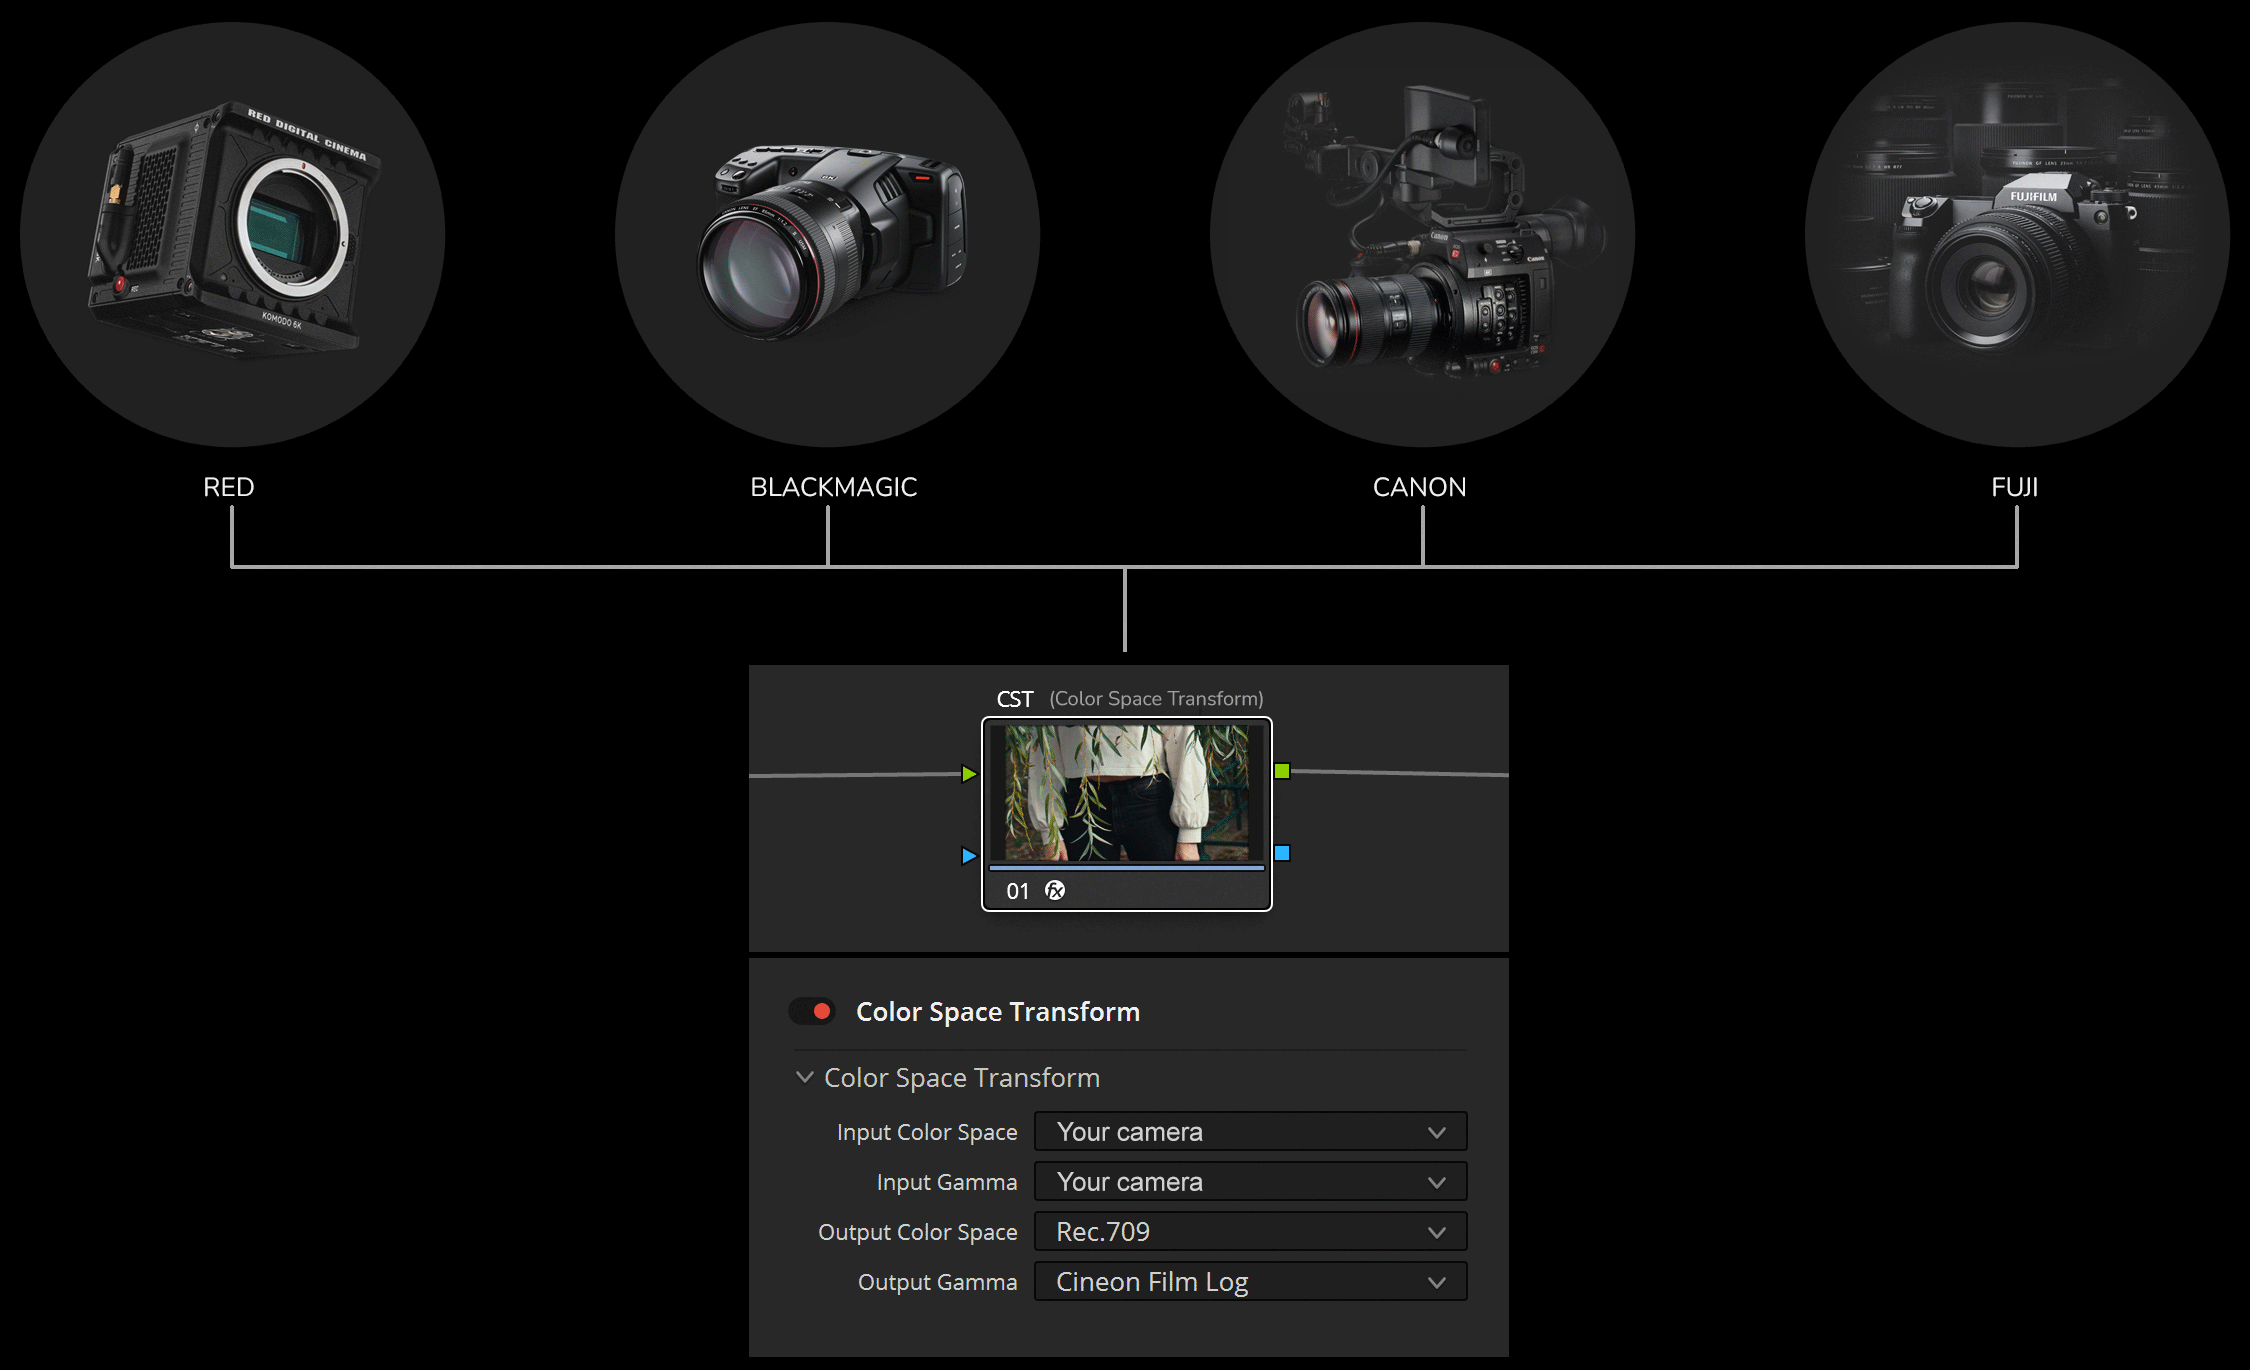
I’ve constructed the “Soft 2 Strip” look around the “Kodak 2383 LUT”. This LUT expects “Cineon Film Log” as its input gamma. In order to accommodate this, I positioned a “CST / Color Space Transform” to convert the input footage to “Cineon Film Log” gamma.
As I mentioned earlier, when dealing with log footage it’s best to set up the CST transform just before the Kodak 2383 LUT. This setup allows for a scene-referred workflow.
NODE 2
BALANCE
The second node is to make adjustments in Offset / Printer Lights to adjust the white balance and increase or decrease contrast and saturation.
NODE 5
KODAK 2383 LUT
Node 5 is the “Rec709 LUT Kodak 2383” LUT by DaVinci Resolve. Available in the Free & Studio version.
NODE 3,4 & 6
LOOK DEVELOPMENT


In Node 3, 4 and 6 I created the “Soft 2 Strip” (Teal & Orange) look. If you download the “Soft 2-Strip” PowerGrade package, you will find a user manual with detailed information on how I created the look.
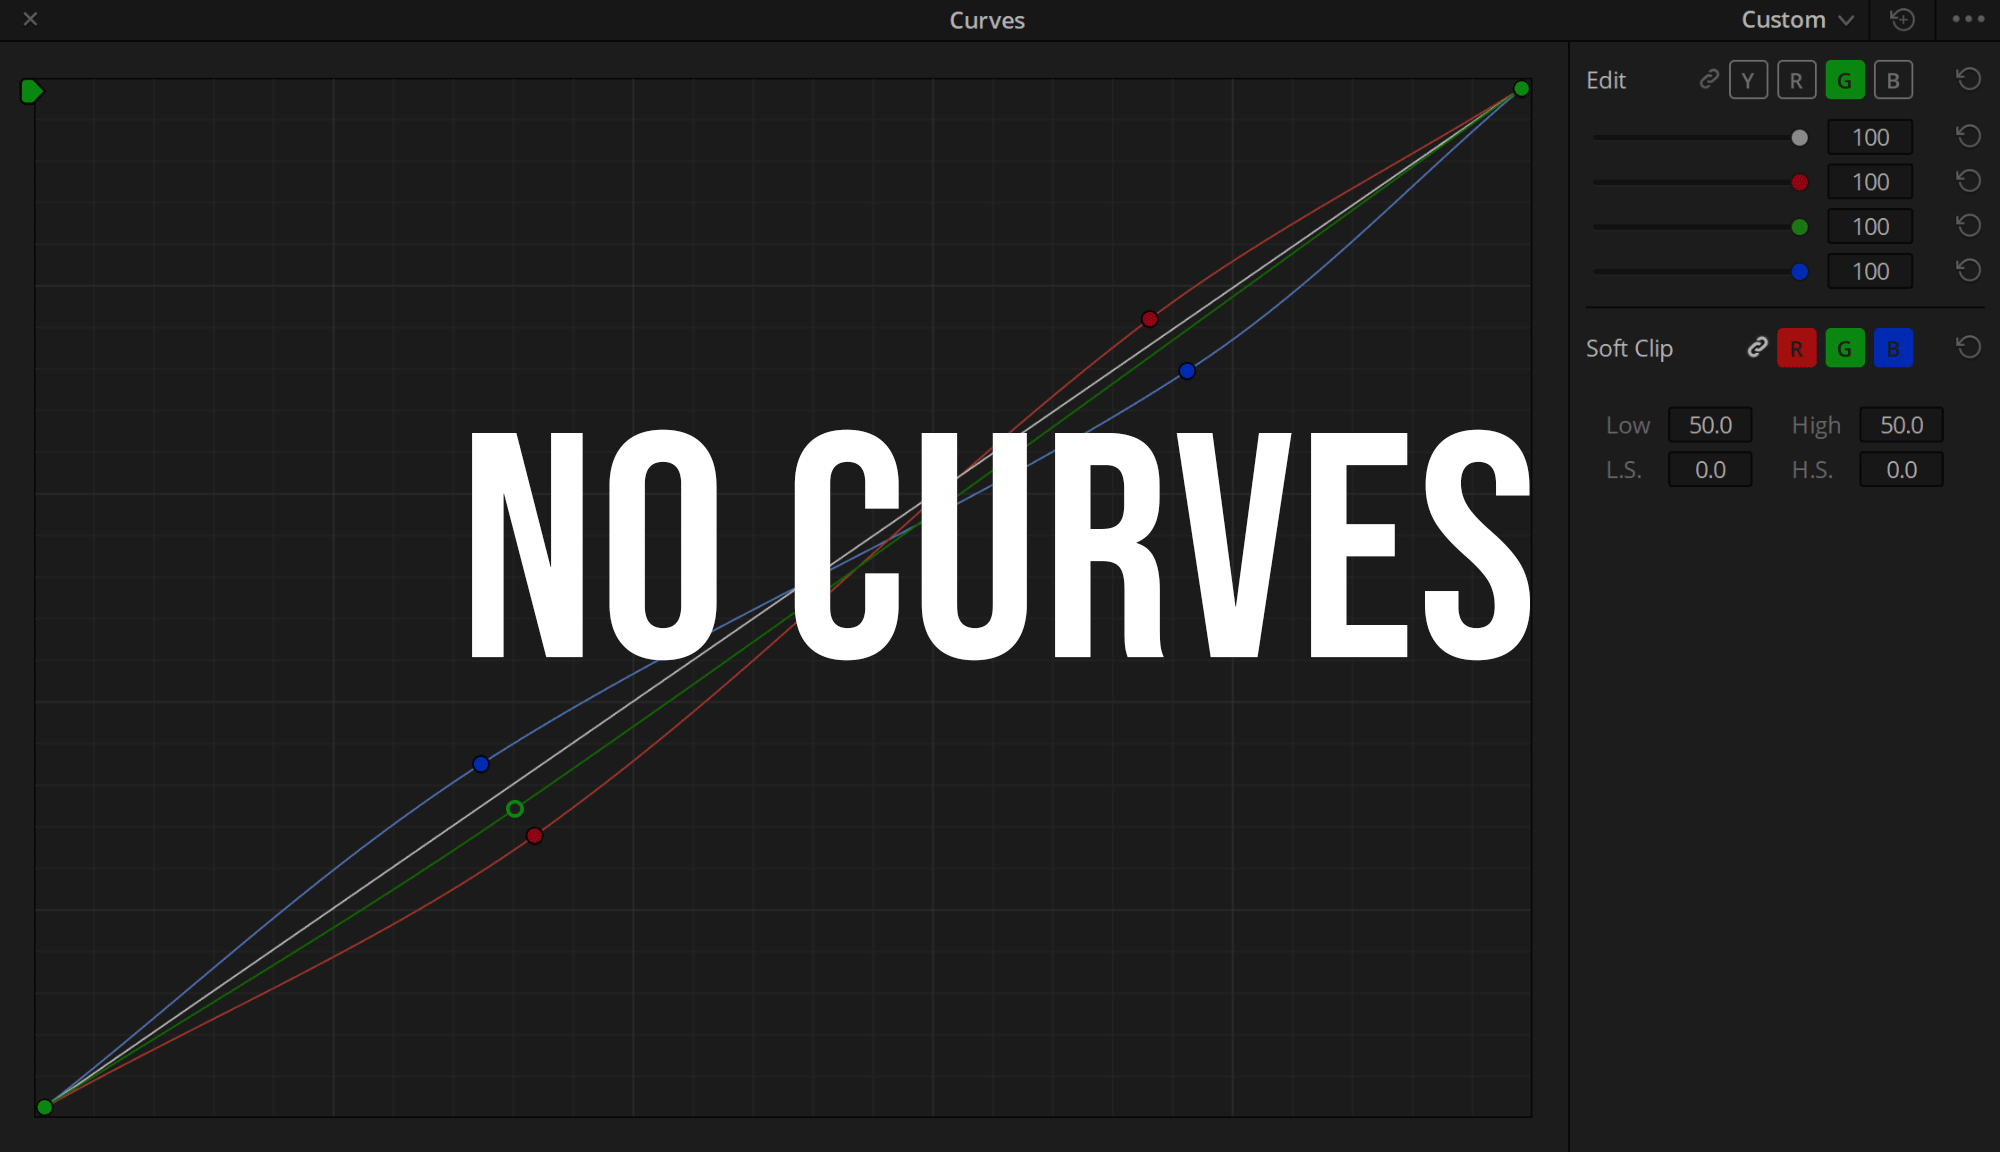
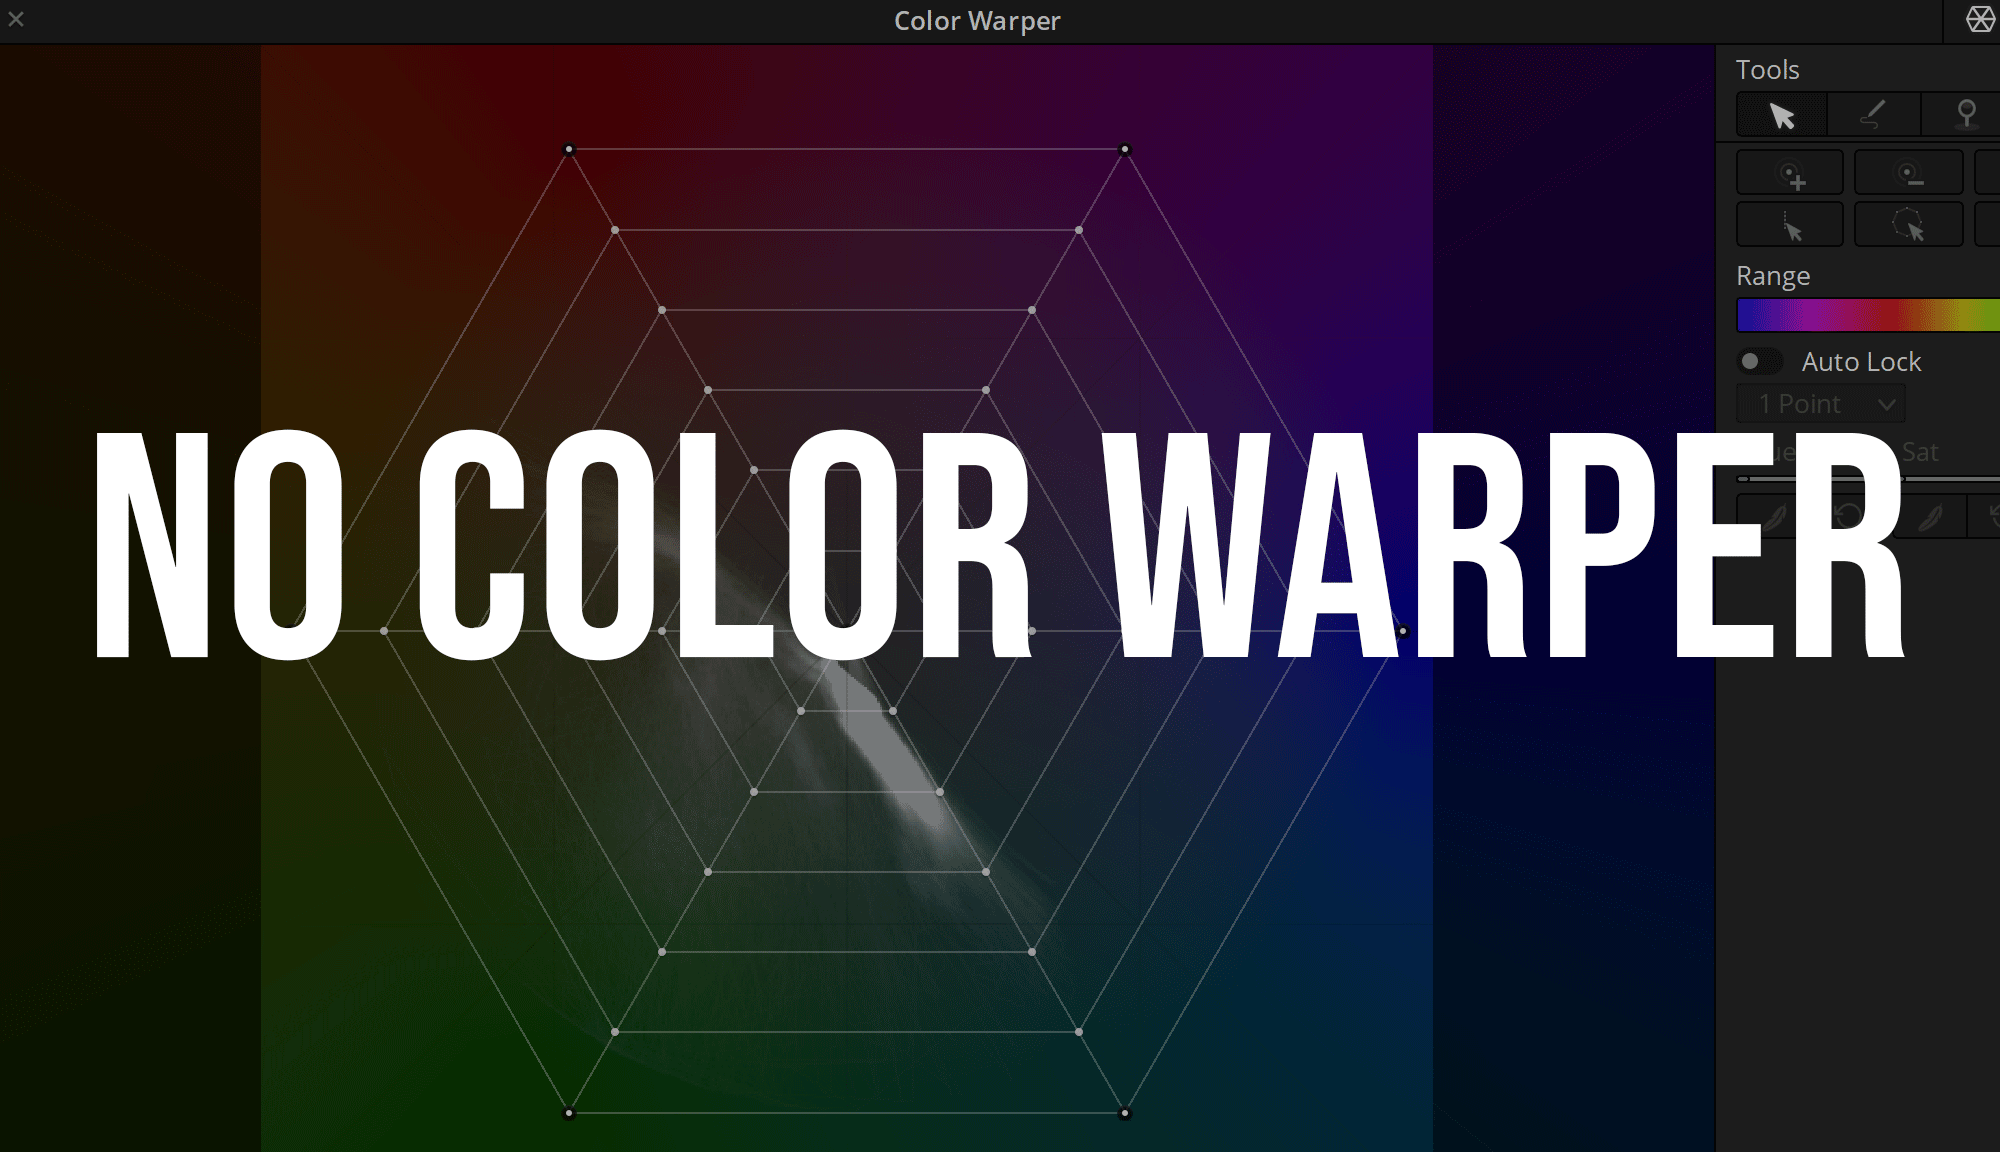
As with my other projects, it was important to me to work simply and cleanly and to achieve the desired look with minimal tools so that my PowerGrade remains flexible during grading. I did not use any of the following tools to create the main look: Curves, Color Warper, Qualifier, Hue Vs. Hue, … and 99% of the time no lift gamma gain adjustments.
USER GUIDE
In the ZIP-File, you will find an additional 28 pages PDF User Guide that includes instructions to my minimal method that shows and explains every single Node.
The user guide covers the following topics:
- Overall Workflow
- Learn how to properly analyze footage
- Working with Print Film Emulation LUTs
- Learn to balancing a shot underneath a LUT
- Analyze scopes for look recreation
- Information about the “Soft 2 Strip” Preset
- Look adjustment & look development
- Final thoughts on working with the tools shown
- Additional information on various Orange & Teal techniques
USER GUIDE – PREVIEW

PDF with additional information on various Orange & Teal techniques

68 POWERGRADES
INSPIRED BY 12 FILMS
The ZIP-File Includes 68 PowerGrades. Inspired by 12 films. The PowerGrades give you an insight into the interplay between “behind the scenes” images and the final look. This gives you a hands-on exploration of PowerGrades that you can use as inspiration or as a “starting point” for developing your own look.
POWERGRADES – PREVIEW

Who is this pack designed for?
This is a pack for beginner & intermediate colorists that want to gain a solid understanding of a “Soft 2 Strip” look development workflow and color theory. You should have at least watched “Introduction to Color” & “Advanced Color” by Blackmagic once and know how to work with Scopes. My user guides also walk you through the process of creating the “Soft 2 Strip” look step by step.
You will learn how to balance underneath a LUT, evaluate and recreate film looks, analyze scopes for look development and more. If you are interested in a simple, minimalistic and flexible workflow which gives you a consistent look, this pack is for you.
BUY
-
 € 89,00
incl. 19% VAT
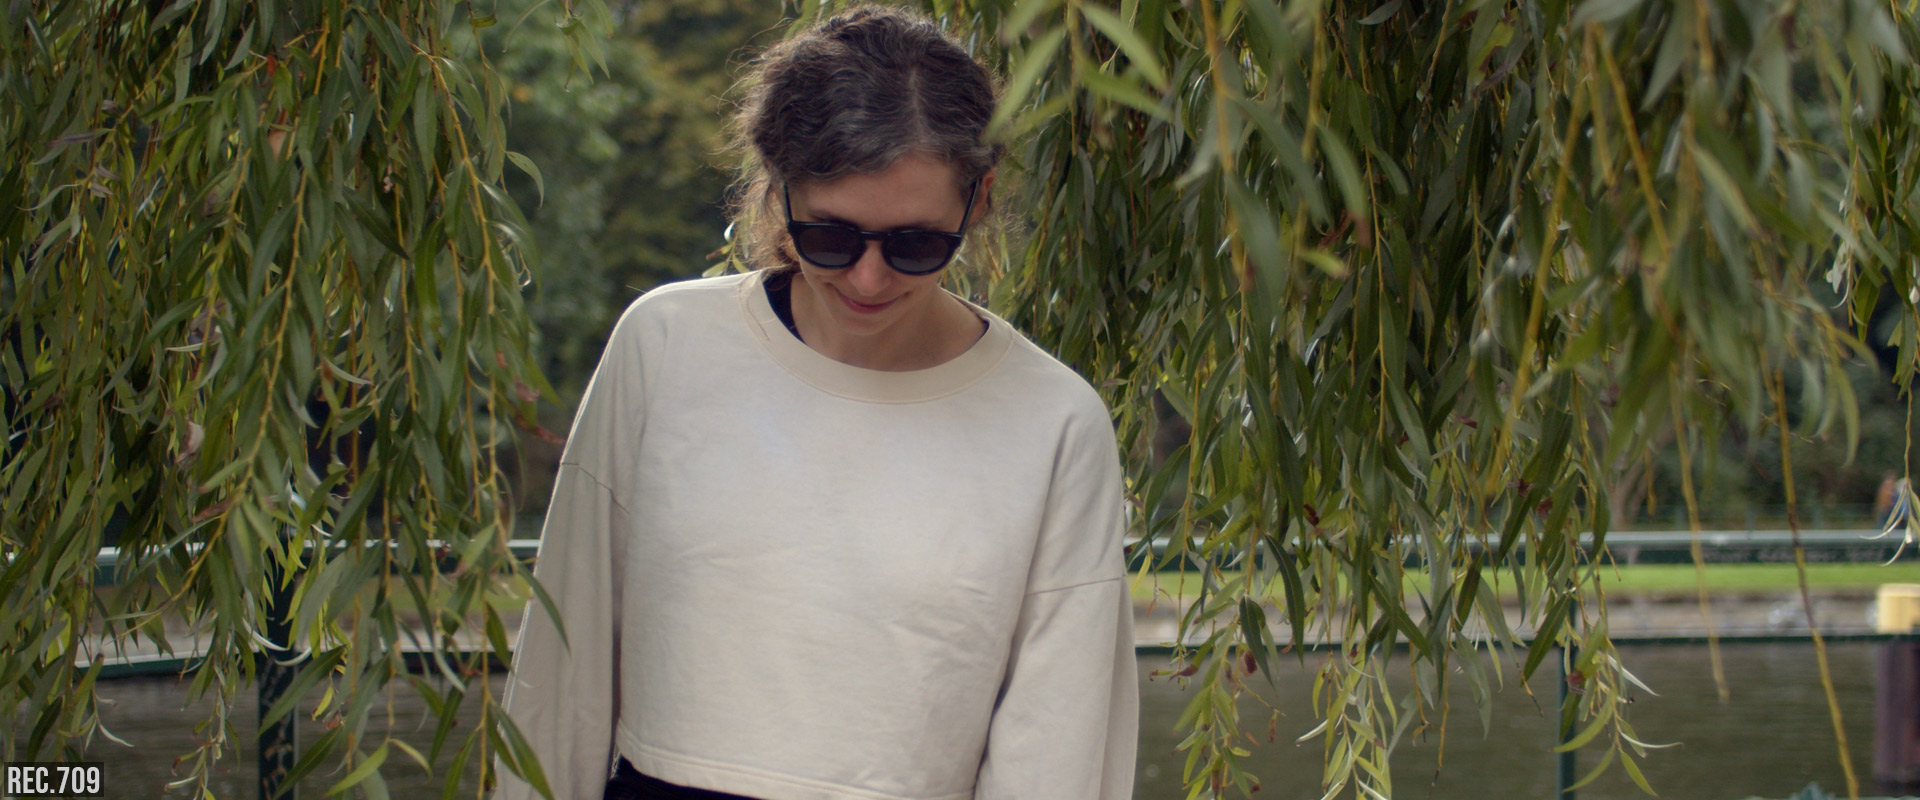
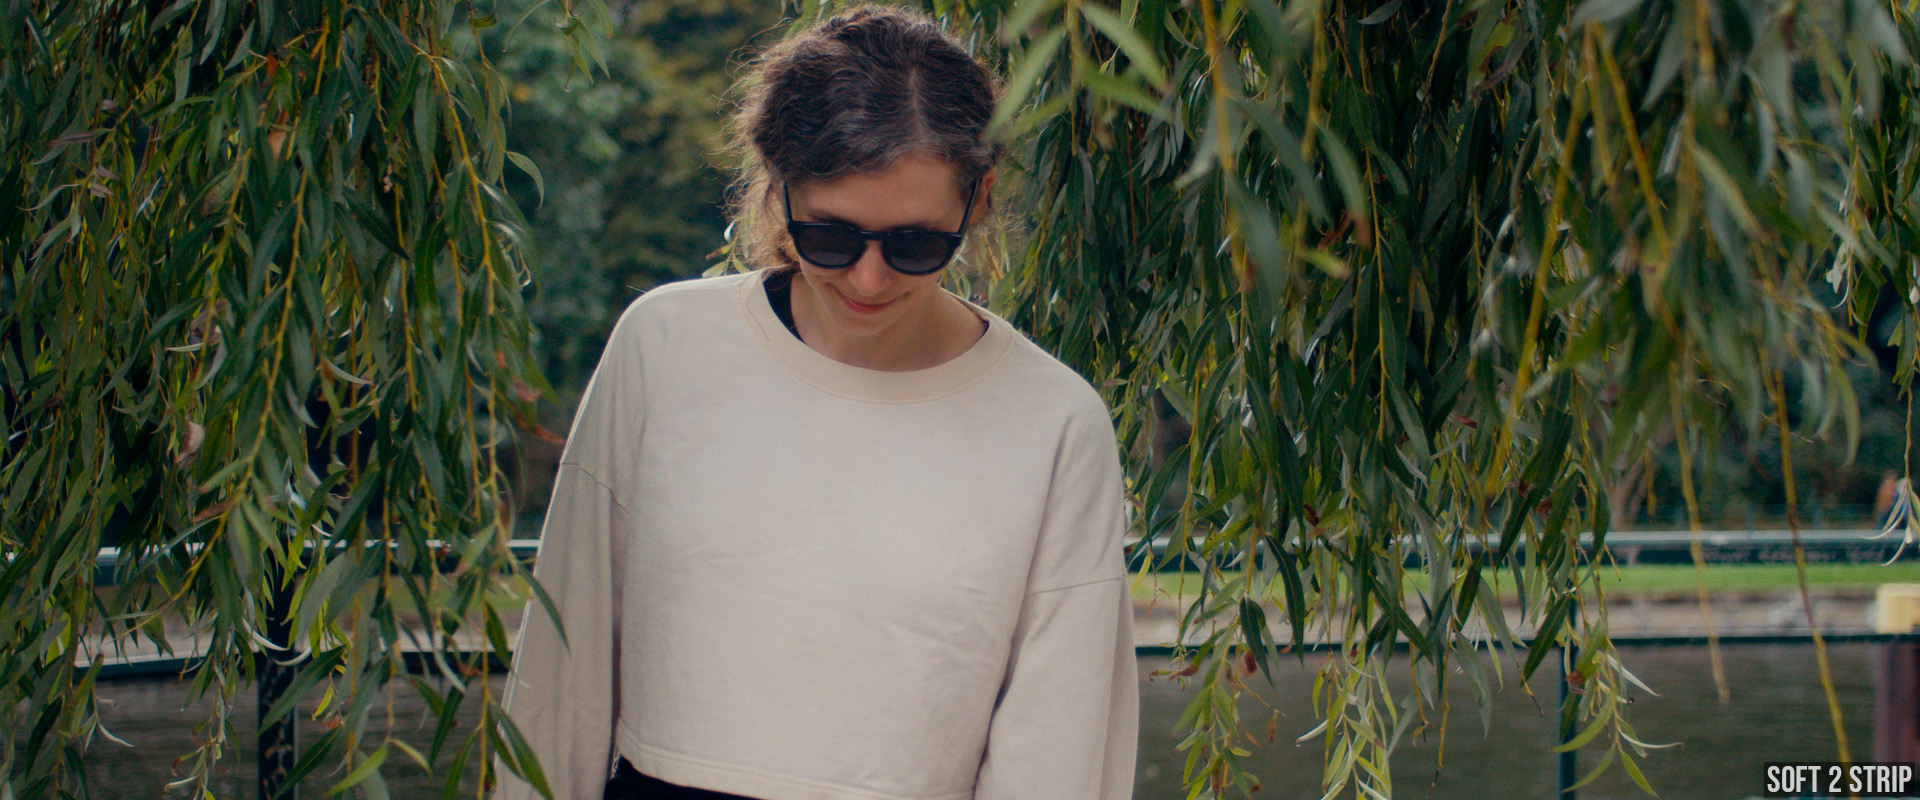
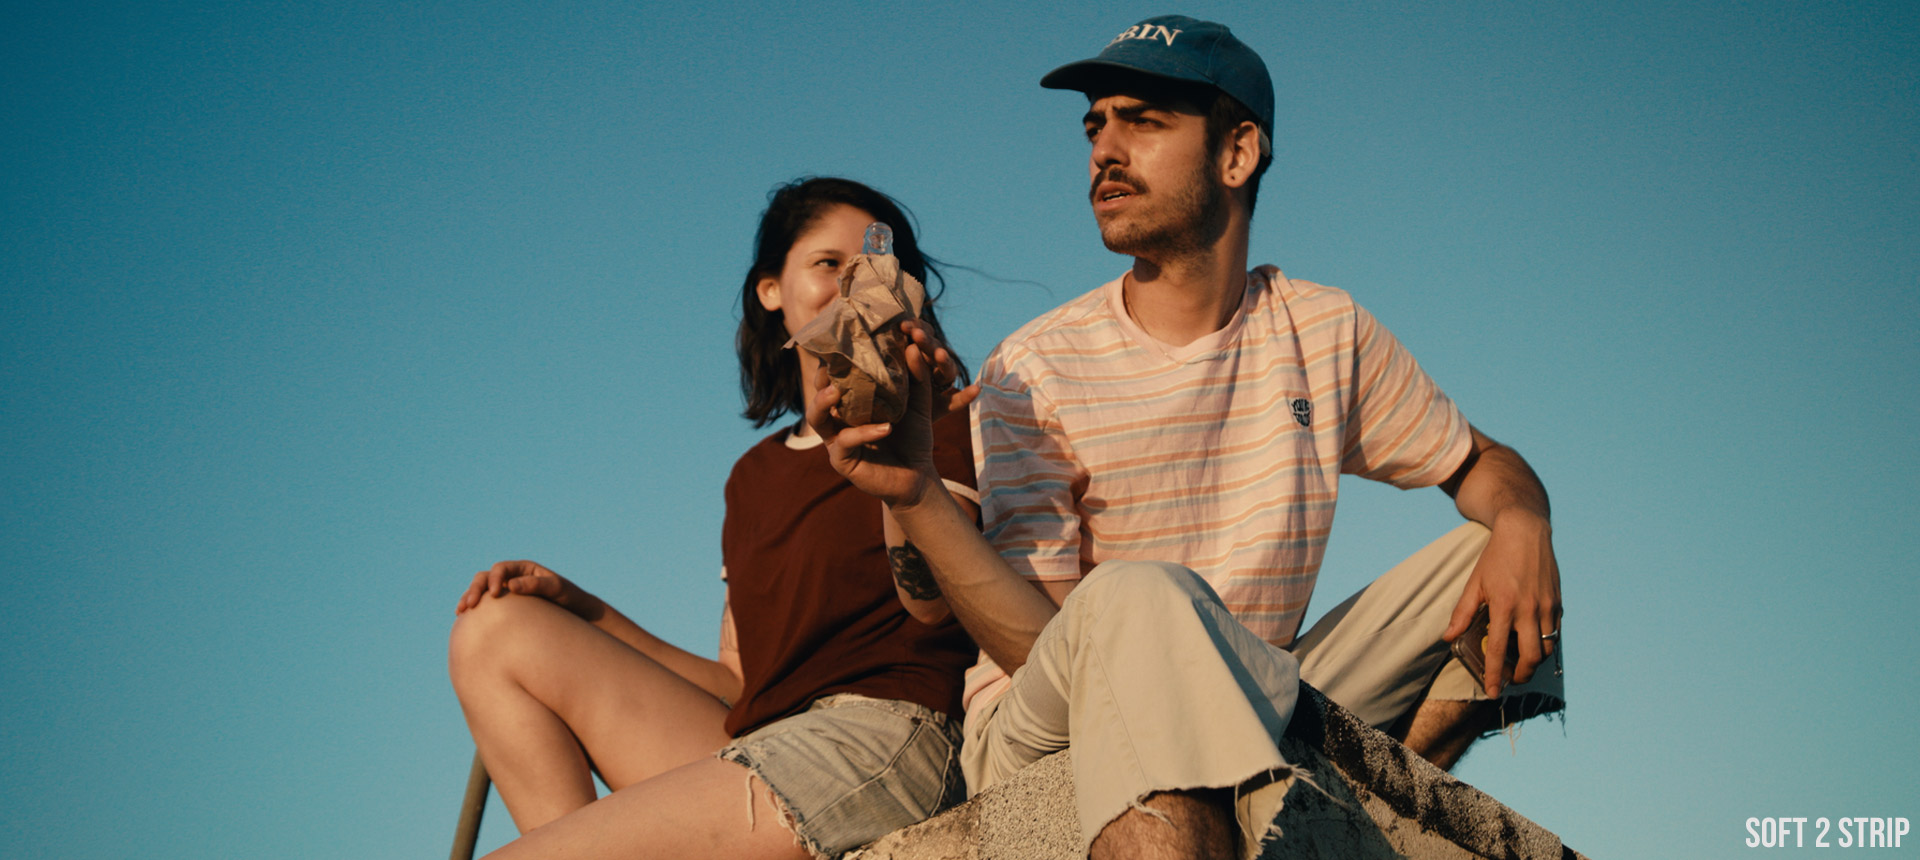
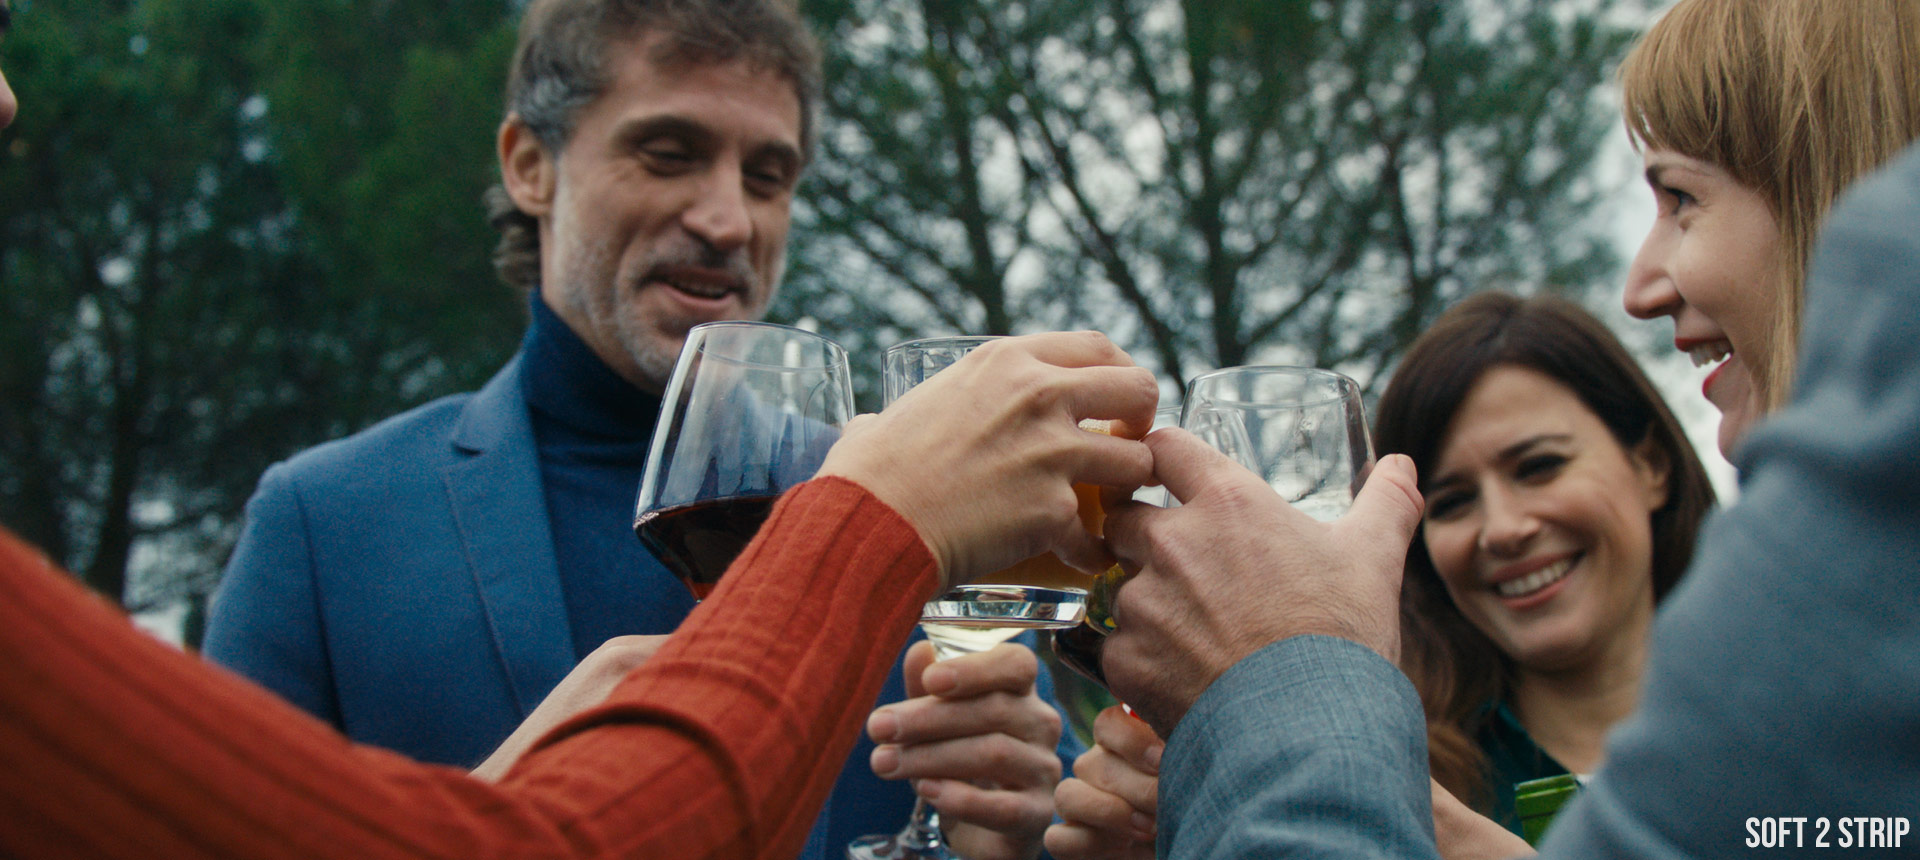
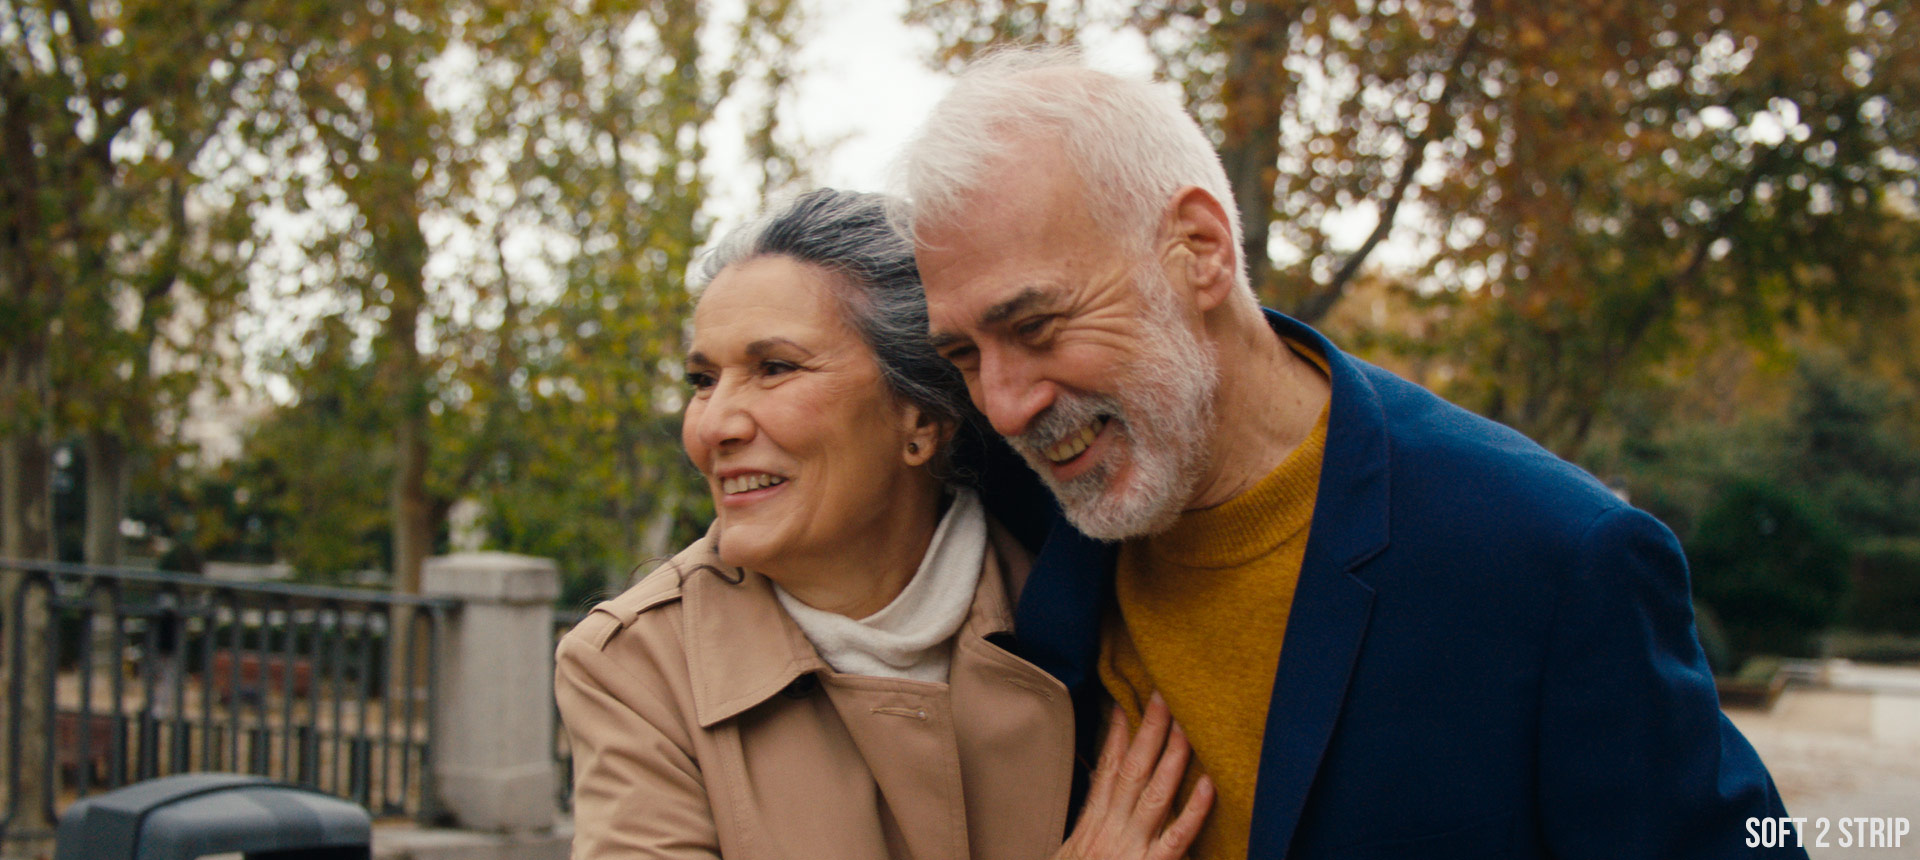
SAMPLE IMAGES
SOFT 2 STRIP
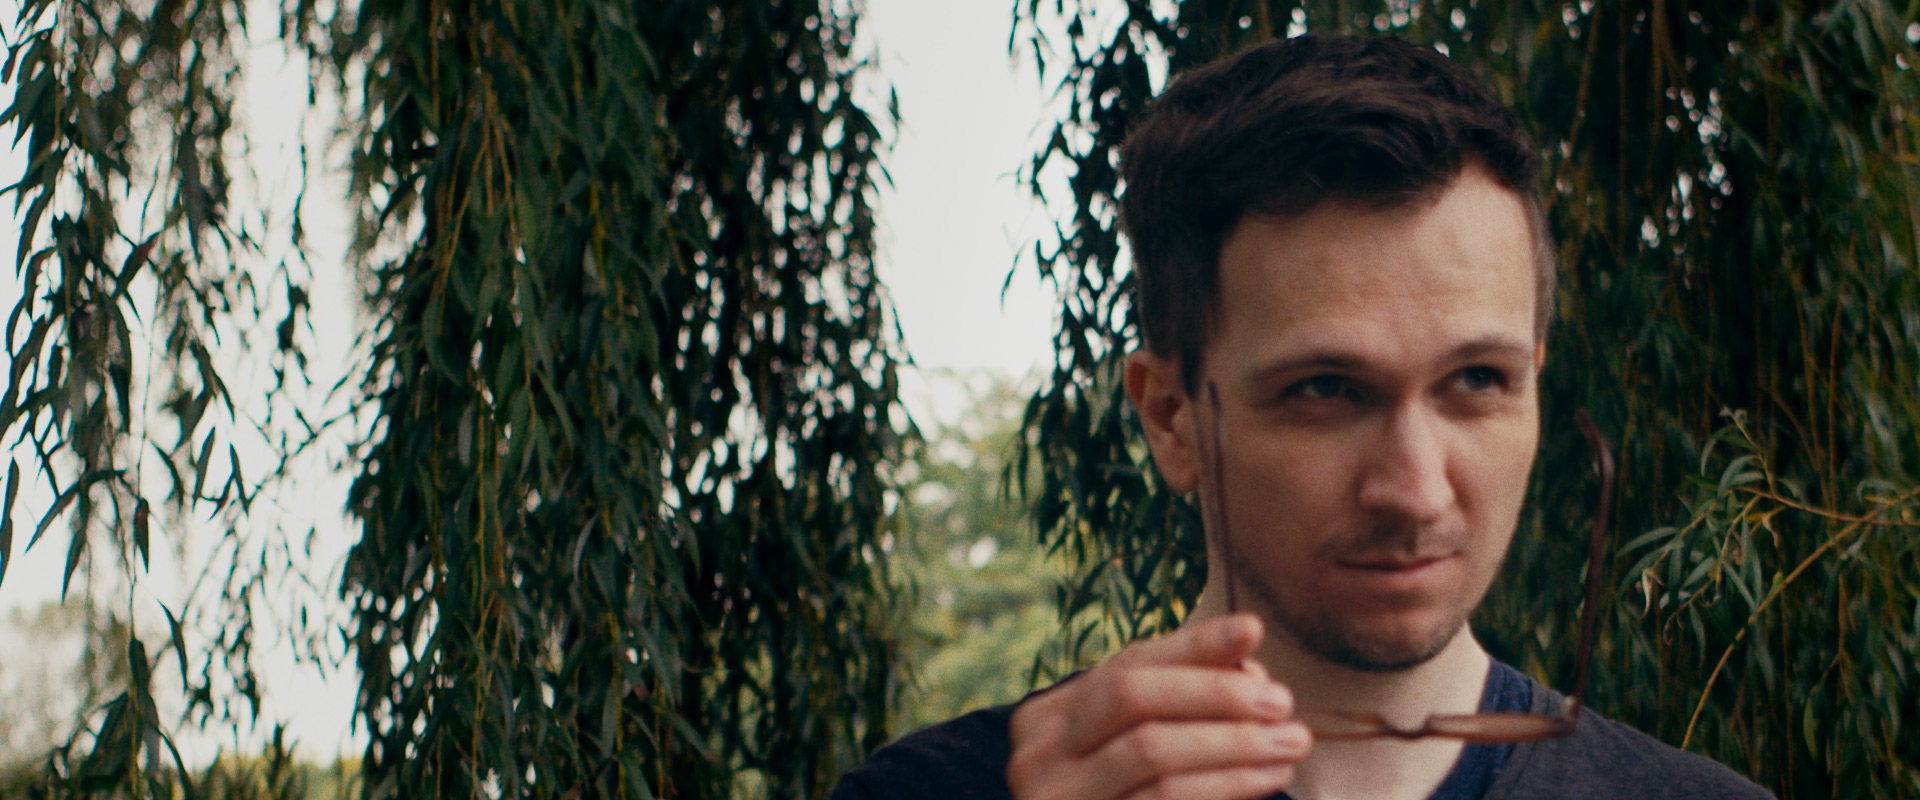
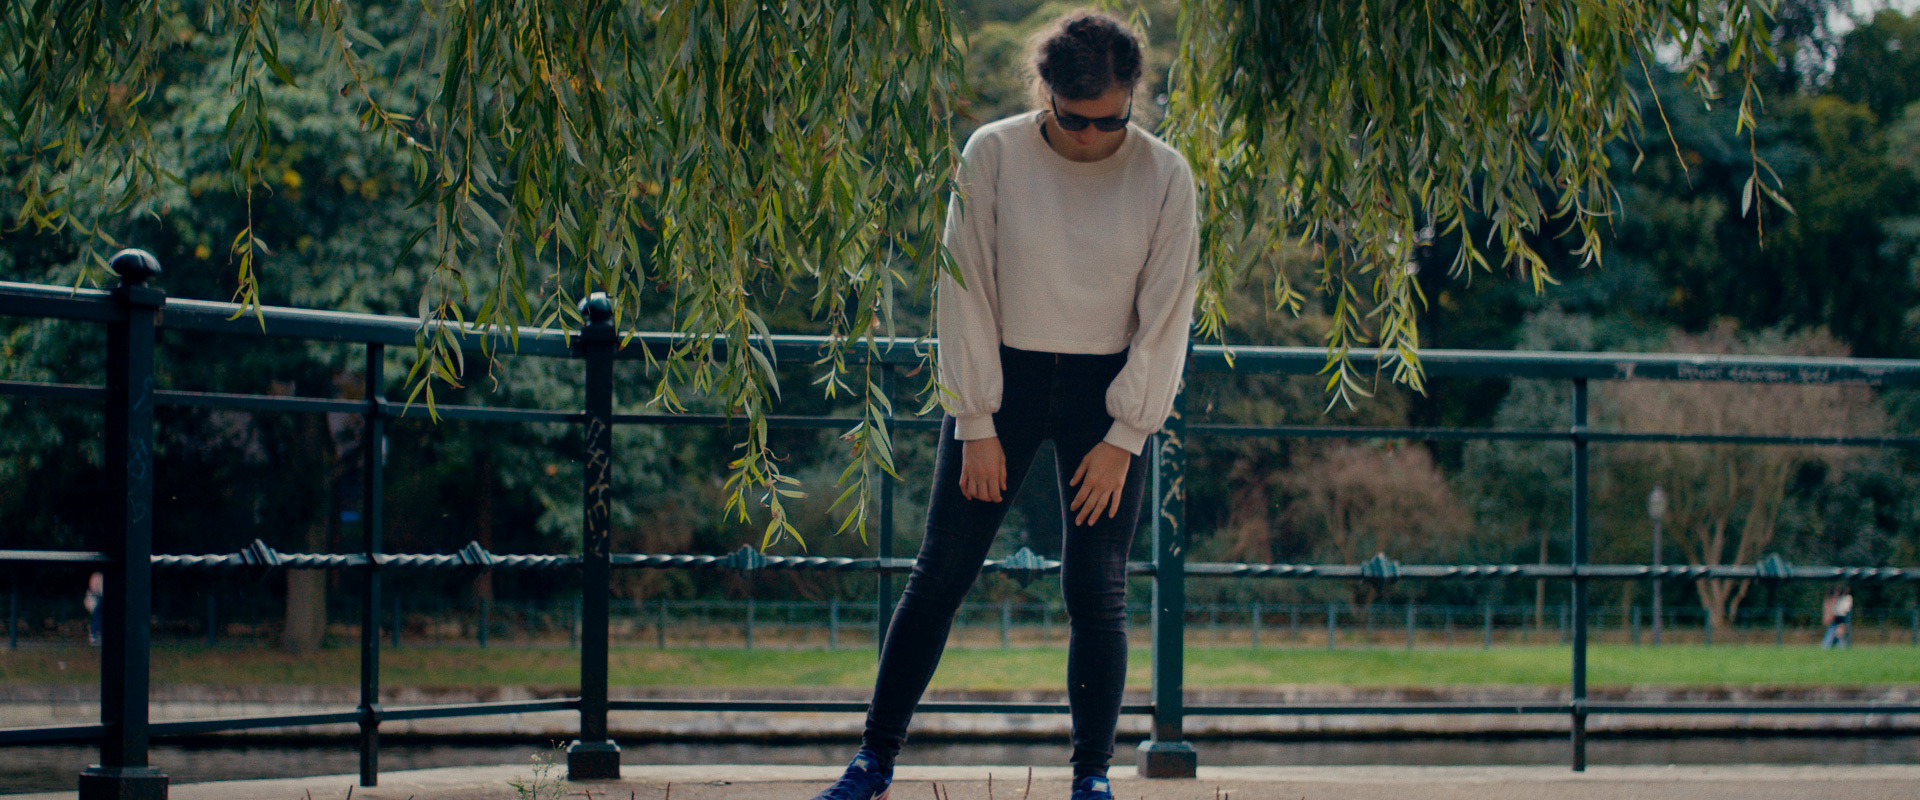
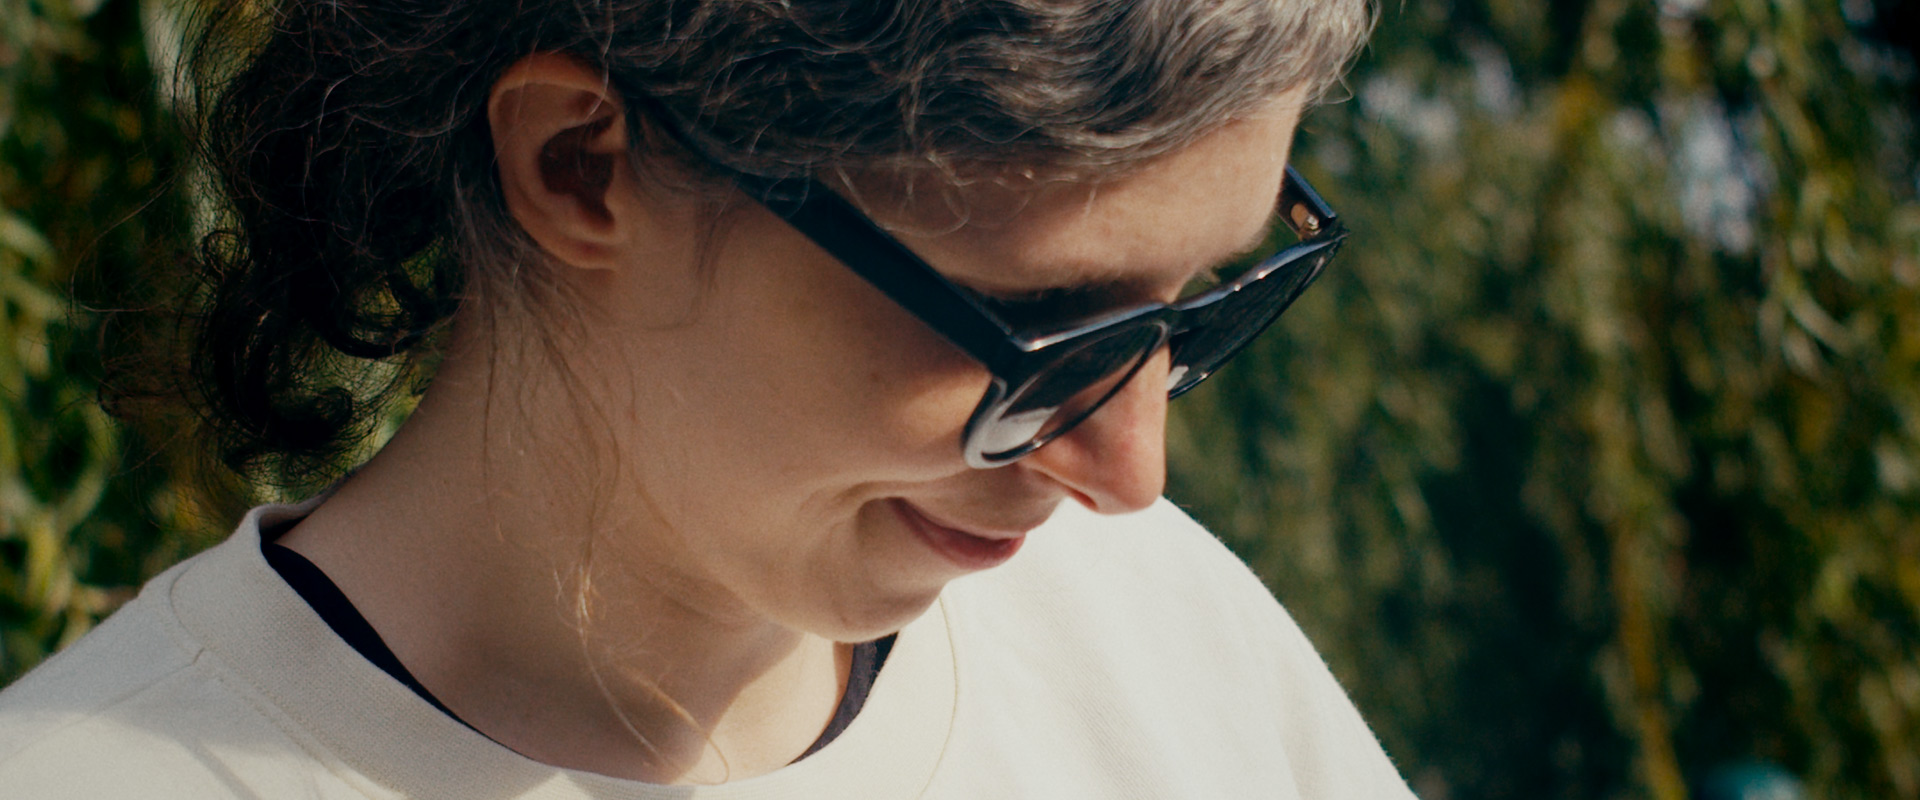
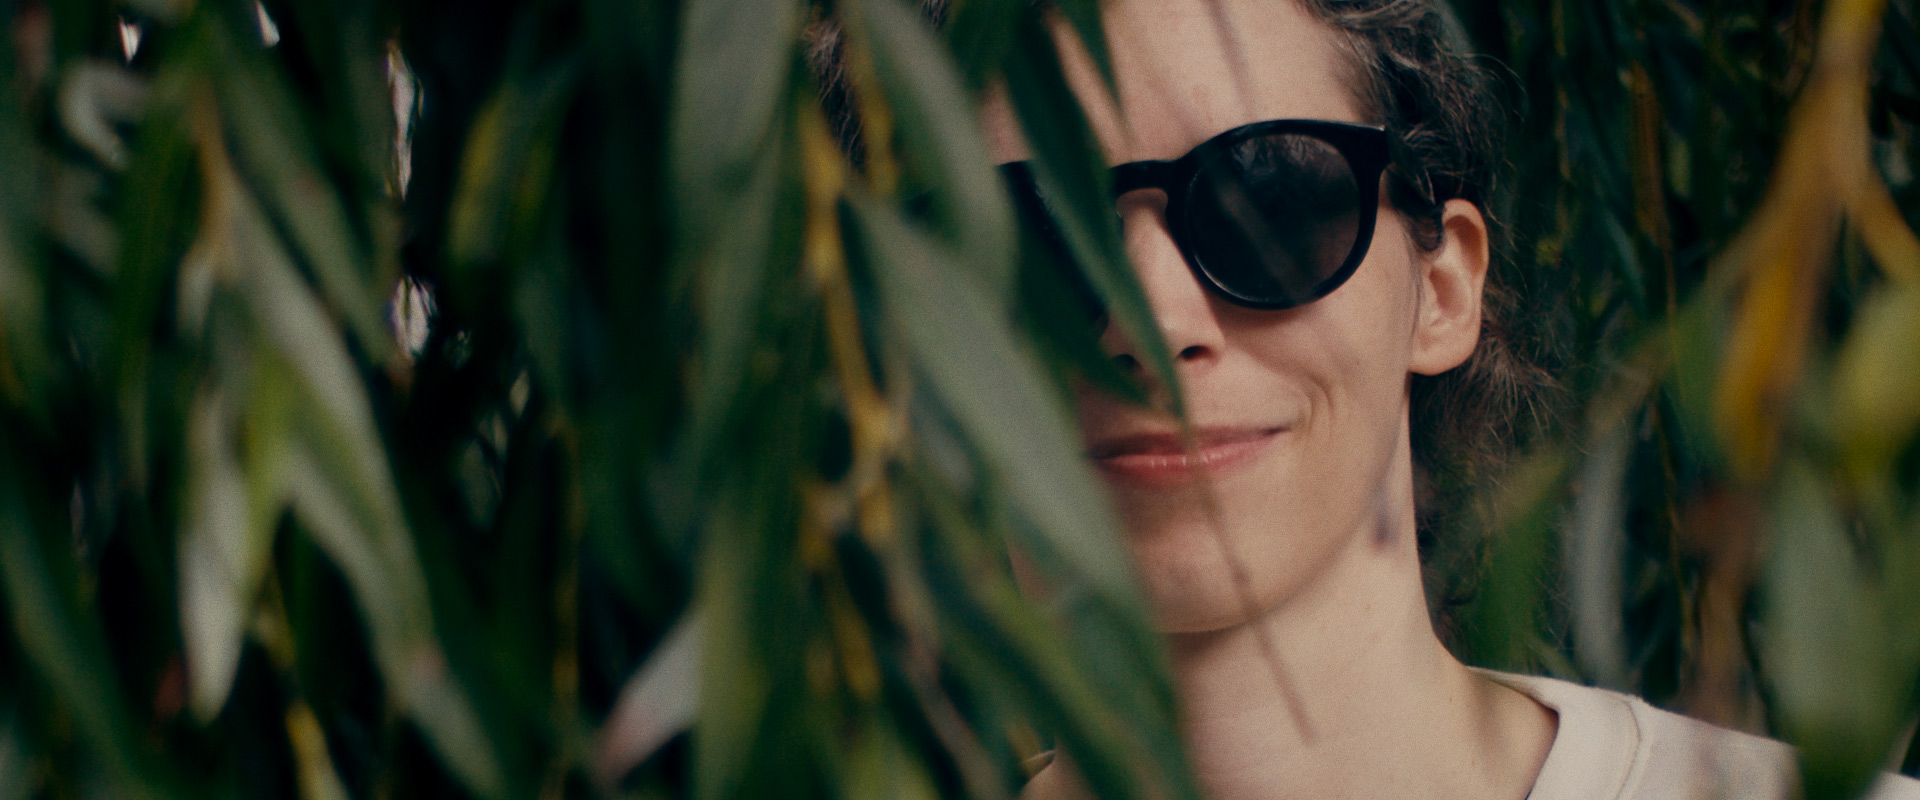
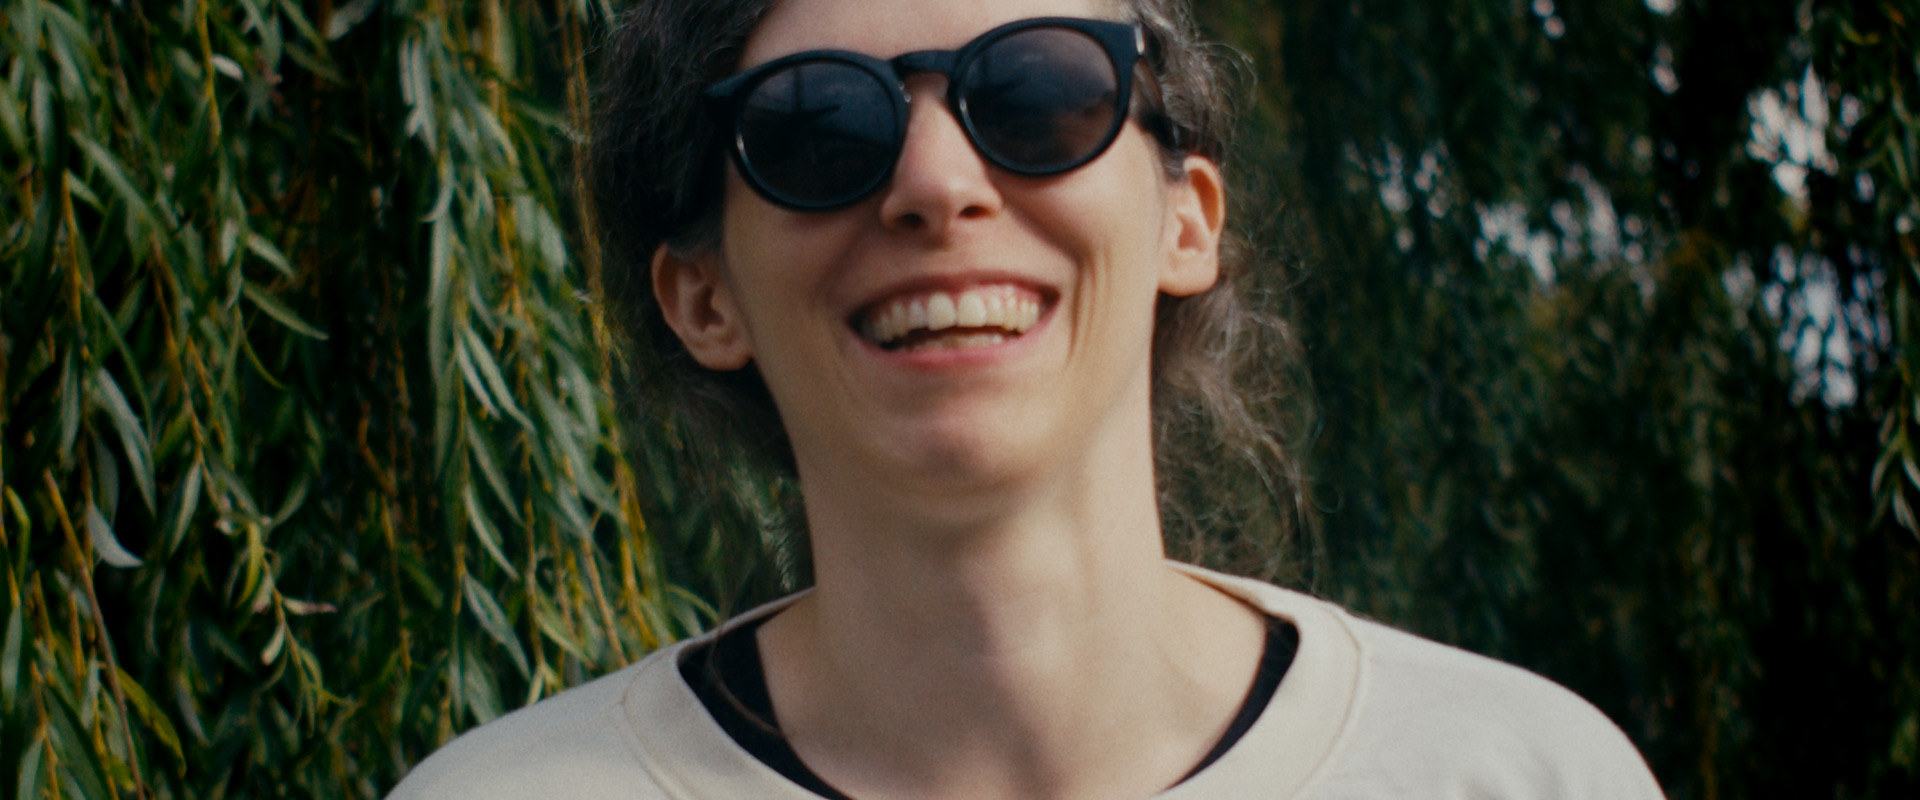


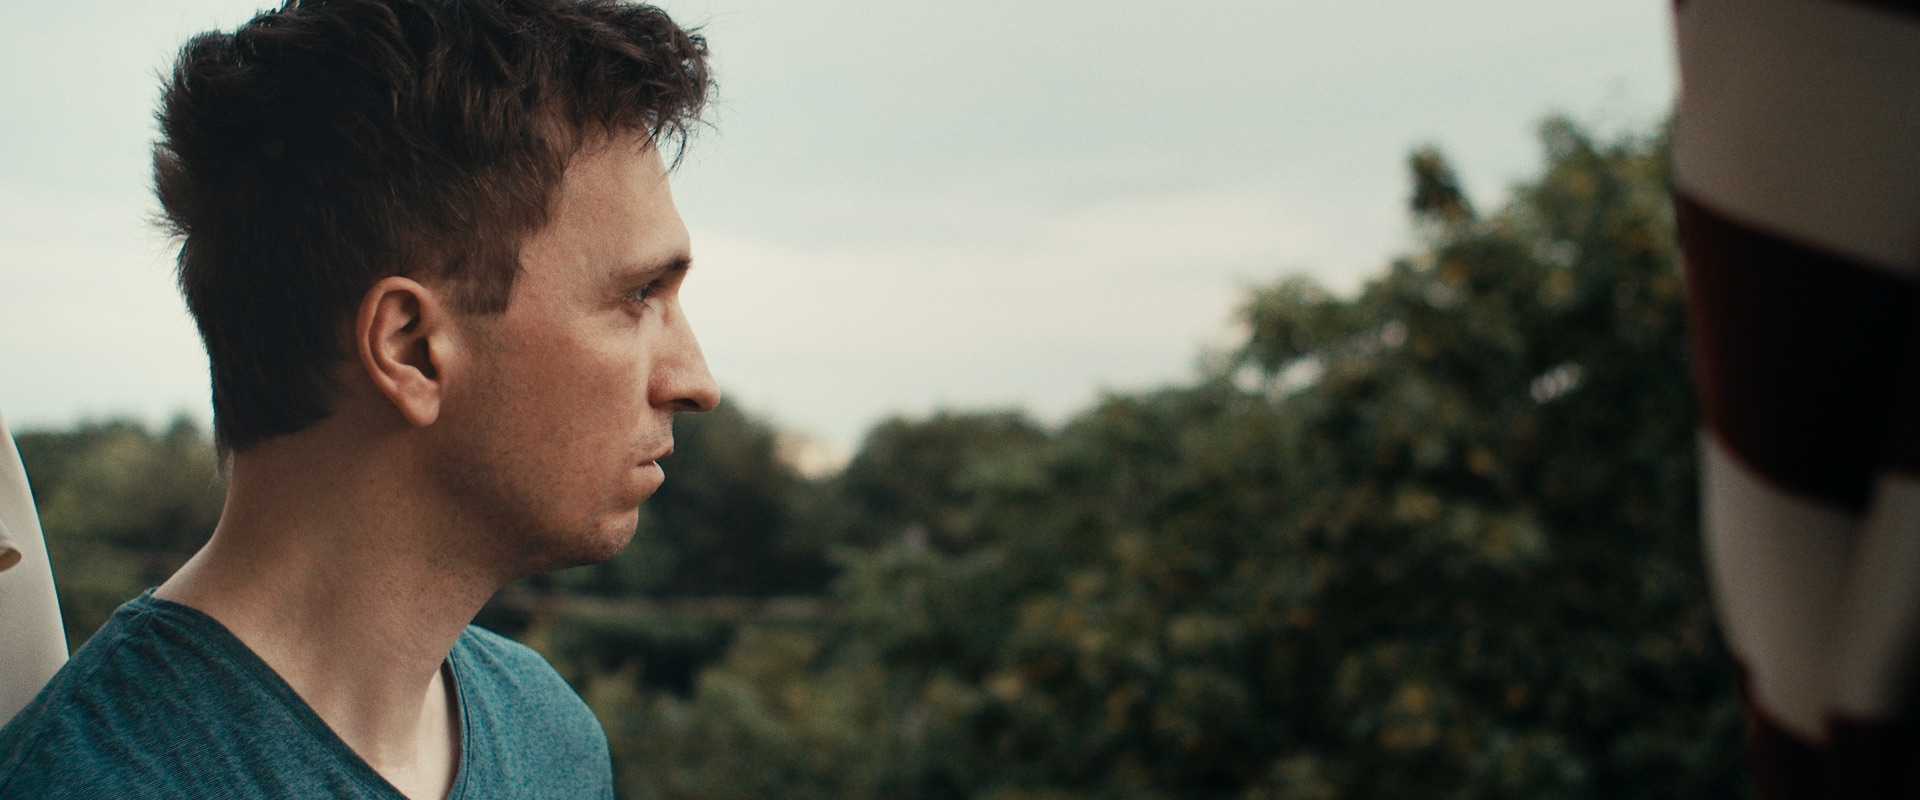
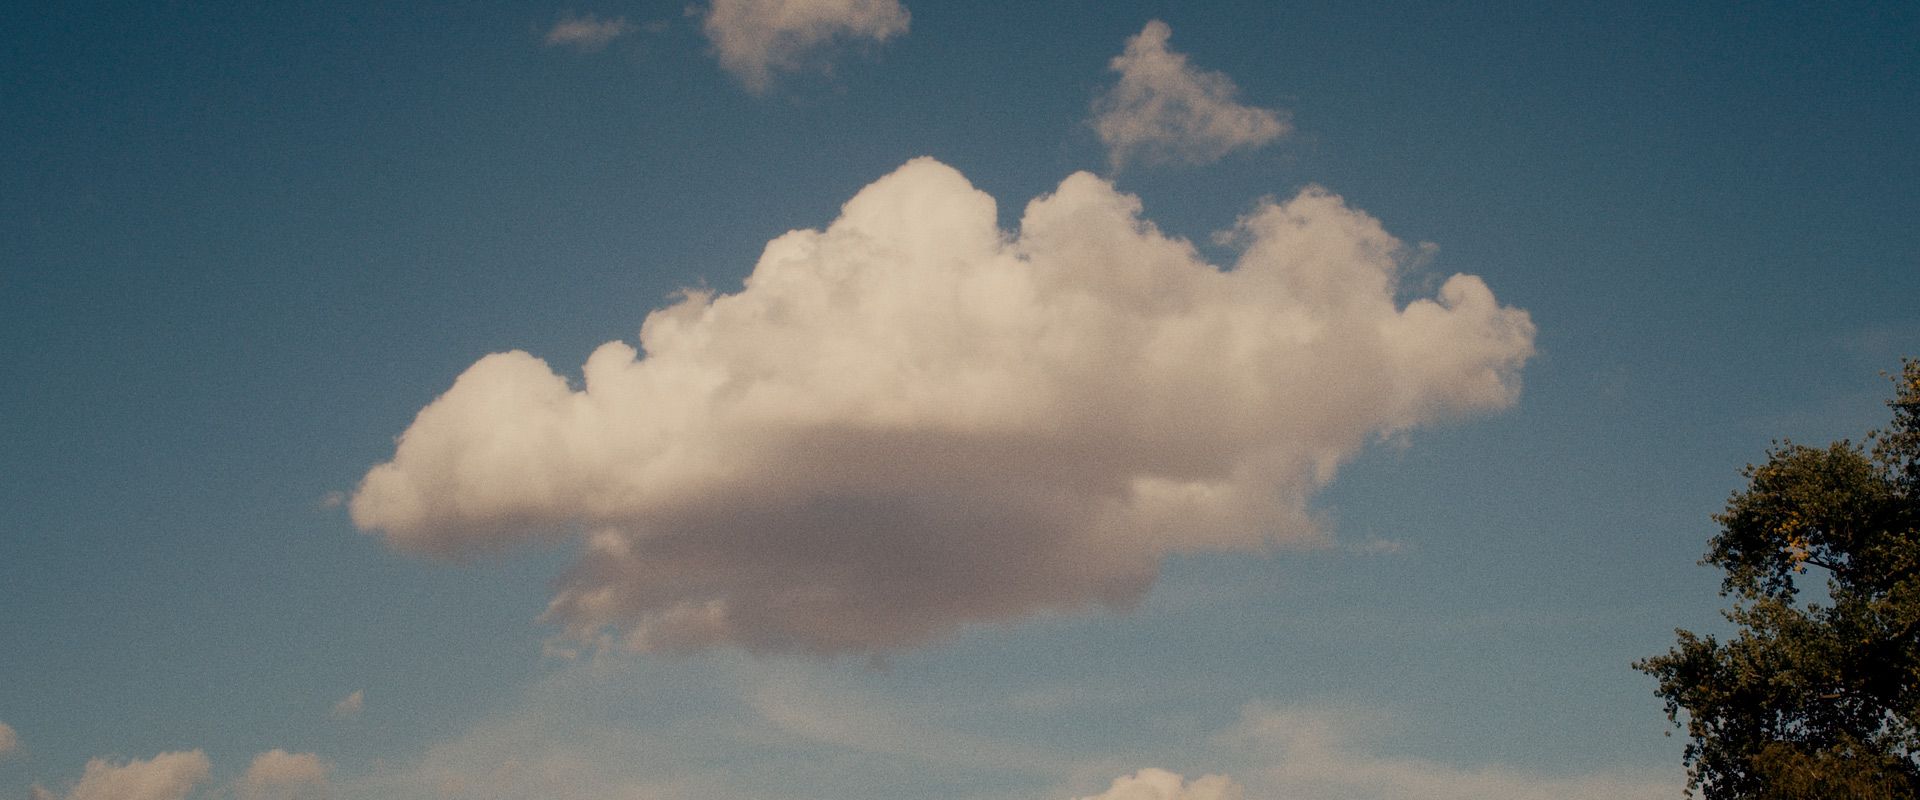
Footage by Stefan Ringelschwandtner (2021)
Camera: Blackmagic Pocket Cinema Camera 4K
Lens: 35mm Carl Zeiss Jena
Codec: BRAW 5:1
REC.709 vs. SOFT 2 STRIP
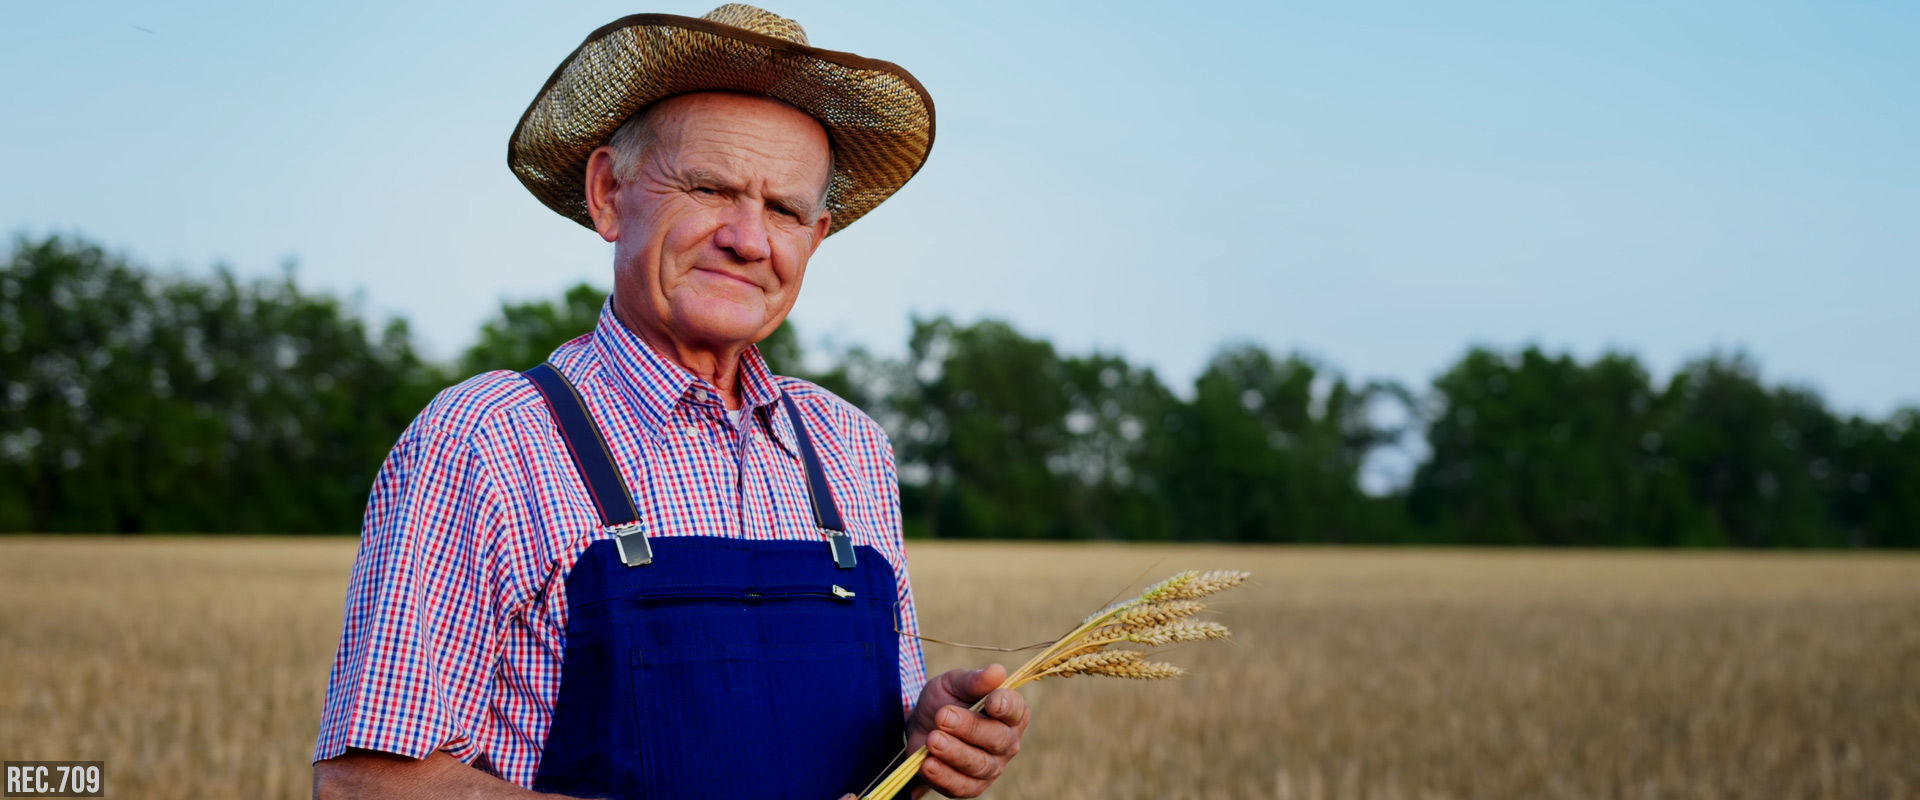
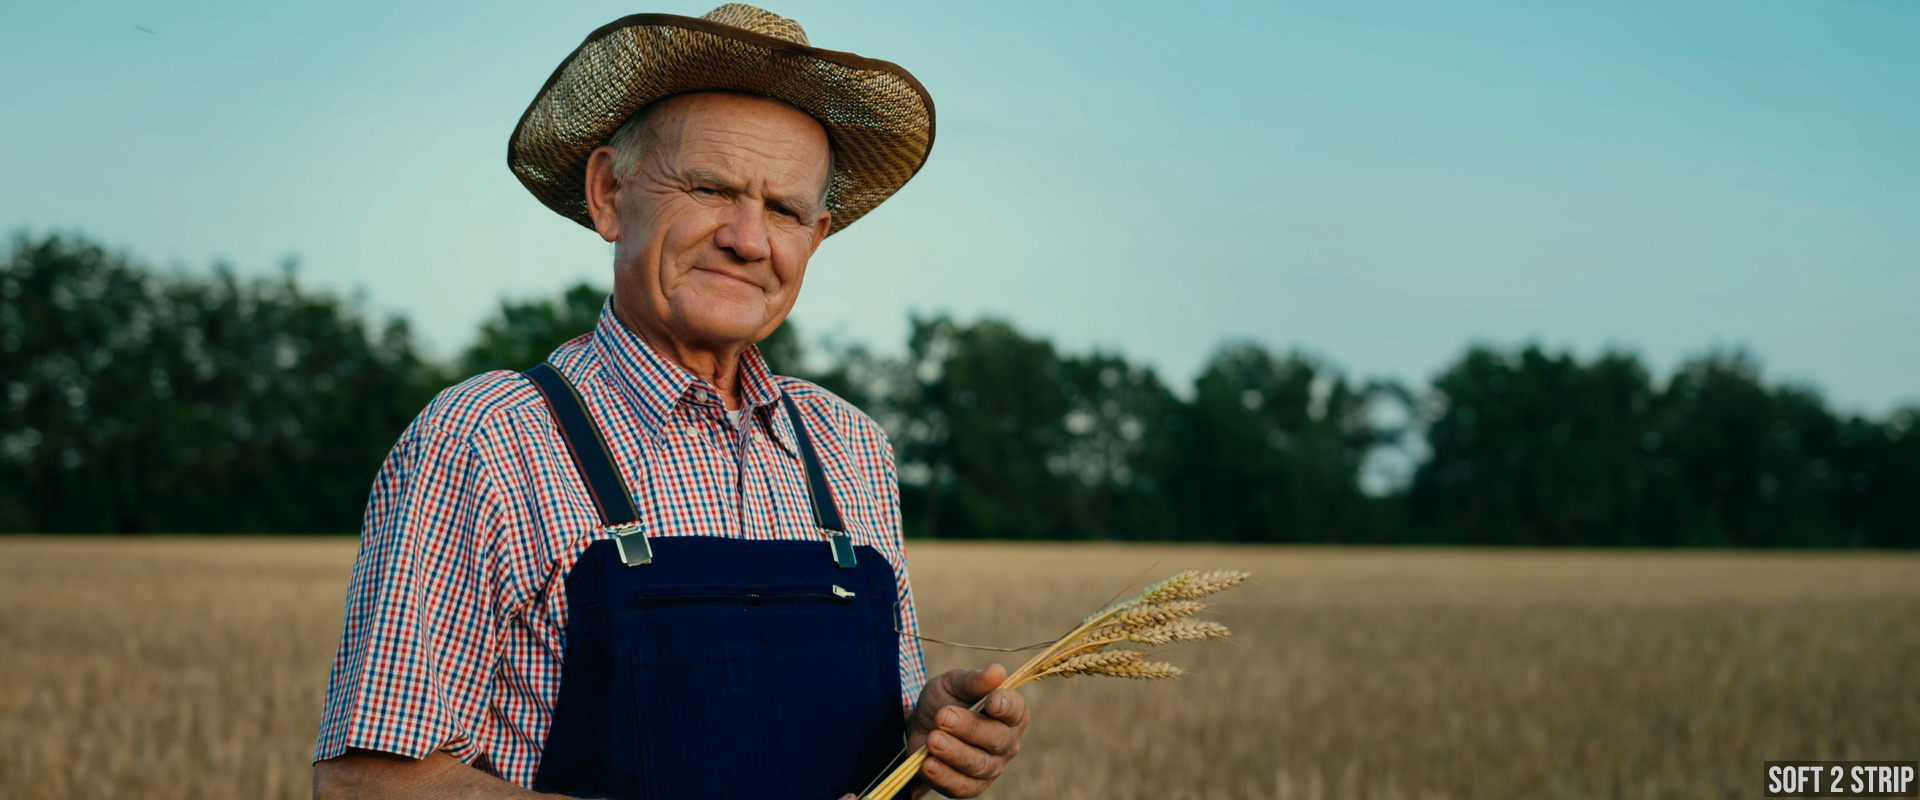
MORE EXAMPLES
Please visit the “Examples – Soft 2 Strip” page for more examples.


If you have any questions or need support, feel free
to contact me at stefanATmononodesDOTcom.