COLOR SHIFT
Version 3.0
LOOK DEVELOPMENT TOOL

INTRODUCTION
I drew inspiration from FilmLight’s Baselight ‘Hue Shift’ tool, which offers the innovative capability to shift hues towards adjacent colors. Following this initial adjustment, you can enhance the image further by increasing saturation, adjusting brightness, or desaturating specific hues. It focuses exclusively on the six main colors and is therefore very reduced and clearly designed. Here is an interesting video about the “Hue Shift” tool in Baselight. Other inspirations were “Capture One” and “Photoshop”.
OVERVIEW
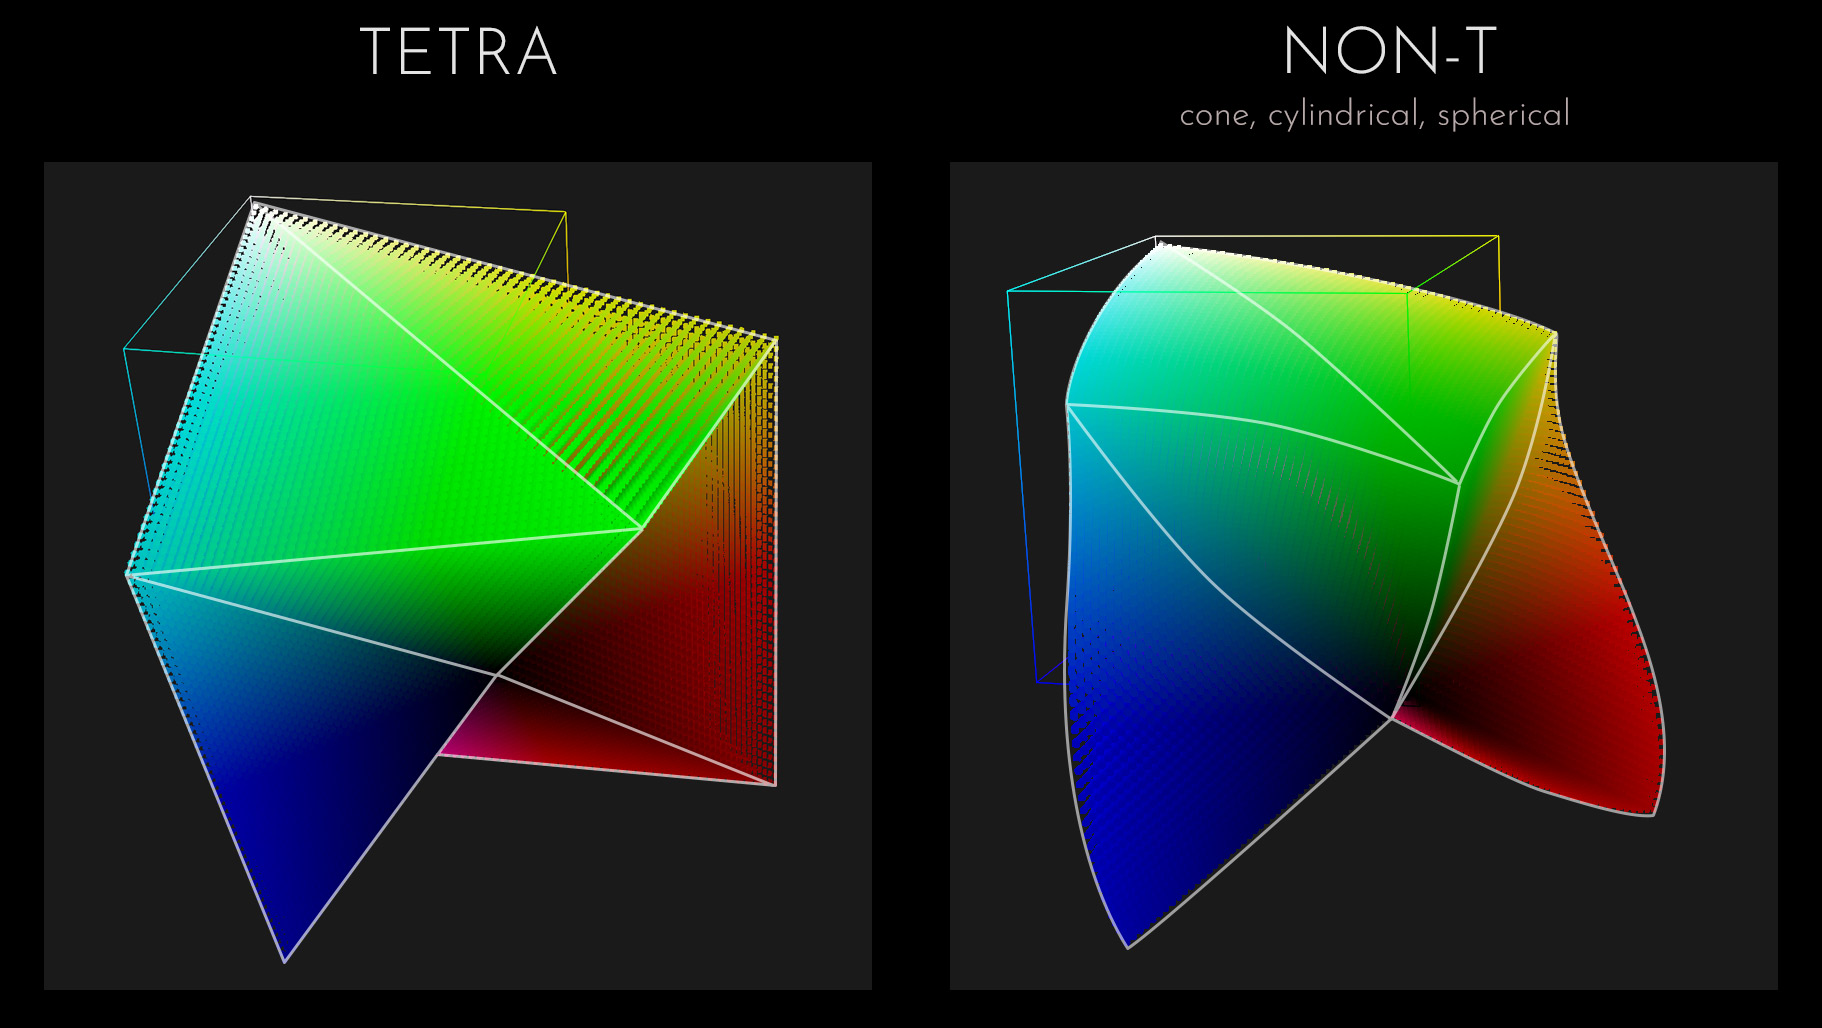
Our DCTLs are offered in two distinct models: the “T” and “Non-T” versions. The “T” in our labels stands for the Tetra model, which adjusts across six hues—RGBCMY. On the other hand, DCTLs without a “T” employ cone-shaped, cylindrical, and spherical-shaped color models that differ subtly in their approach. These models include an additional specific adjustment for “Skin” hue. It’s important to note that neither model is superior to the other; they simply utilize different mathematical methods. The choice between Tetra and Non-Tetra often depends on personal preference as each provides unique results.
DENSITY /
BRIGHTNESS
The “Density” DCTLs setting adjusts the brightness of specific hues, making them darker or lighter while keeping their saturation value unchanged. The “Deep” slider ensures that these adjustments have a minimal impact on highlights.
SATURATION
WITH HUE RANGE
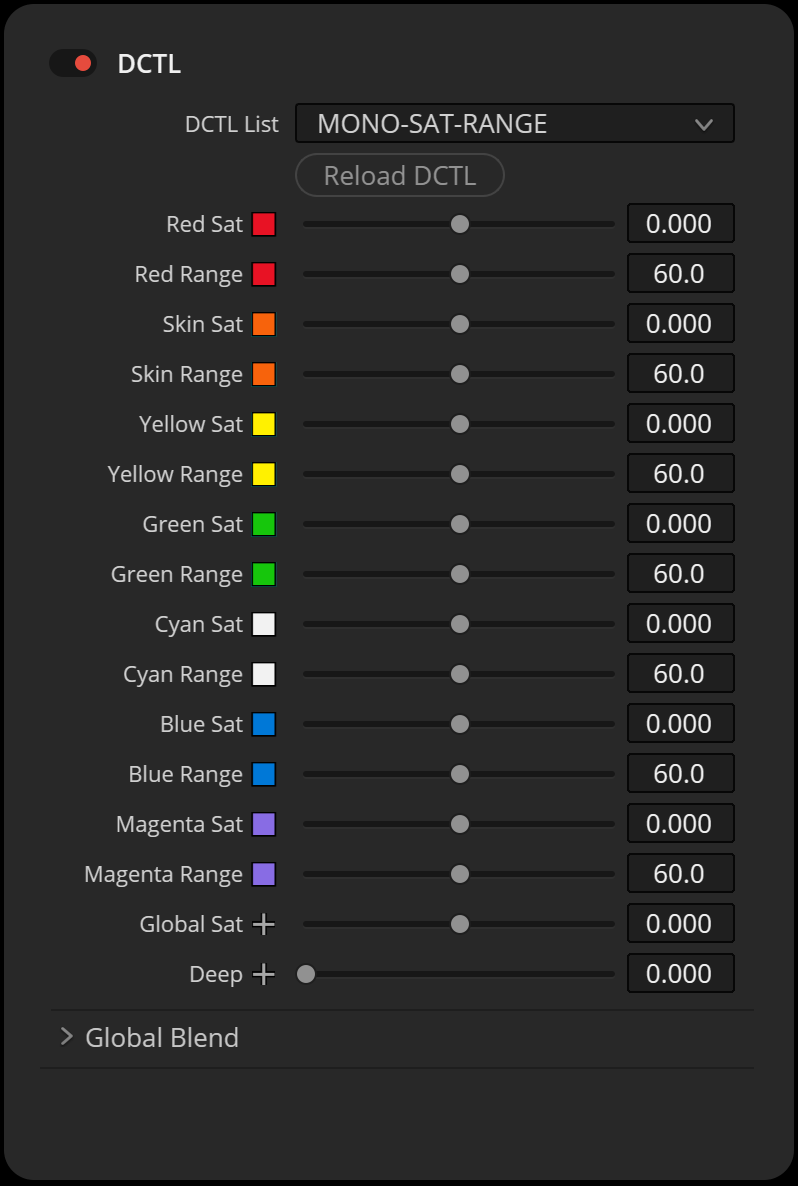
The “Saturation” DCTLs use subtractive color adjustments to modify hue values. The “Deep” slider reduces the effects on highlights. The “Hue Range” slider lets you adjust the range of the selected hue, allowing for either narrow or broad adjustments.
HUE
SHIFT
These DCTLs enable straightforward hue shifts, allowing colors to blend seamlessly into neighboring hues.
HUE SHIFT
DCTL
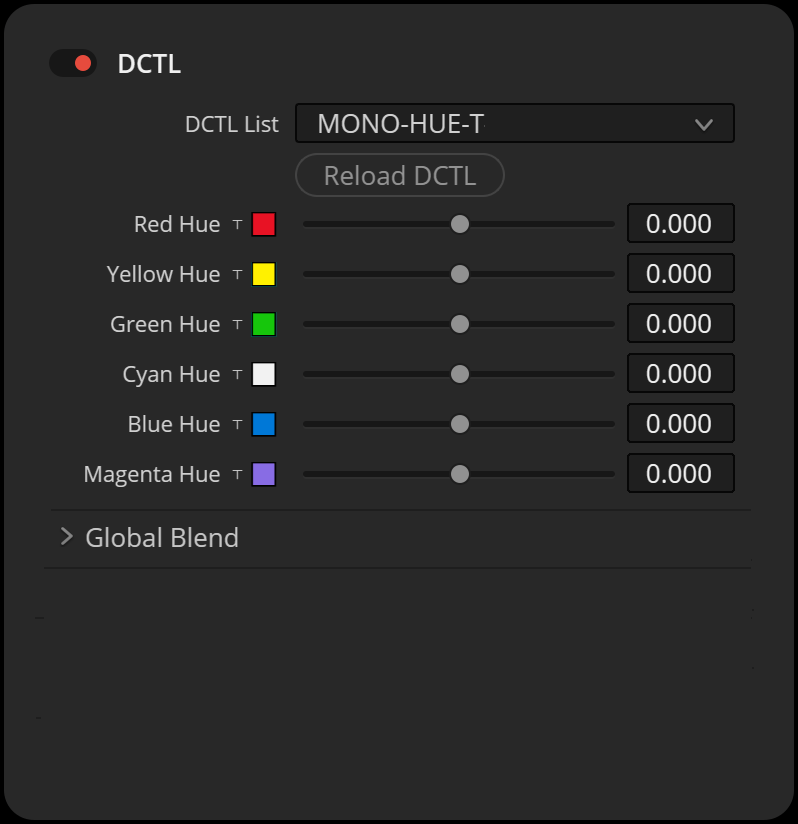
Our “Hue Shift” DCTL allows for shifting any of the six main colors toward their neighboring colors. For example, blue can be shifted toward cyan or magenta, red toward yellow or magenta.
In my opinion, the Tetra model is one of the cleanest methods for shifting a single hue to a neighboring color. Keep in mind that a hue might darken or brighten depending on the selected hue. The saturation and density/brightness of the shifted hue can later be adjusted in combination with other DCTLs.
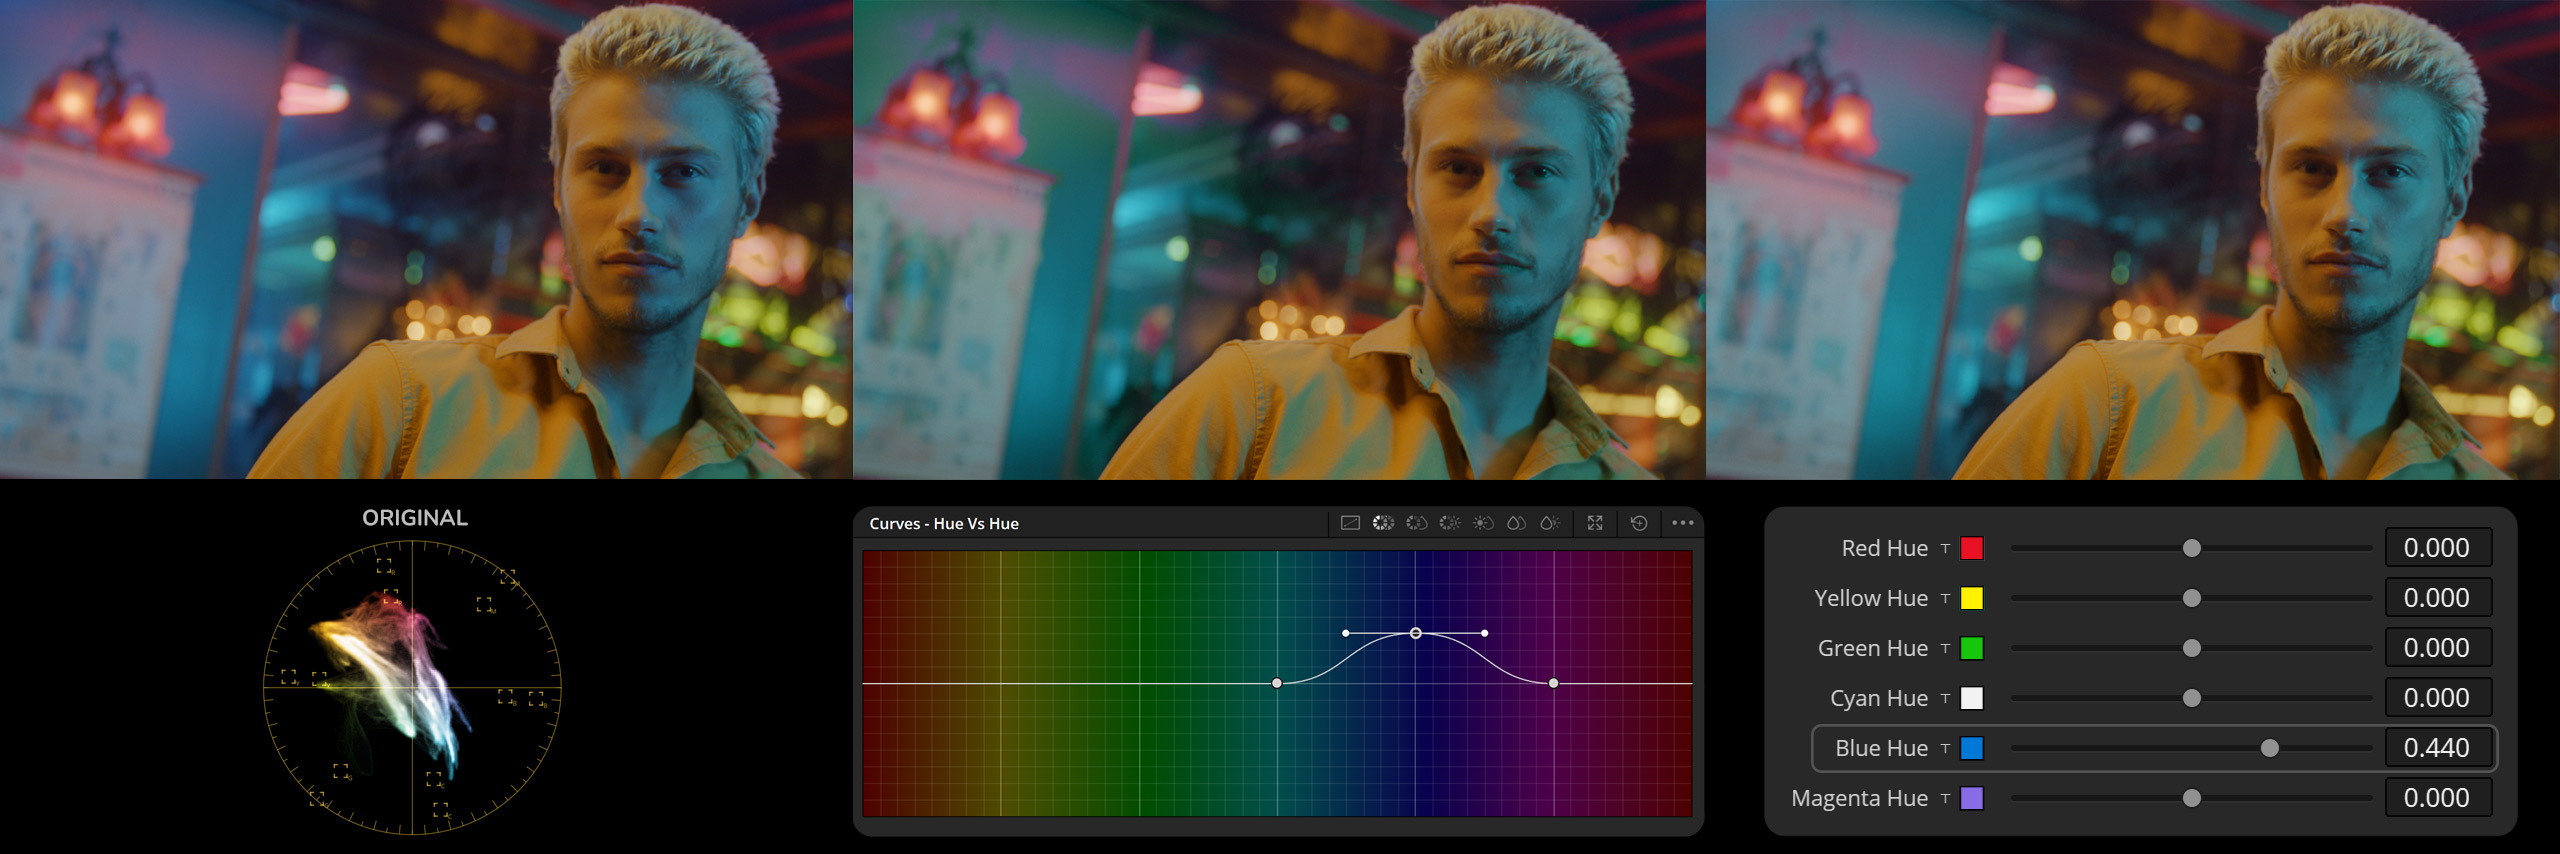
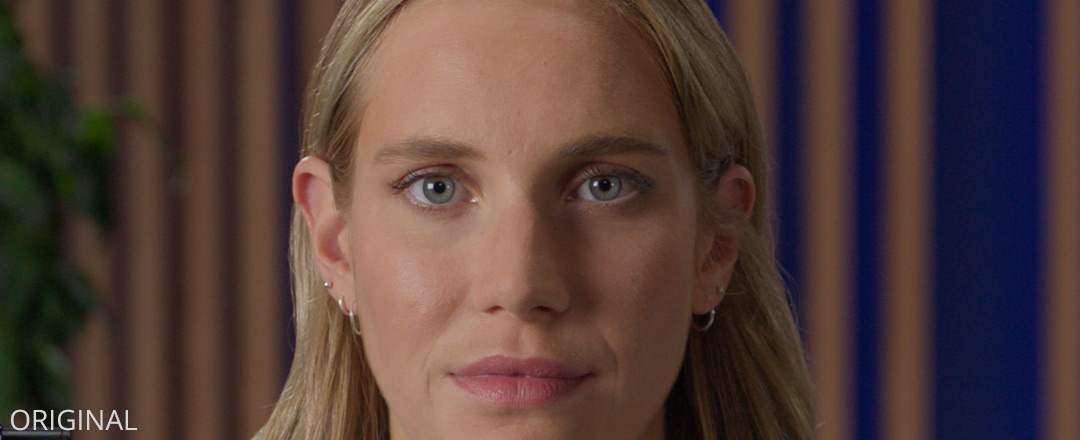
Original Image – This image serves as our baseline, displaying the original colors before any adjustments have been made. The wall behind the subject has a distinct blue tone, which we aim to shift.
Hue Vs Hue Curve Adjustment – Here, the “Hue Vs Hue” curve has been utilized to alter the blue hues toward cyan. However, the blue on the wall has taken on a greenish cast, indicating an unintended shift in the color spectrum.
DCTL Applied – In this final image, the DCTL has been applied to adjust the blue hues. The blue has been shifted linearly towards cyan, achieving a more desirable and accurate color transformation. The wall now exhibits the intended cyan hue, enhancing the overall aesthetic of the image.
SAT DCTL
WITH HUE RANGE
The “Hue Range” slider controls how much the hue slider influences neighboring colors. For instance, if the yellow value is set to a lower value, the orange value and, by extension, the skin tone value will be less affected. A greater value will have a stronger impact on adjacent hues.
In this image here, you’ll notice I’ve increased the saturation of yellow using the slider. You’ll also observe that when the “Range” slider is set lower, its influence over adjacent colors is minimized. Conversely, when the “Range” slider is increased, its effect broadens, resulting in a greater alteration of neighboring colors.
DENSITY
DCTL
“Density” reduces luminance, while saturation is subtractively increased to avoid greyish colors. This results in “film style colors” where colors appear deep and saturated. The results are very similar to the PowerGrade methods available in my “Film Emulation” package. The advantage of this DCTL is that we can apply density and intensity individually for red, green, blue, cyan, magenta and yellow.
REFERENCE
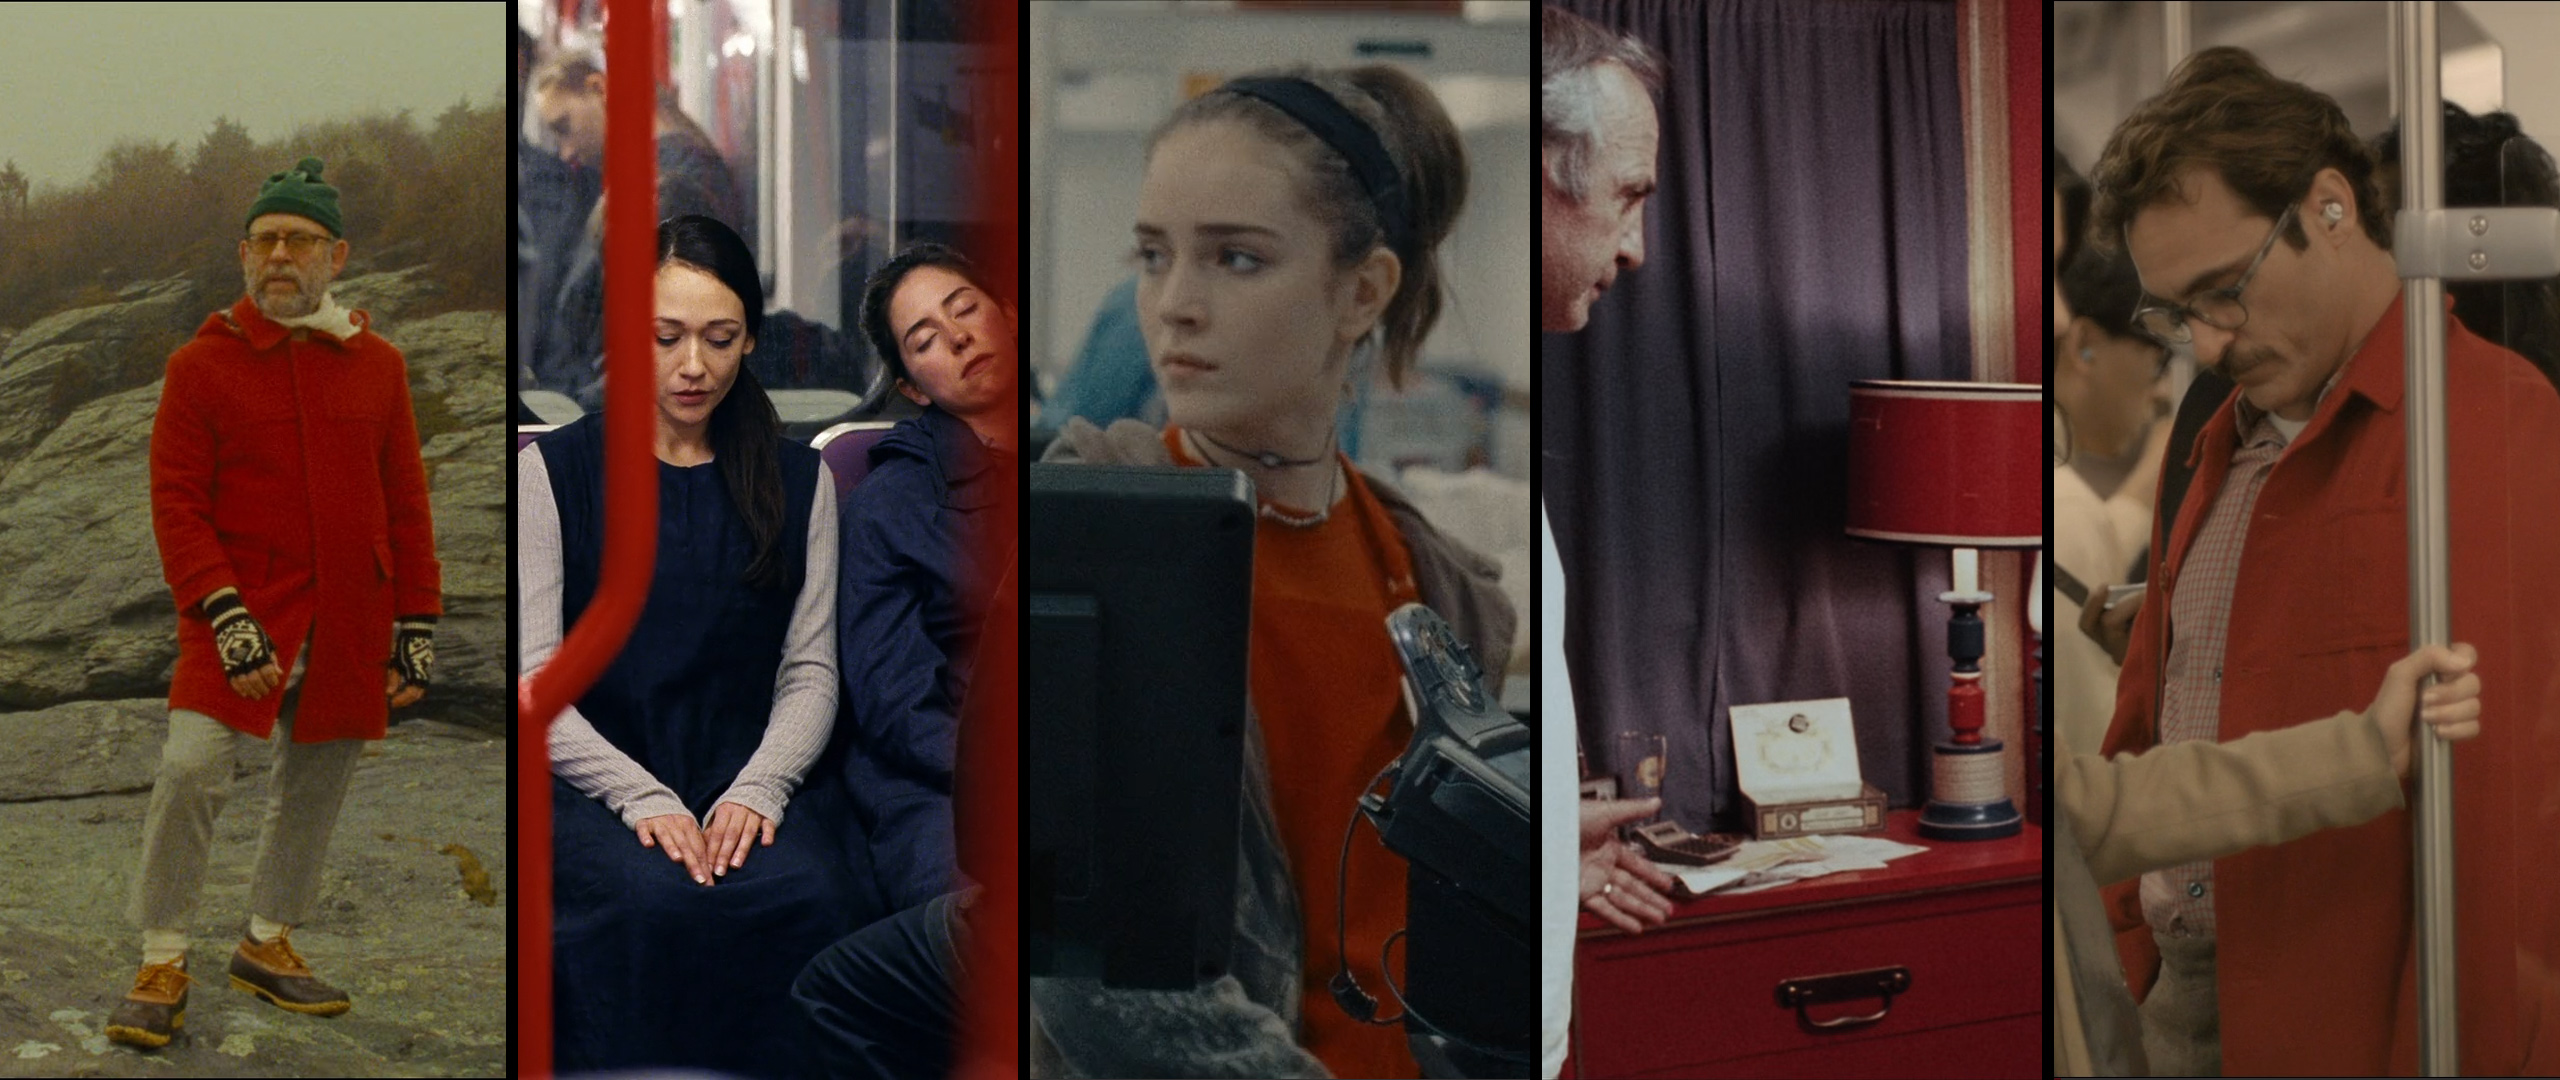
Moonrise Kingdom (2012)
Directed by Wes Anderson
© Focus Features
Anima (2019)
Directed by P. T. Anderson
© released for Netflix
Never Rarely Sometimes Always (2020) by Eliza Hittman / © Universal Pictures
Buffalo ’66 (1998)
Directed by Vincent Gallo
© Lions Gate Films
Her (2013)
Directed by Spike Jonze
© Warner Bros. Pictures
DENSITY DCTL
COLORSLICE vs. COLOR SHIFT
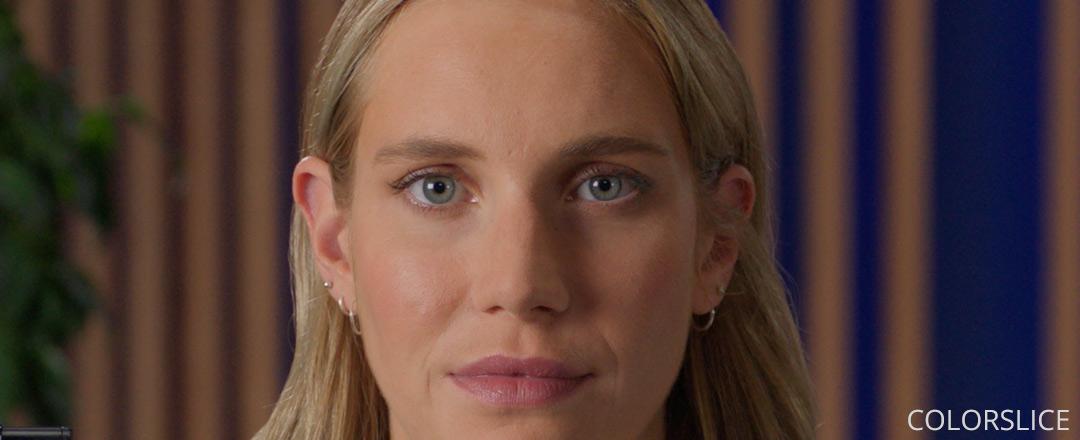
In this section, I will compare ColorSlice with my Color Shift DCTLs. Consider revisiting an old project with a complex node tree. Identifying adjustments is much faster and simpler with Color Shift DCTLs. For instance, it’s difficult to detect a “Blue Hue Shift” in ColorSlice, but a DCTL with sliders offers a quick visual clue of the changes. This immediate feedback clearly displays what modifications have been made in a node, significantly speeding up the workflow and improving clarity.
Here is an example where I perform a blue hue shift using both “ColorSlice” and “Color Shift”. Take a moment to compare the two and see how quickly you can identify the hue shift. Did you also notice that in ColorSlice, the Green Density value has been increased to 0.10?

DENSITY / BRIGHTNESS
I’ve noticed that when adjusting the Density slider in “ColorSlice” to brighten a hue, it not only increases the brightness but also the saturation. In contrast, the “Color Shift DCTL” model allows for the brightening or darkening of hues with minimal changes in saturation. Neither approach is inherently better; they simply offer different options. Users should be aware of these differences, as modifying hue brightness might necessitate additional saturation adjustments.

SUBTRACTIVE SATURATION
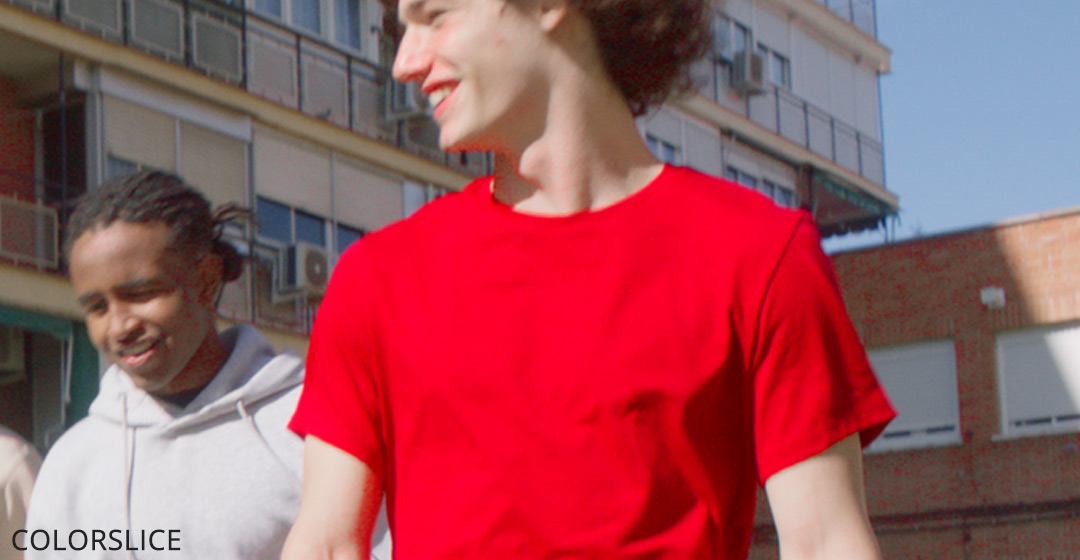
In comparing the “ColorSlice” tool with “Color Shift,” I observed that increasing the saturation of the red hue in certain footage using “ColorSlice” may sometimes result in quicker loss of details. This is not always the case, as “ColorSlice” performs well in other scenarios. It is beneficial to compare the tools to understand how differences in their underlying algorithms can impact the results.
SKIN TONE RANGE
LOOK DEVELOPMENT
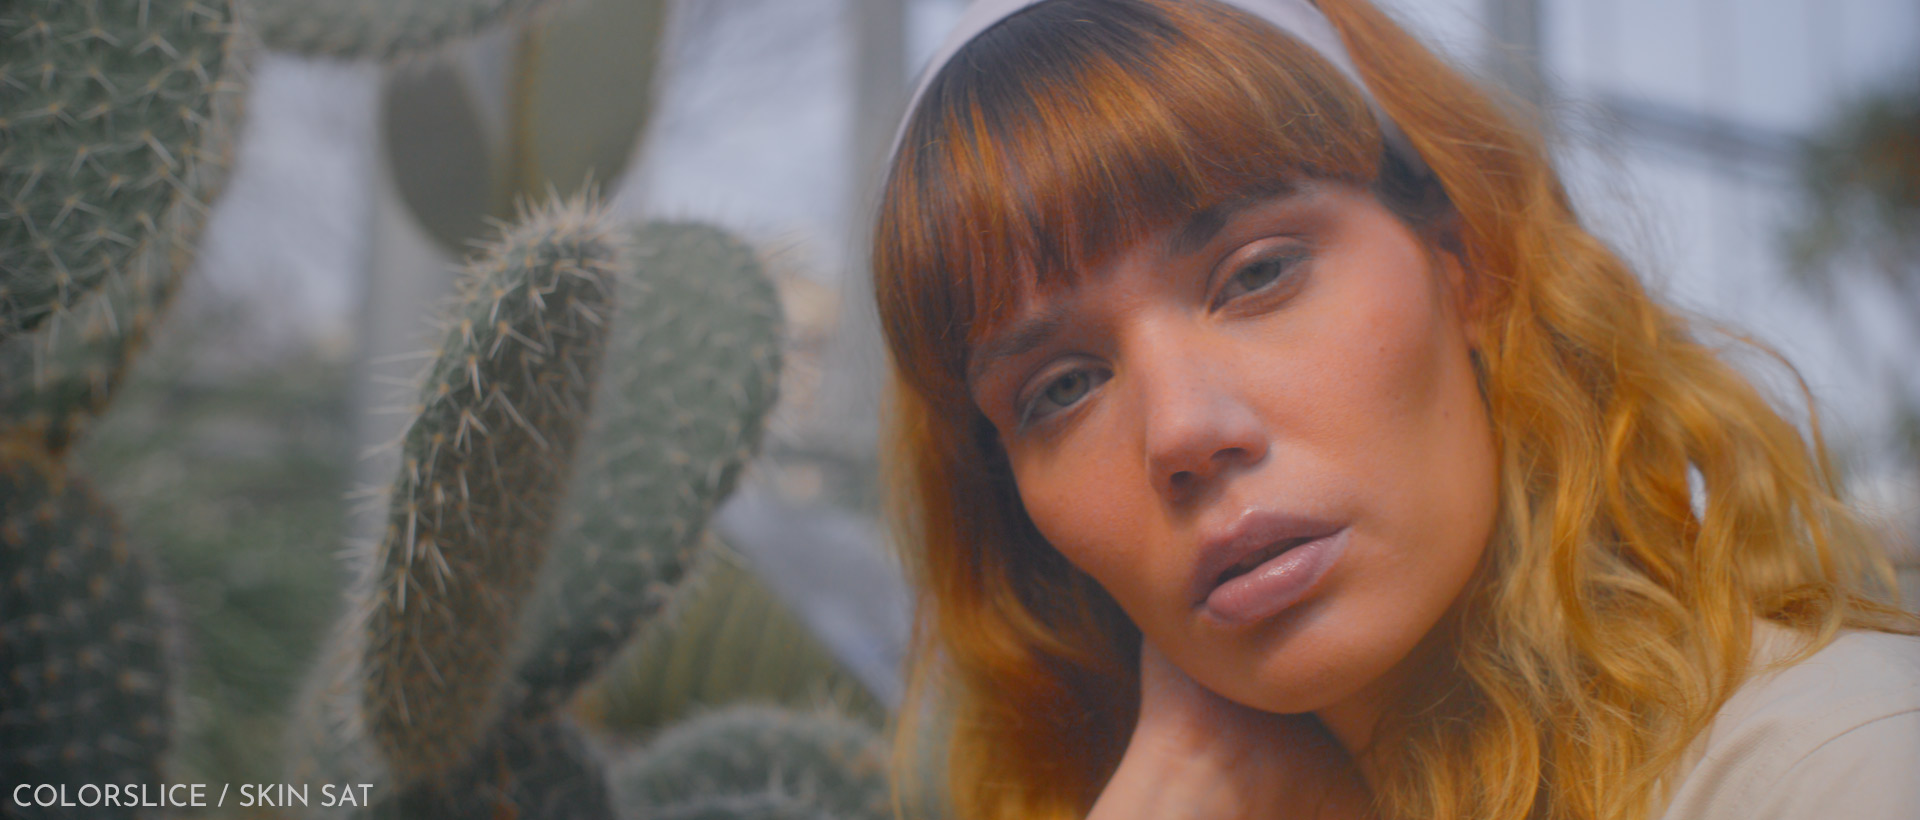
When it comes to look development in color grading, the ‘Skin Tone Line’ serves more as a guide rather than a strict rule for adjustments. Achieving a particular look might require shifting skin tones slightly towards green or magenta, deviating from the conventional skin tone line. While tools that separate skin tones from adjacent colors like red and yellow can be initially useful, they may restrict the creative process. Specifically, if such tools sharply define the boundaries between skin hues and colors like red, they can prevent these hues from blending naturally. This separation might seem beneficial at first but could become a limitation during global look development. Essentially, maintaining some flexibility in how skin tones interact with nearby colors is crucial for achieving a harmonious and desired overall look.
This image demonstrates the effects of adjusting only the skin saturation in ‘ColorSlice’. The steep transition towards red results in artifacts. The second image illustrates the skin adjustment in ‘Color Shift’, where the default steepness is much wider and broader.
There is a workaround for adjusting the steepness in Color Slice. By modifying the center points of neighboring colors, you can influence the steepness. This method allows for more nuanced control, although it requires adjusting multiple points rather than just one.
For the “Color Shift” tool, I’ve set the skin hue range to 60 degrees, consistent with other hues such as red and yellow. I believe that a wider hue range is more suitable in mixed lighting conditions and serves better as a global look development tool.
Regardless of whether you are using “ColorSlice” or “Color Shift,” my recommendation for adjusting skin tones is to align the adjustments for red hue, skin hue, and yellow hue in similar directions, rather than opposing each other. This approach generally yields the most aesthetically pleasing results.
HUE RANGE
FEATURE
I’ve also included a range slider for each individual hue, allowing you to customize the hue range from 20 to 100 degrees. This feature provides additional control to tailor effects precisely to your needs and ensures that each selected hue blends smoothly into the next.

DEEP
SLIDER
The “Deep” slider regulates the areas of impact for the Saturation and Density adjustments in an image. As the value of the “Deep” slider increases, it progressively excludes the highlights from being affected, focusing the adjustments more on the midtones and shadows. The slider itself does not directly alter the image but controls where Saturation and Density changes are applied.
INSTALL GUIDELINES
- Open the “Project Settings.”
- Go to “Color Management” and choose “Open LUT Folder.”
- Drag and drop the folders with the DCTL files into this directory.
- Restart DaVinci Resolve to apply the changes.
WORKFLOW
NODE TREE ORDER
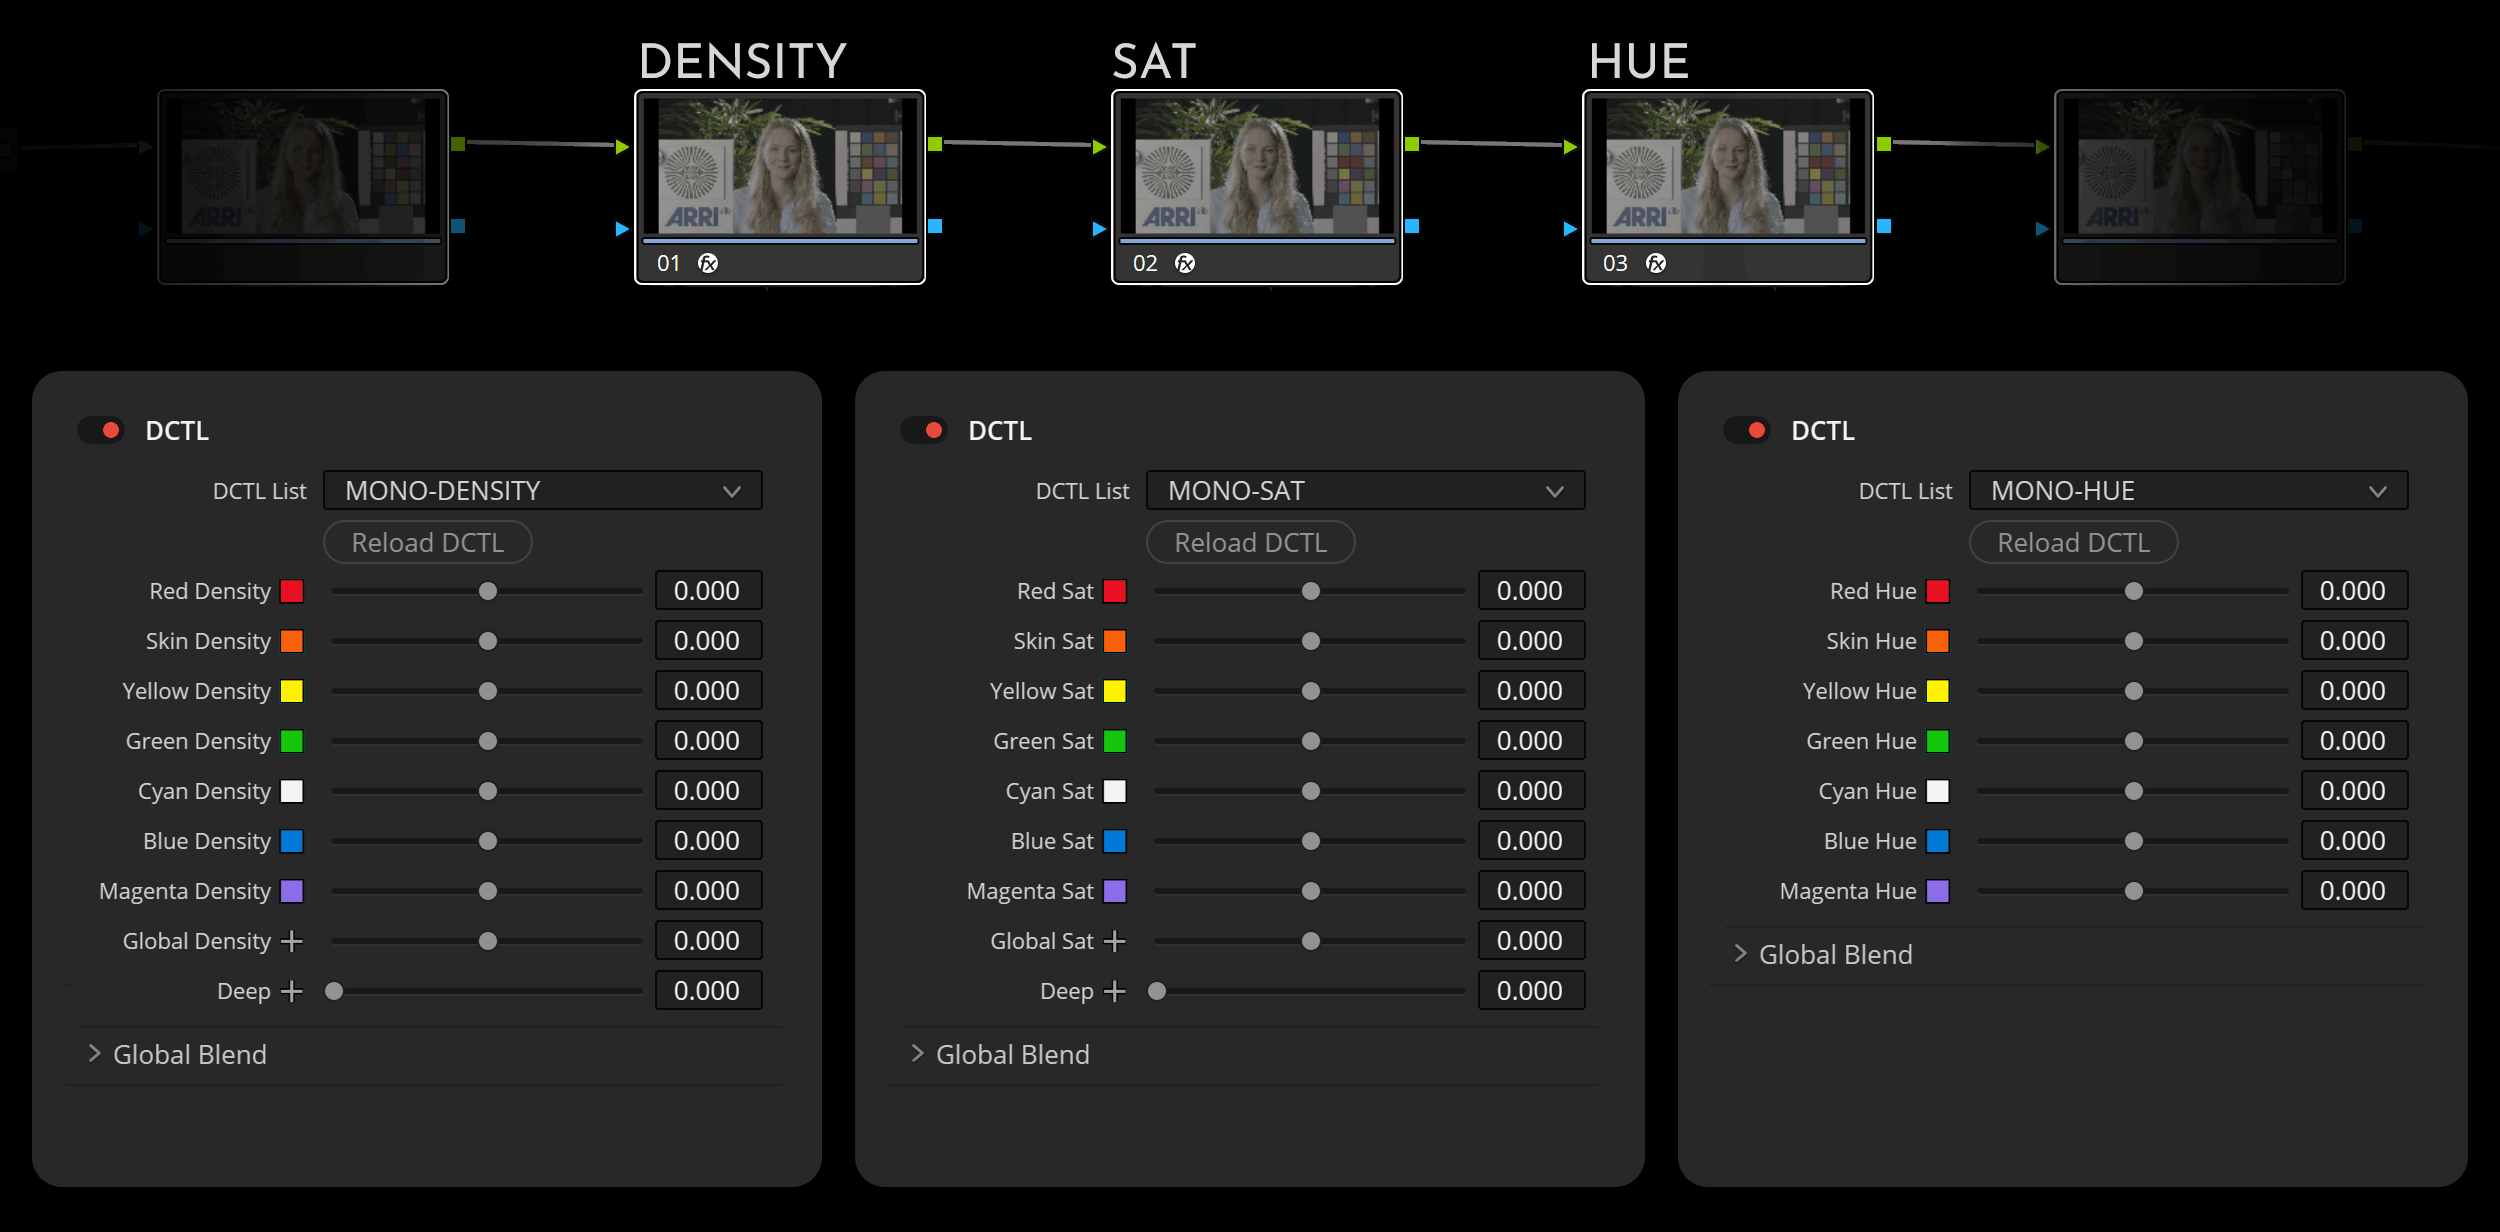
When working with multiple DCTLs, it’s highly recommended to arrange them in a serial sequence: begin with Density DCTLs, proceed with Saturation adjustments, and conclude with Hue modifications. The choice between using a single DCTL slider for each adjustment or opting for Double or Triple DCTL configurations depends on individual workflows and preferences.
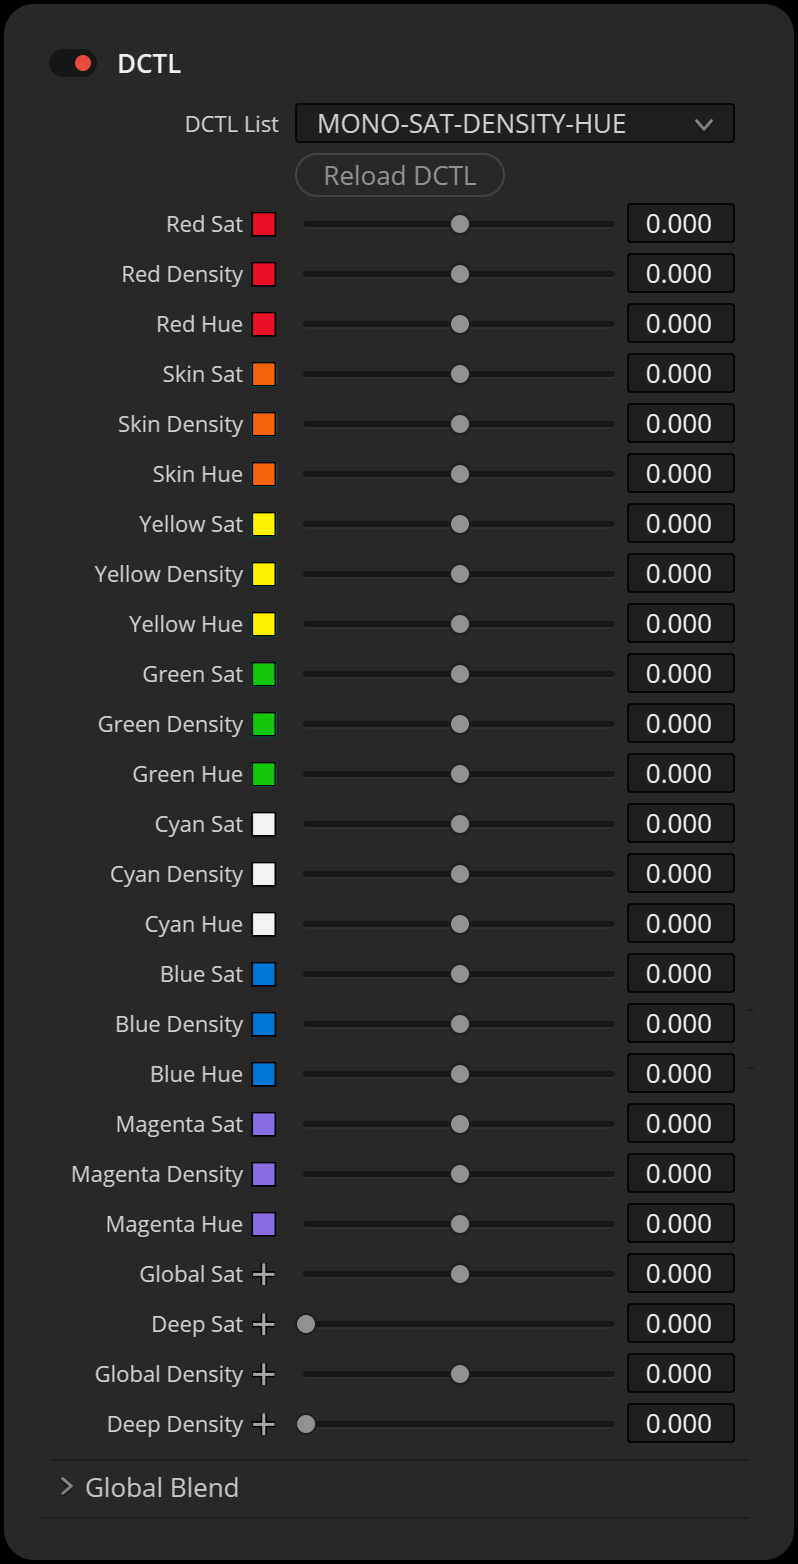
For those who prefer simplicity and only want to adjust specific aspects like Saturation or Density without managing multiple controls, the Single DCTL slider, which offers 7 sliders, might be ideal. On the other hand, some users might prefer the comprehensive control provided by the Triple DCTL, which includes 21 sliders. This is why the pack offers Single, Double, and Triple DCTL options—allowing each colorist to select the tool that best suits their needs and workflow.
COLOR SPACE
This color grading tool works well in large color spaces like DWG, ARRI LogC3, ACES, REDWideGamutRGB, Sony S-Gamut3.Cine, and other similar wide-gamut color spaces.


