
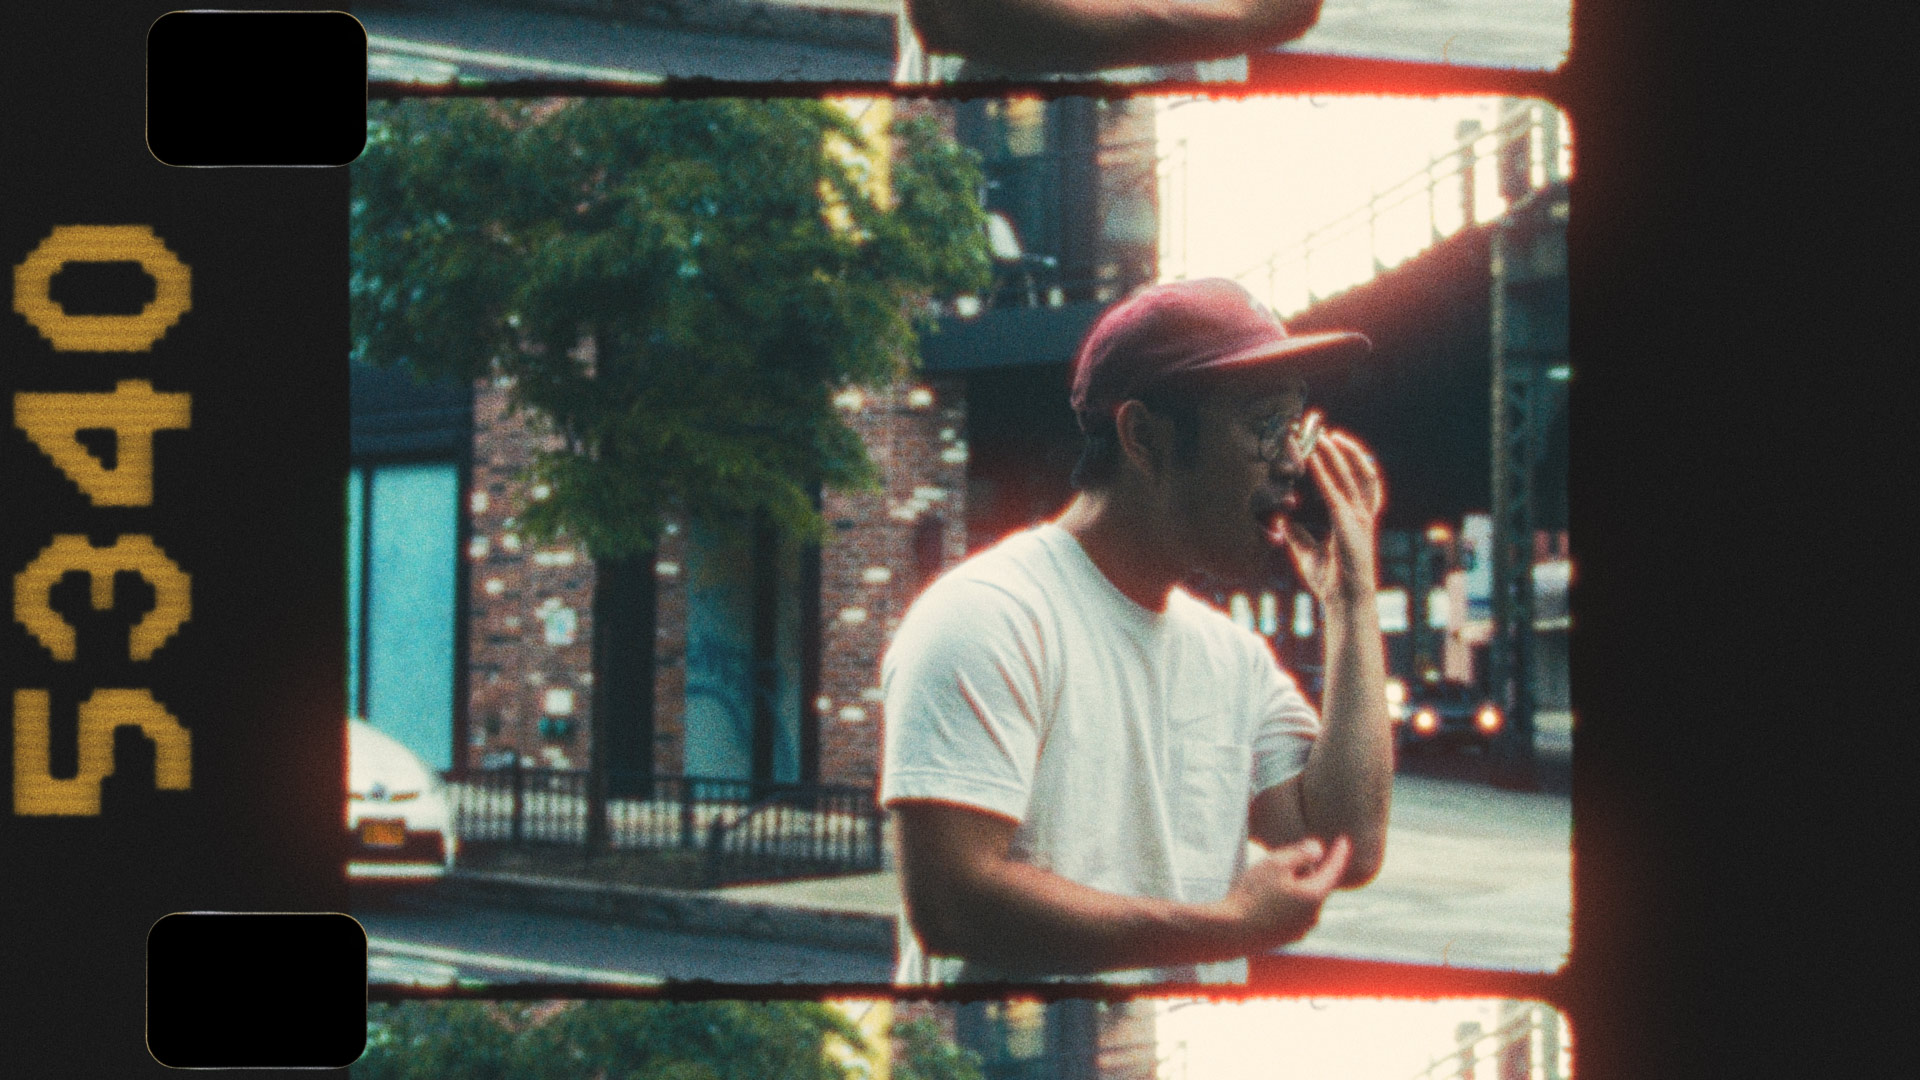
16MM
OVERSCAN LOOK
INTRODUCTION
With this package, I have created an overscan-look that offers some freedoms that other packages do not offer. It was important to me to separate sprocket holes, dirty matte elements and edge codes. Only by separating those elements it is possible to correctly integrate halation and other effects. The halation only affects the image itself and edges of the matte, but excludes sprocket holes and edge codes. A separation of the sprocket holes also makes it possible to adjust gate weave and jitter individually, and also to integrate light leaks and grain correctly.
REFERENCES
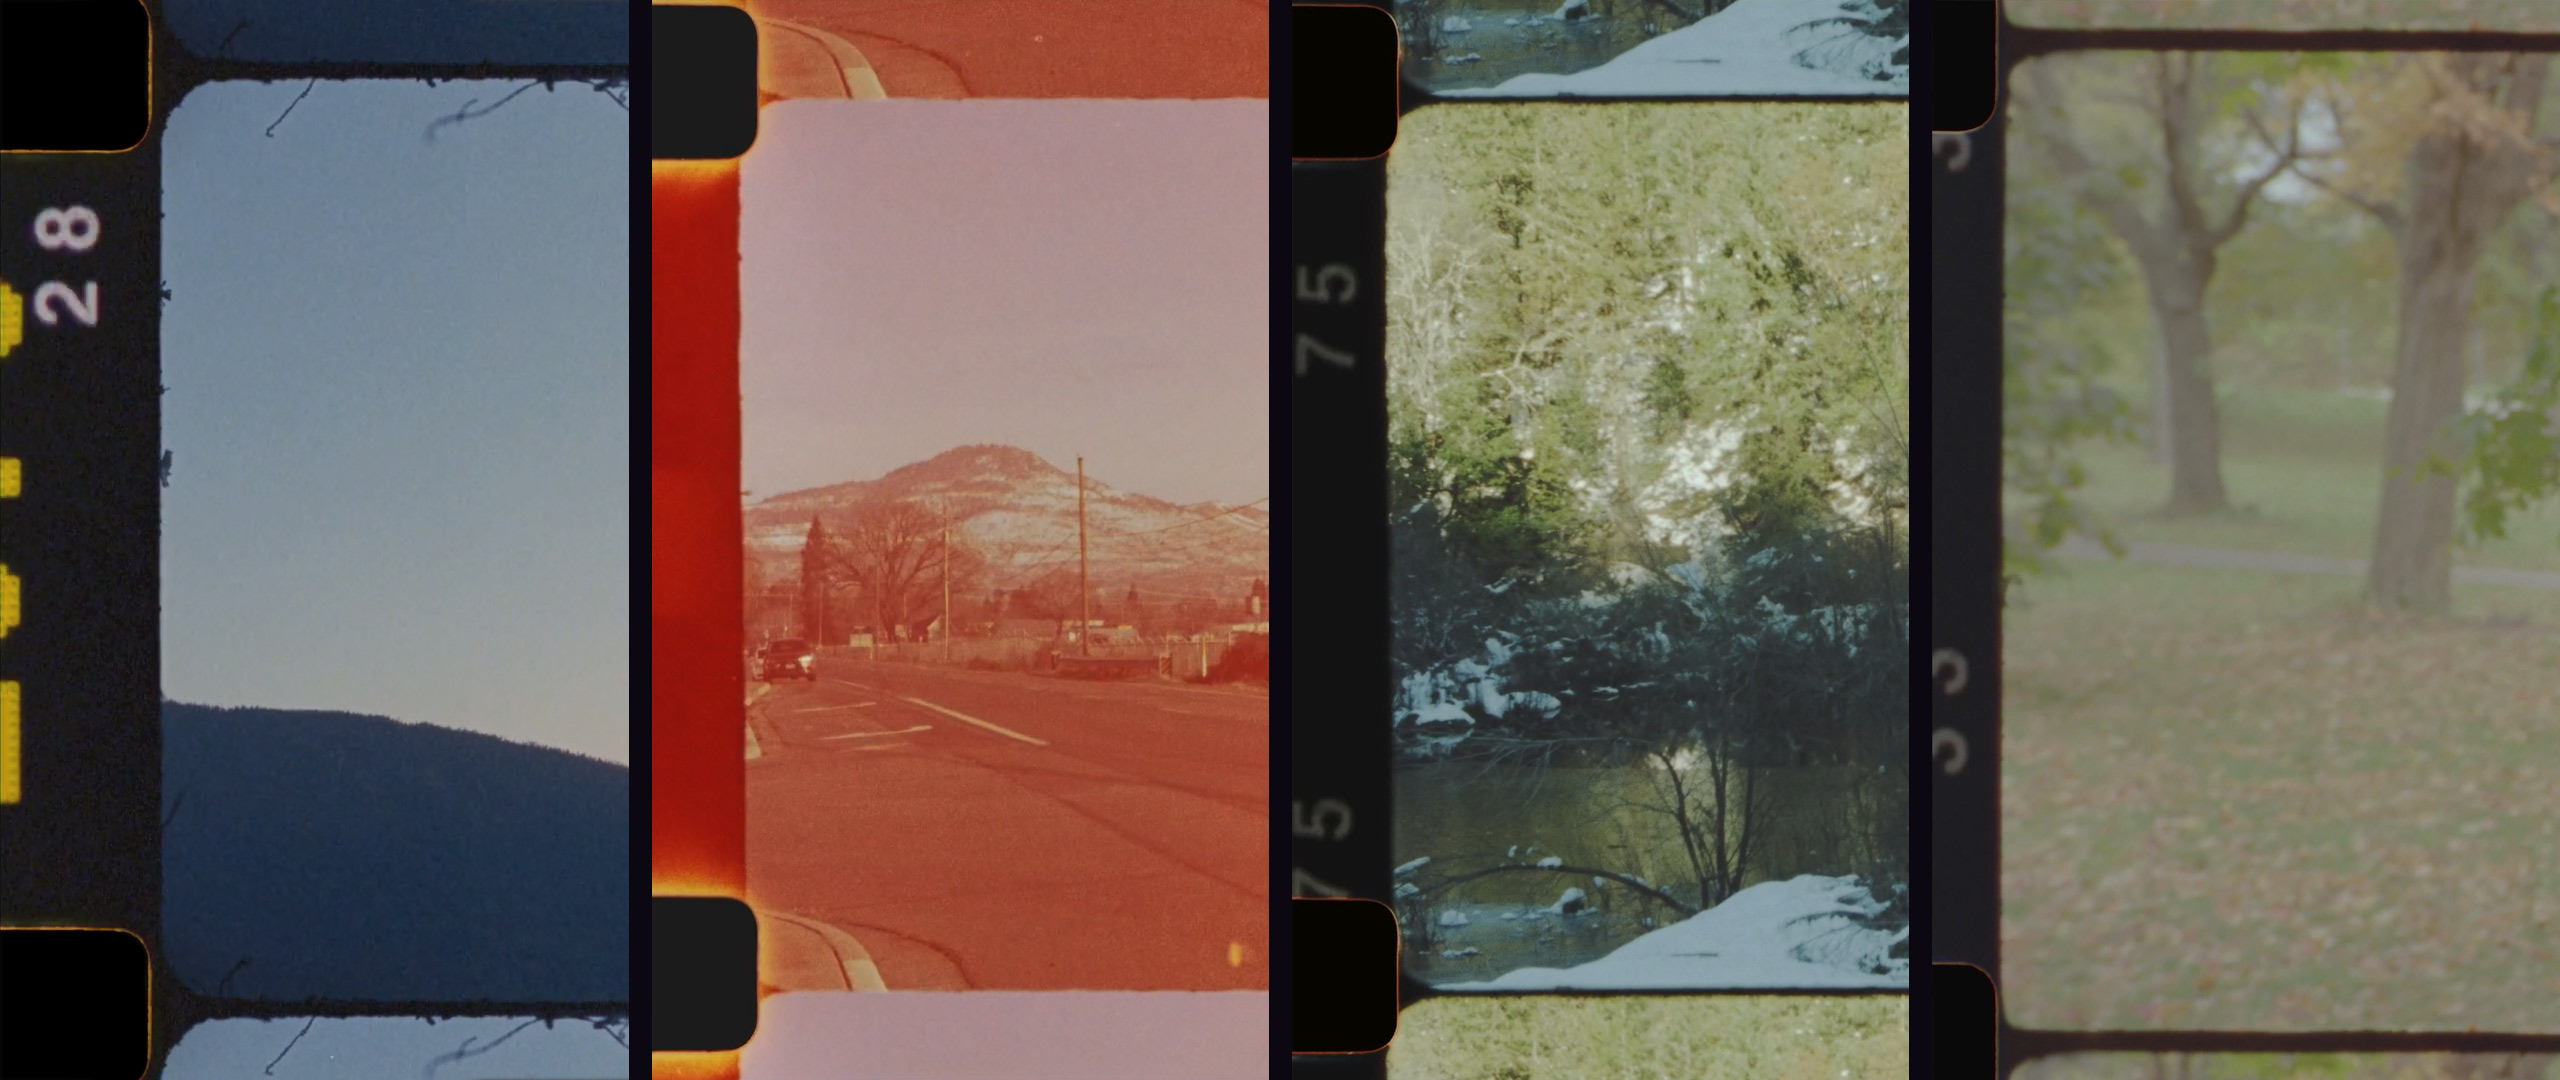
Arri SR2 – 7213 Test
by Jason Mannings
log scan on ScanStation
https://vimeo.com/578676226/...
Still from Snowmelt – 16mm Film
by Cailin Tamplin
Camera: Bolex H16 Reflex
Film: Kodak 250D Color Negative
16mm
Processed and Scanned: Pro8mm
https://vimeo.com/667623788
Still from Snowmelt – 16mm Film
by Cailin Tamplin
Camera: Bolex H16 Reflex
Film: Kodak 250D Color Negative
16mm
Processed and Scanned: Pro8mm
https://vimeo.com/667623788
Super 16 – Canon 8-64 Aaton LTR test
by James Tindell
uncorrected raw scan of some
super 16 footage
Camera: Aaton LTR
Film: Kodak 250D 7207
https://vimeo.com/373262755
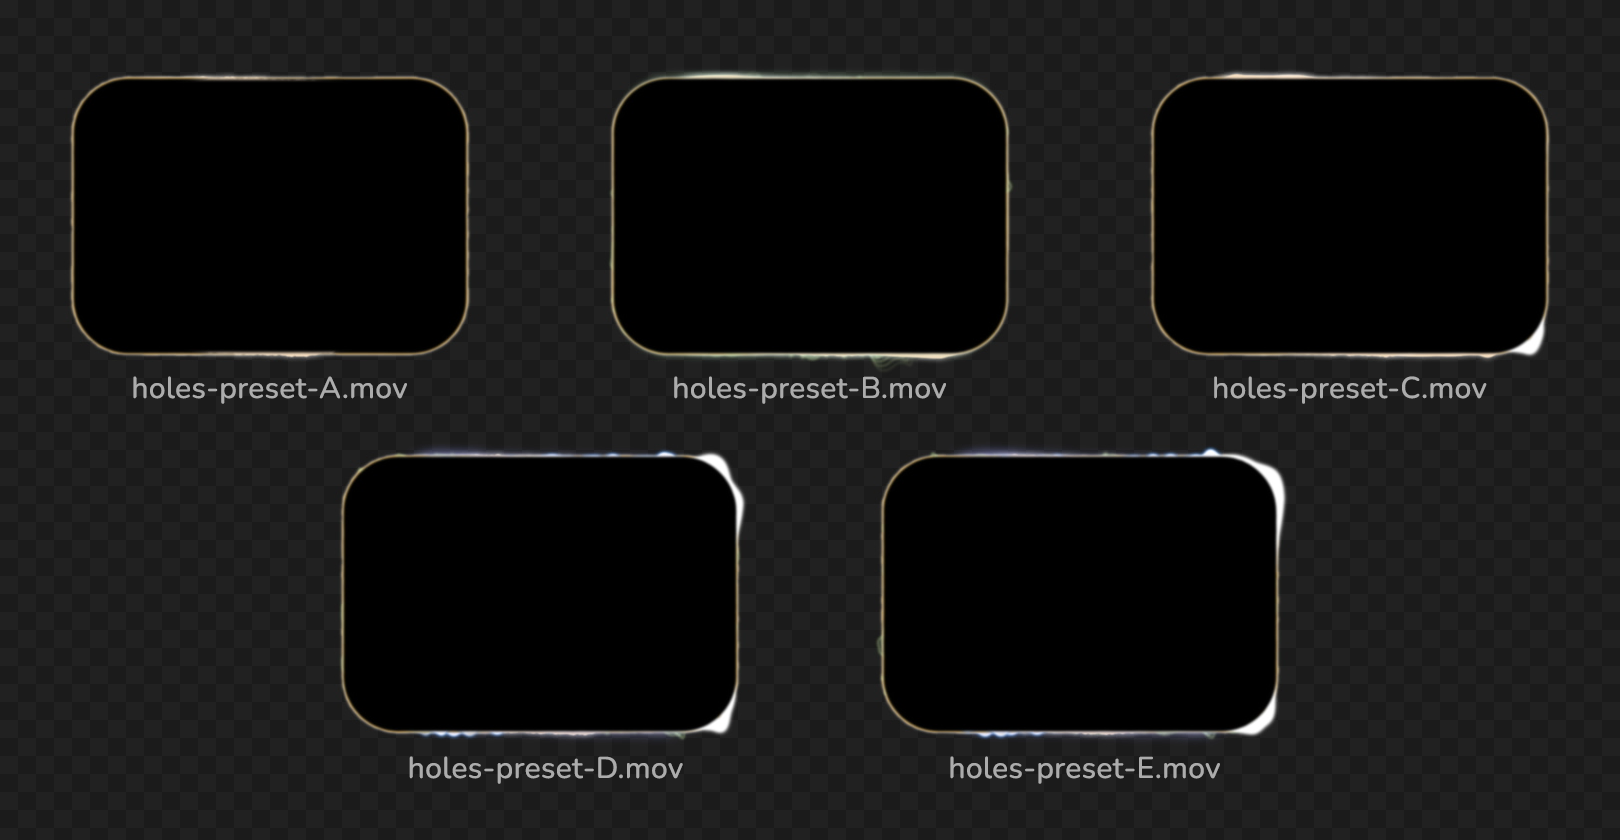
SPROCKET HOLES
PRESETS
Sprocket holes (Film perforations) are the holes placed in the film stock during manufacturing and used to advance the film. The perforation holes on 16mm are located on the frame line between two images. I’ve designed five presets with alpha channels for maximum flexibility.
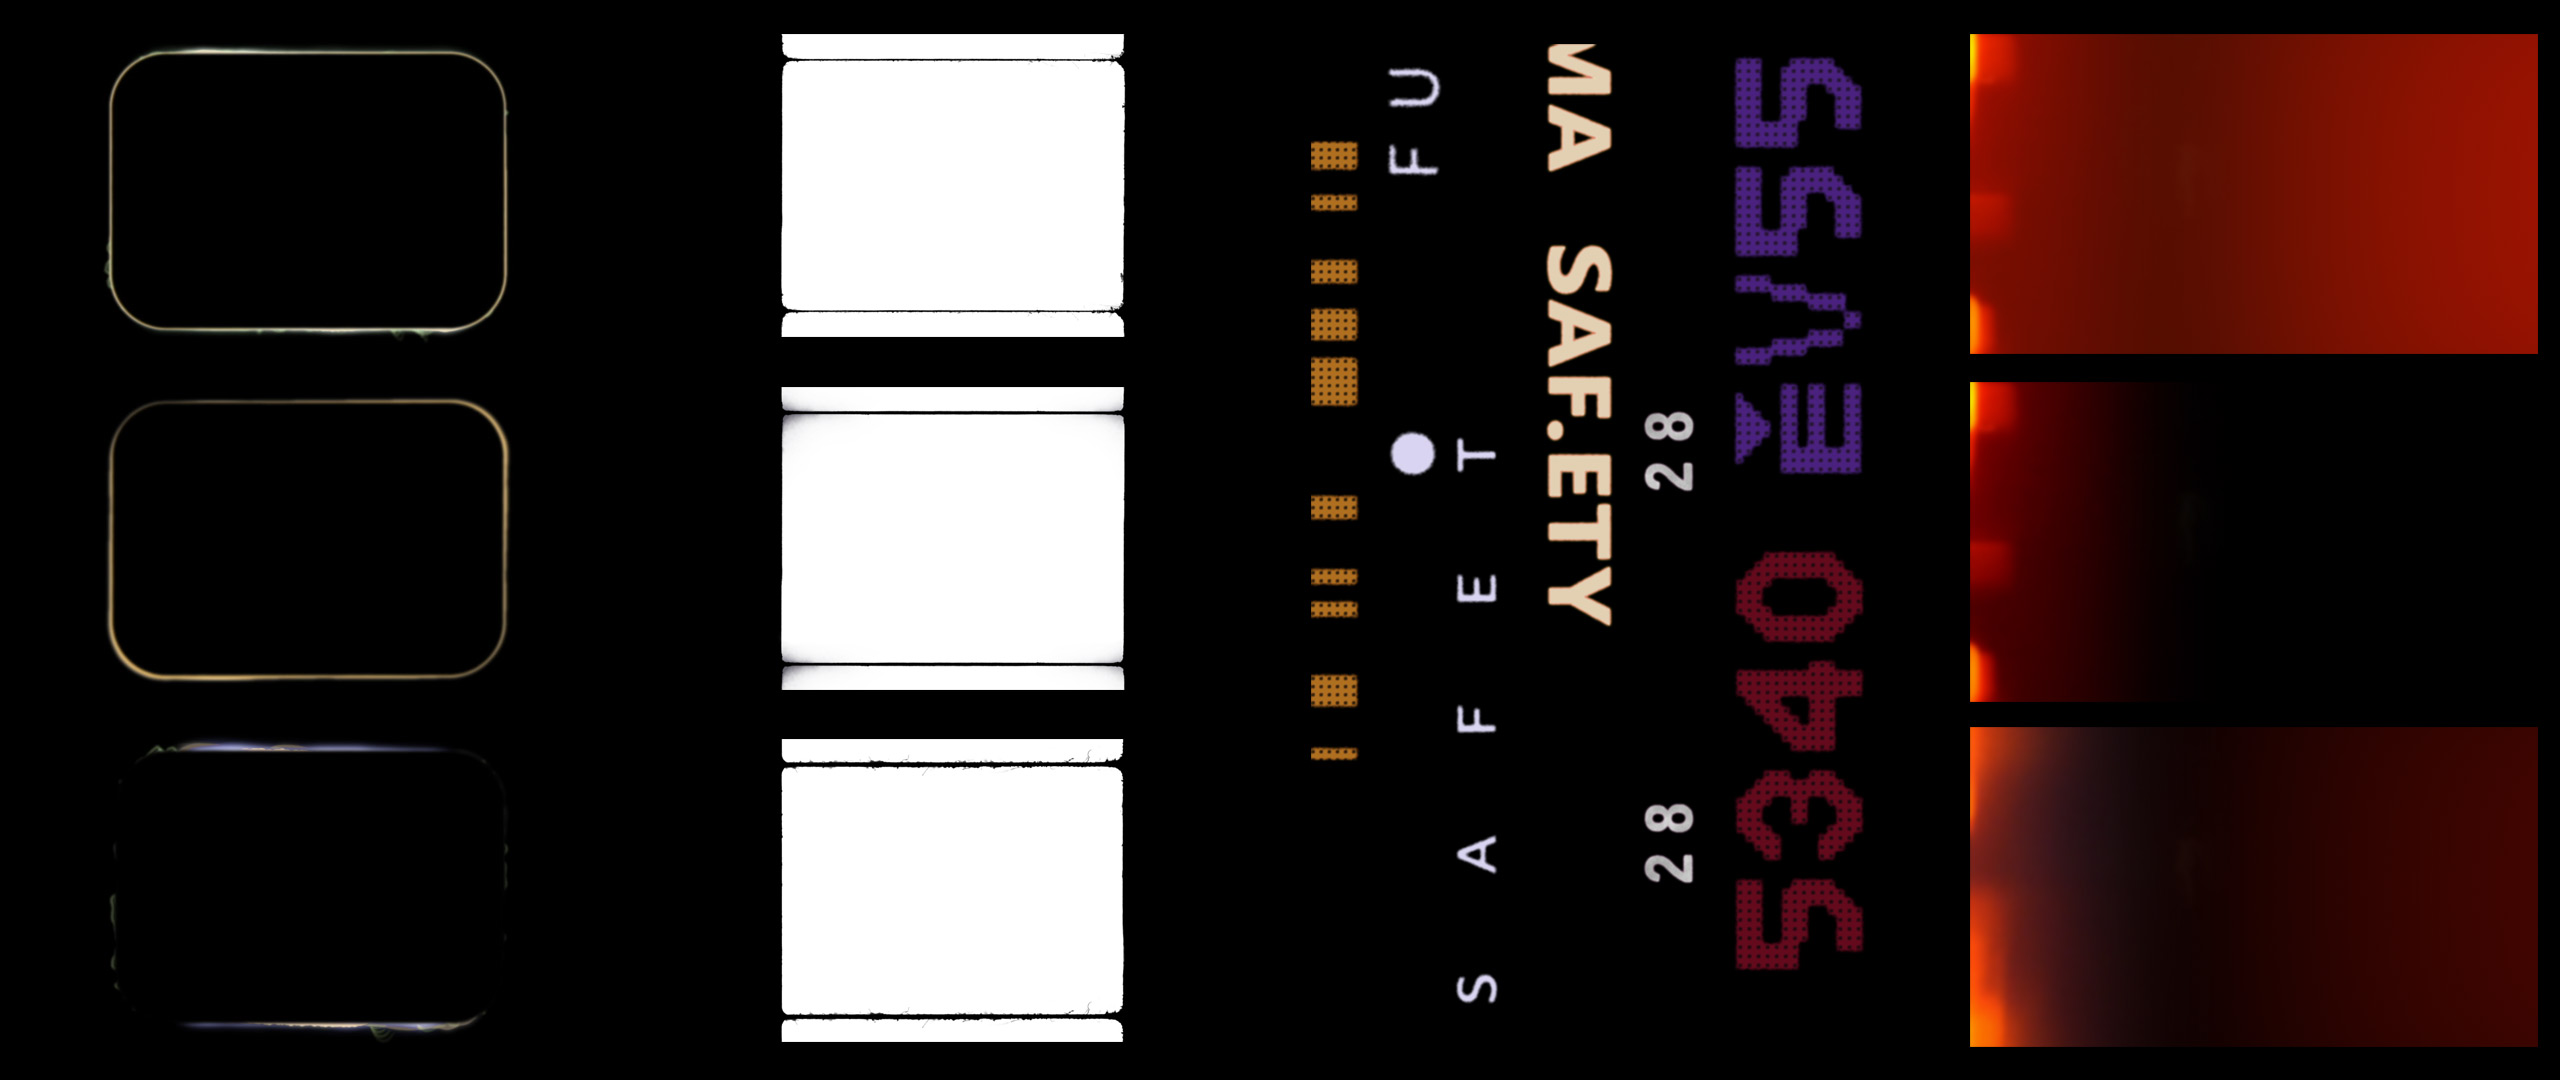
EDGES
4 TYPES
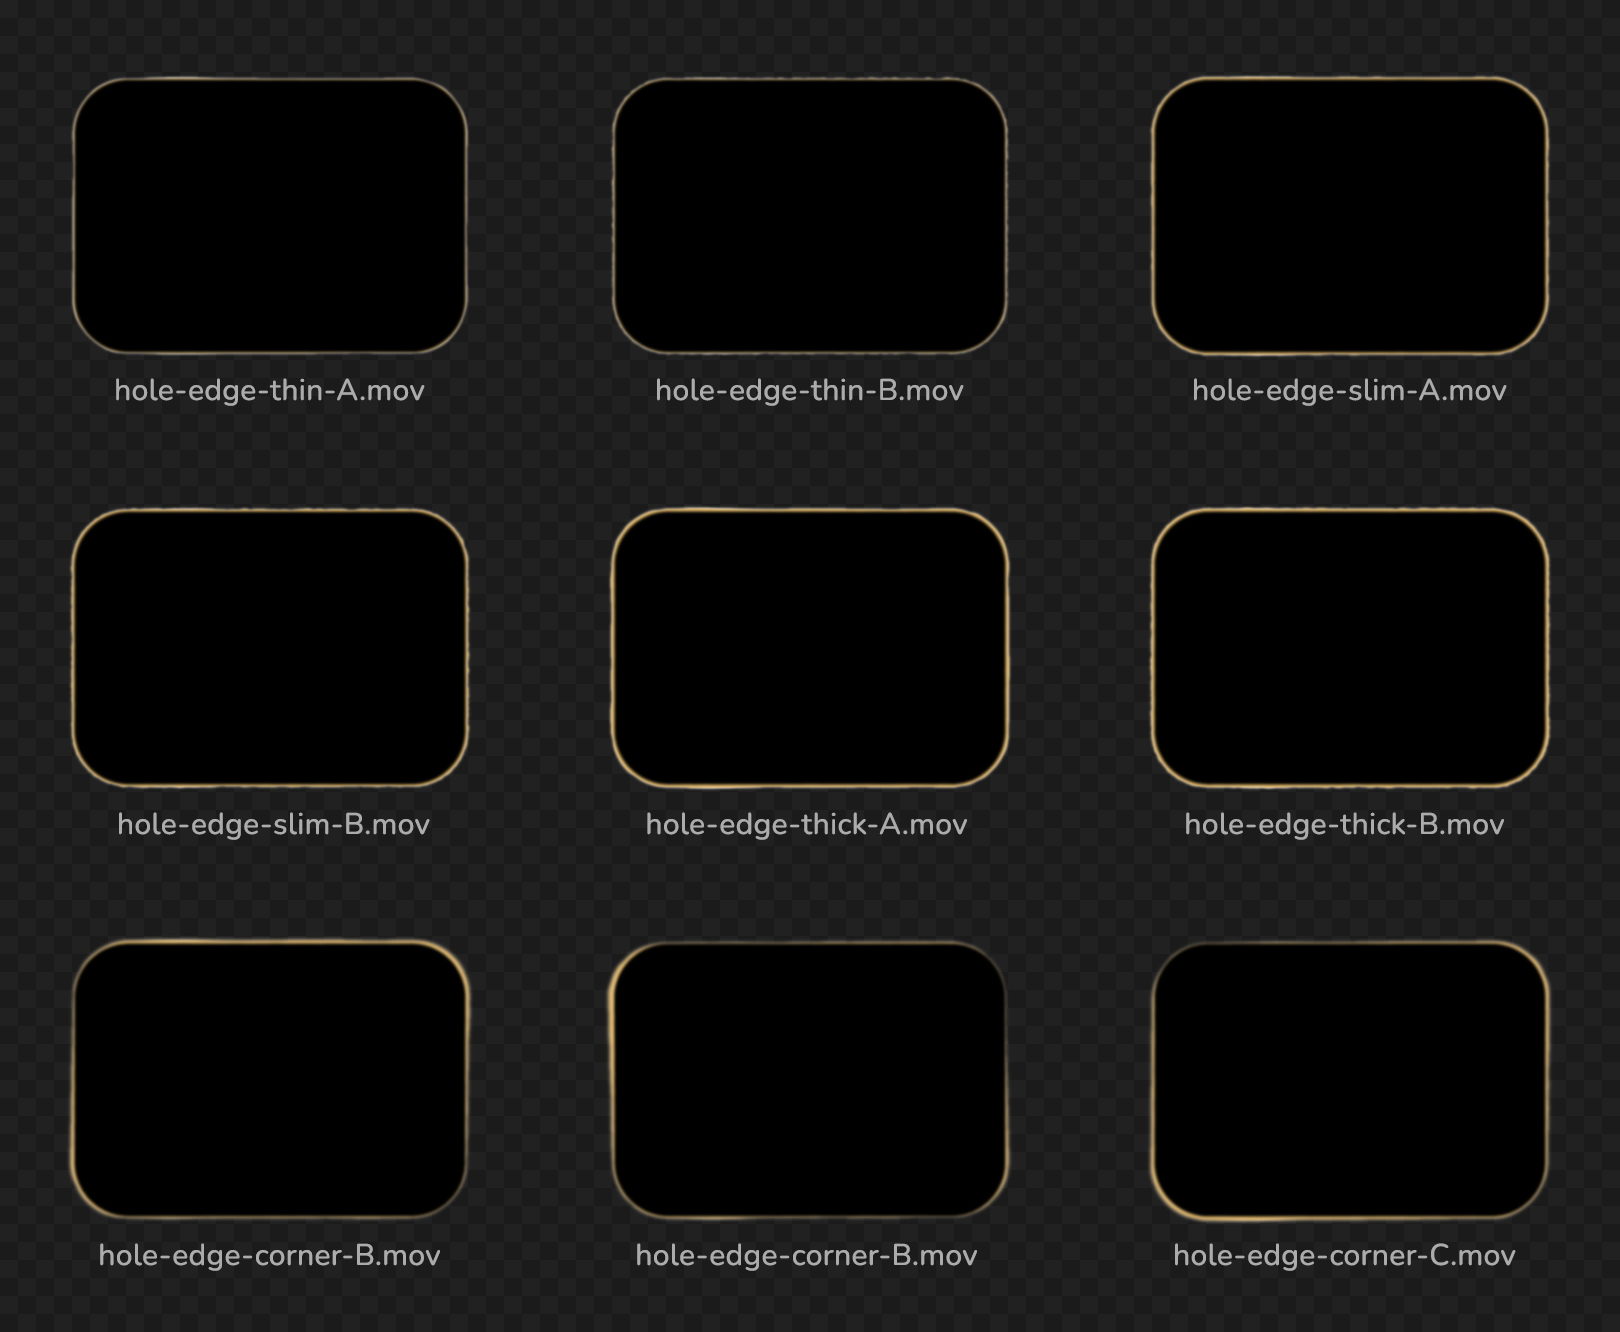
I also designed 3 types of edges: thin, slim and thick.
Each in two versions. One slick edge style (A), and one more vibrant edge (B). Additionally, I also added some edges where the shape of the main rectangle is slightly twisted. (Corner-A / B / C)
– hole-edge-thin.mov (A & B)
– hole-edge-slim.mov (A & B)
– hole-edge-thick.mov (A & B)
– hole-edge-corner.mov (A, B, C)
These edges can be combined with the following “Edge Bleeding” templates to create custom digital sprocket holes.
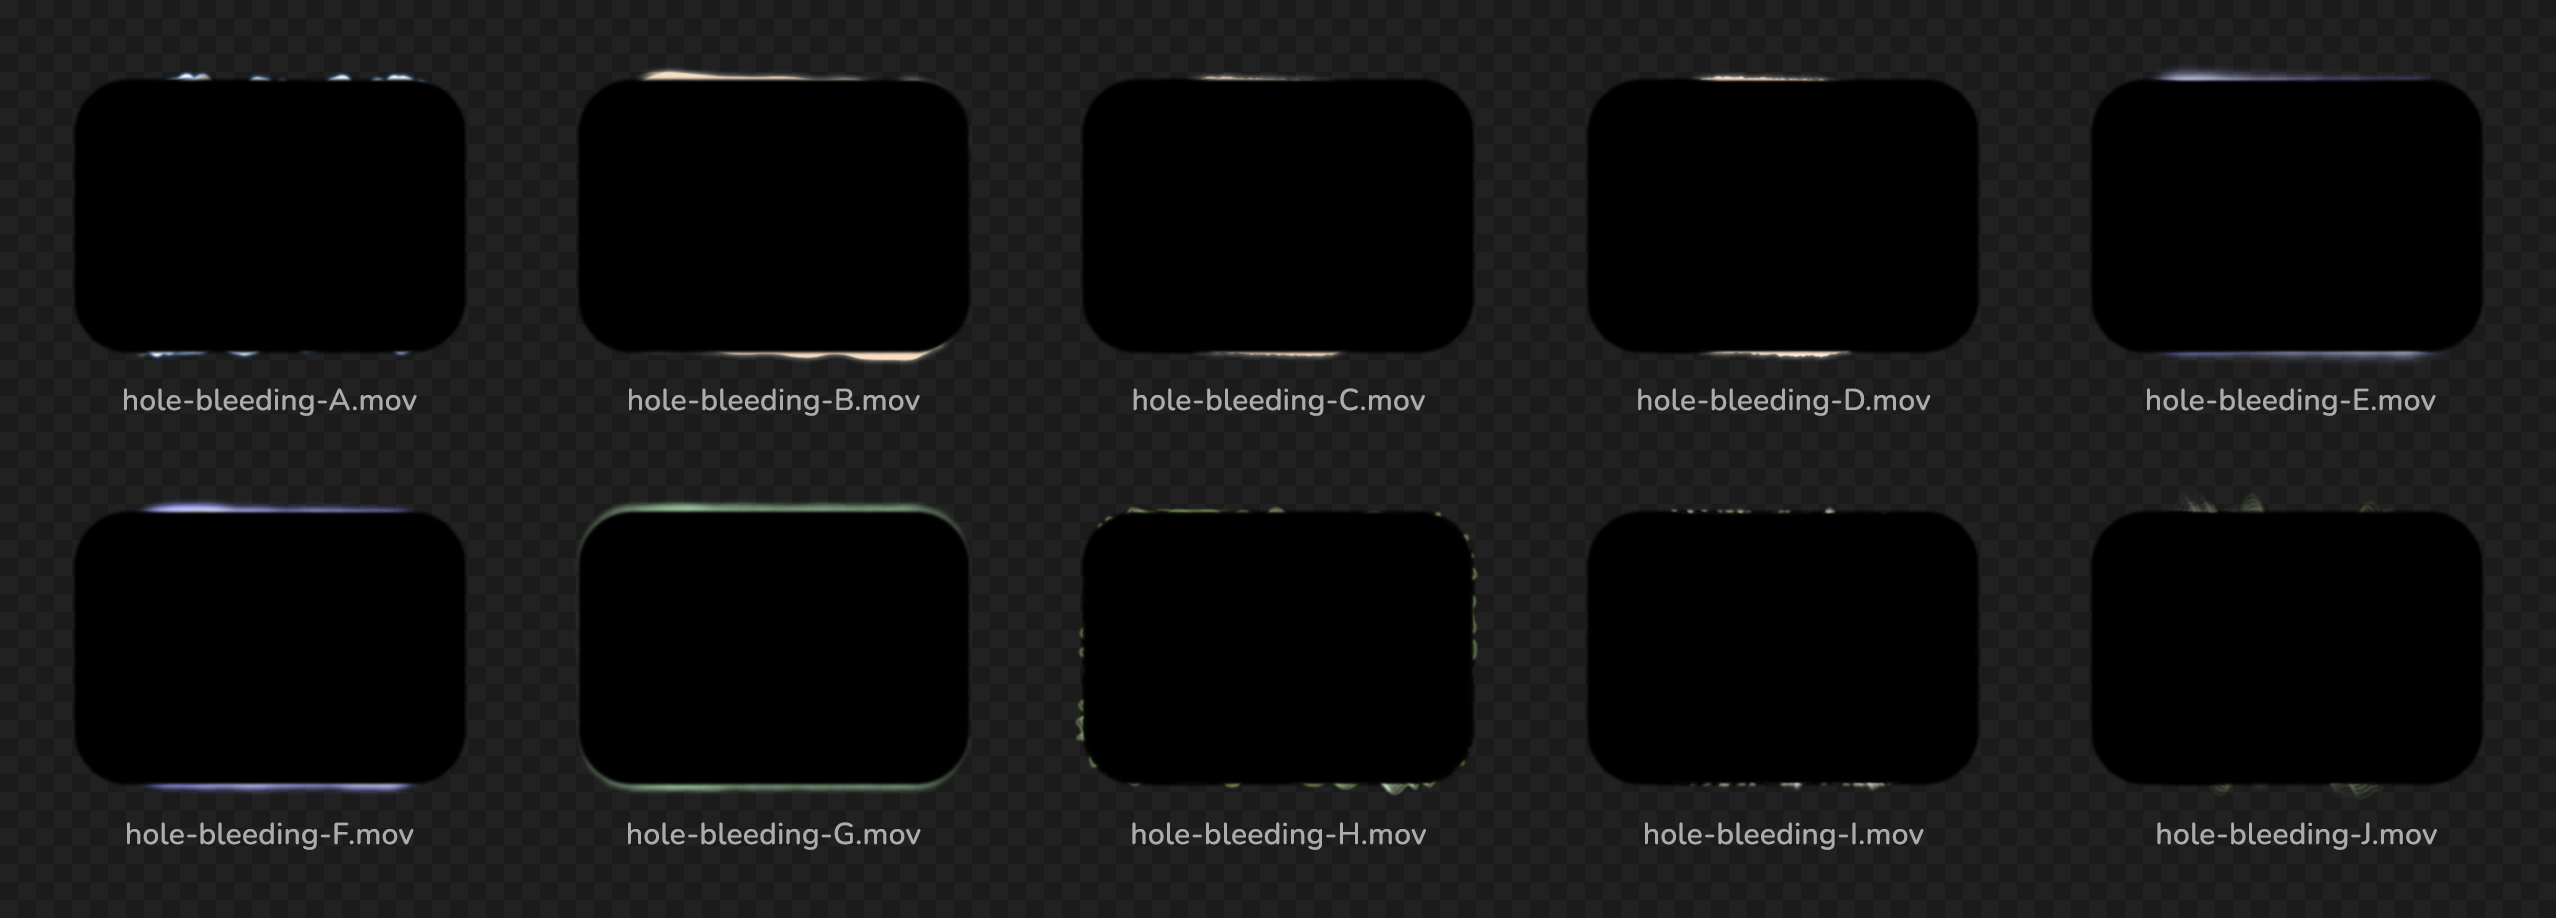
EDGE BLEEDING
10 STYLES
I designed ten different “Edge Bleeding” overlays. Inspired by real 16mm scans. The alpha channel will allow you to mix and match any of the 10 different bleeding files, and you can stack these bleeding files above or below the “sprocket hole edge” files to create subtle or intense looking sprocket holes, depending on your liking. Each layer can be further modified using curves, lift gamma gain wheels, and so on.
EXAMPLE
CUSTOMIZABLE
SPROCKET HOLES
Here is an example. Combining an “edge layer” with five different “edge bleeding” layer creates a new sprocket hole design that can be saved as “DNxHR.mov” file with an alpha channel. Every edge and bleeding style can be changed in color and modified with curves to increase or decrease the intensity.

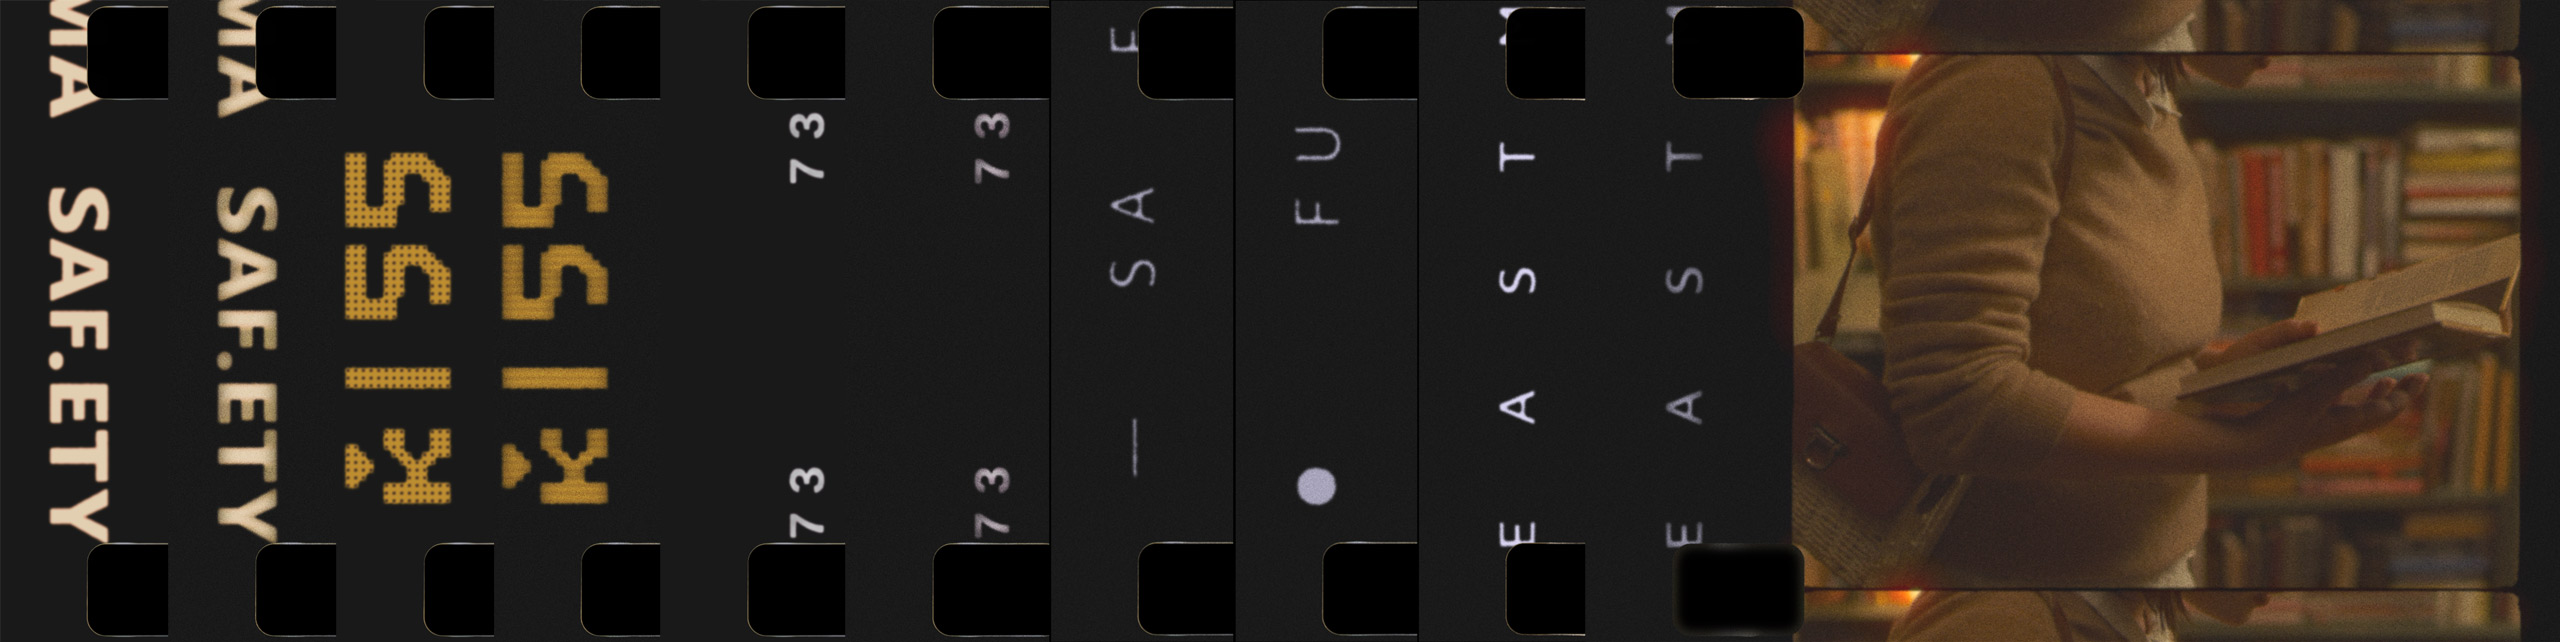
EDGE CODES
KEYKODE
Edge codes, or KeyKode, are letters, numbers and symbols placed on 16mm film, appearing at regular intervals to allow for specific identification. Here are some references:
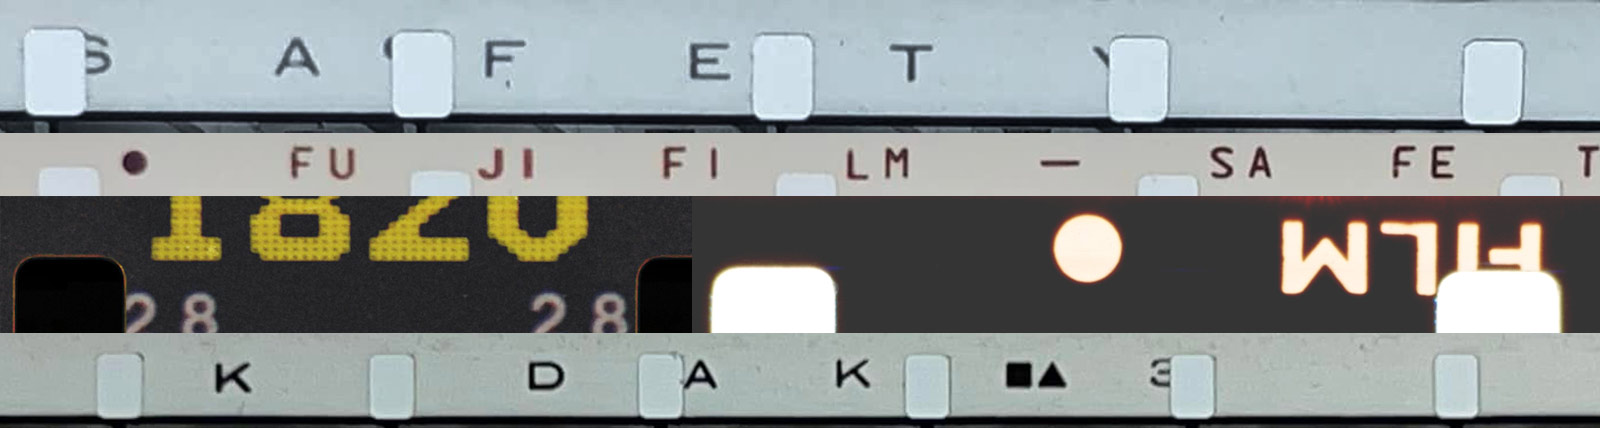
So far, I’ve designed seven different edge codes for this pack. DNxHR loop videos. These files can be completely modified. This image shows some unmodified and blurry/grainy modified examples:
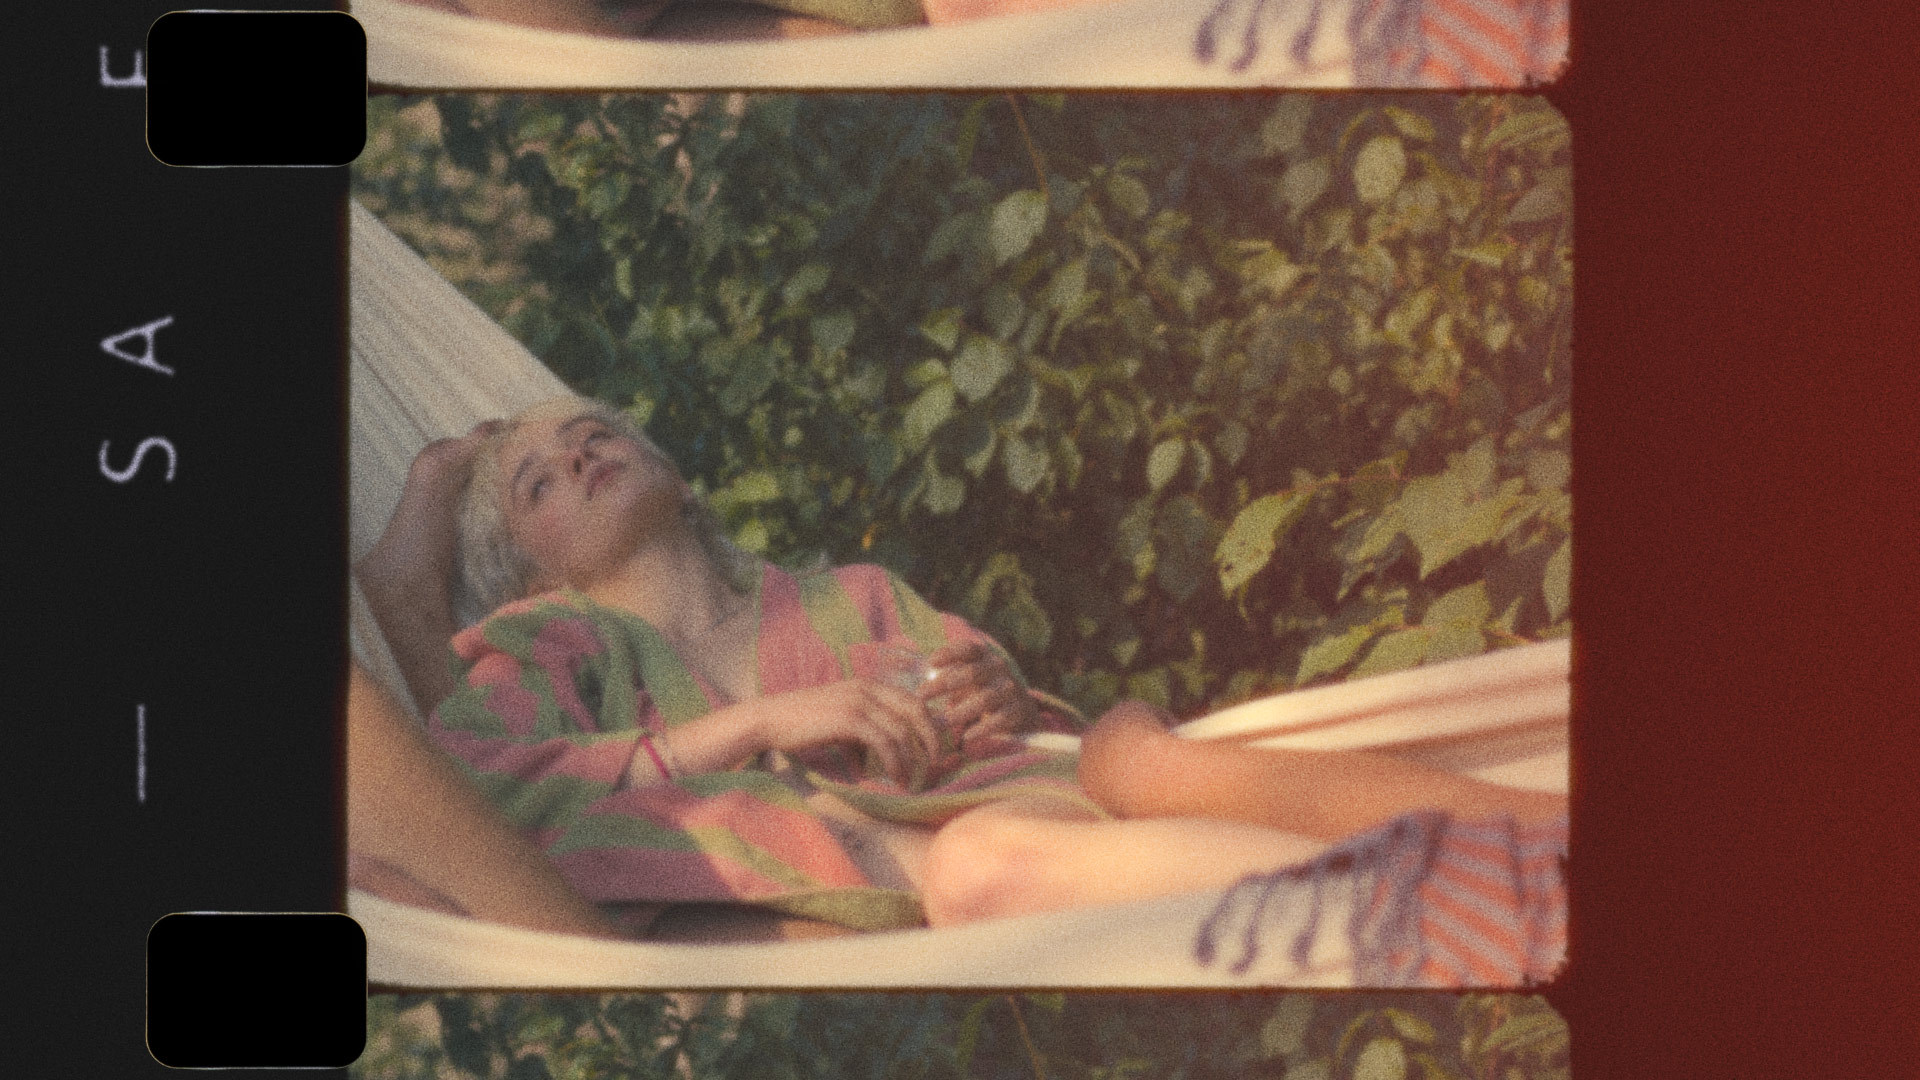
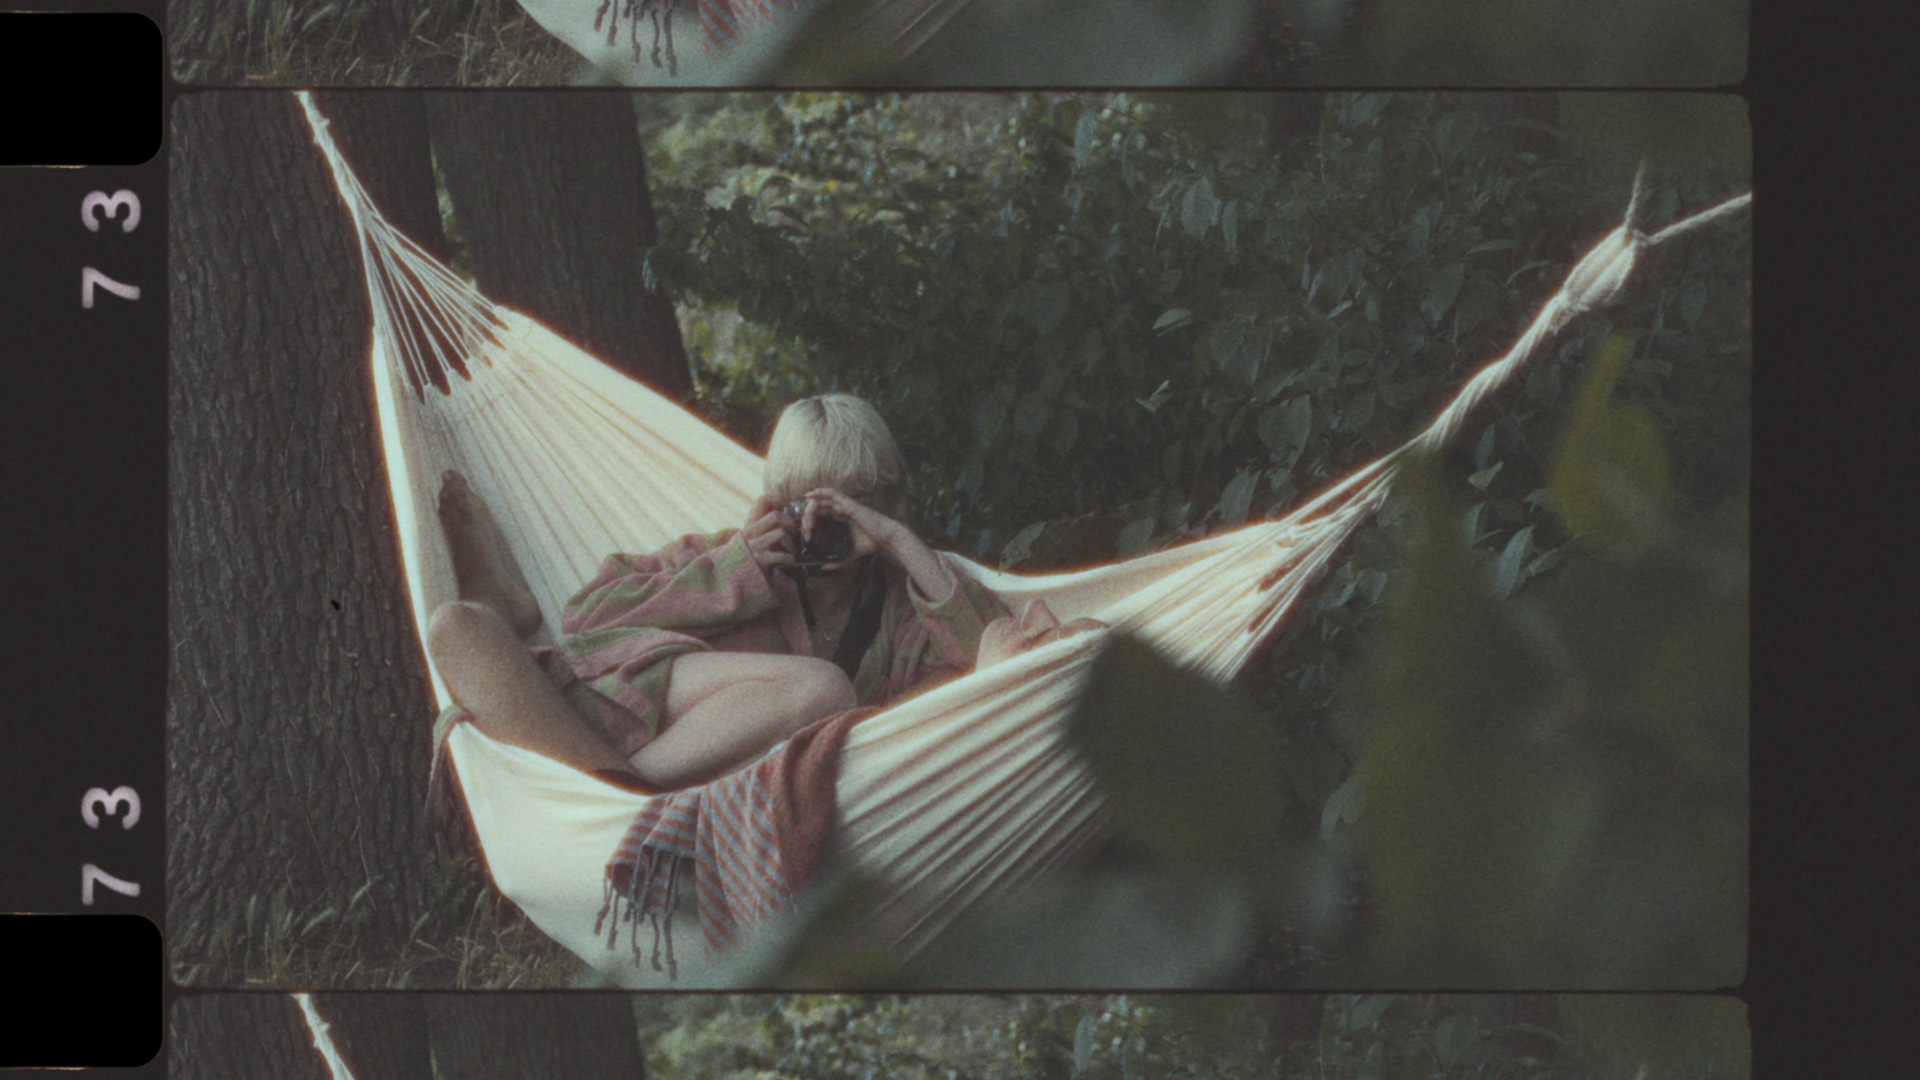
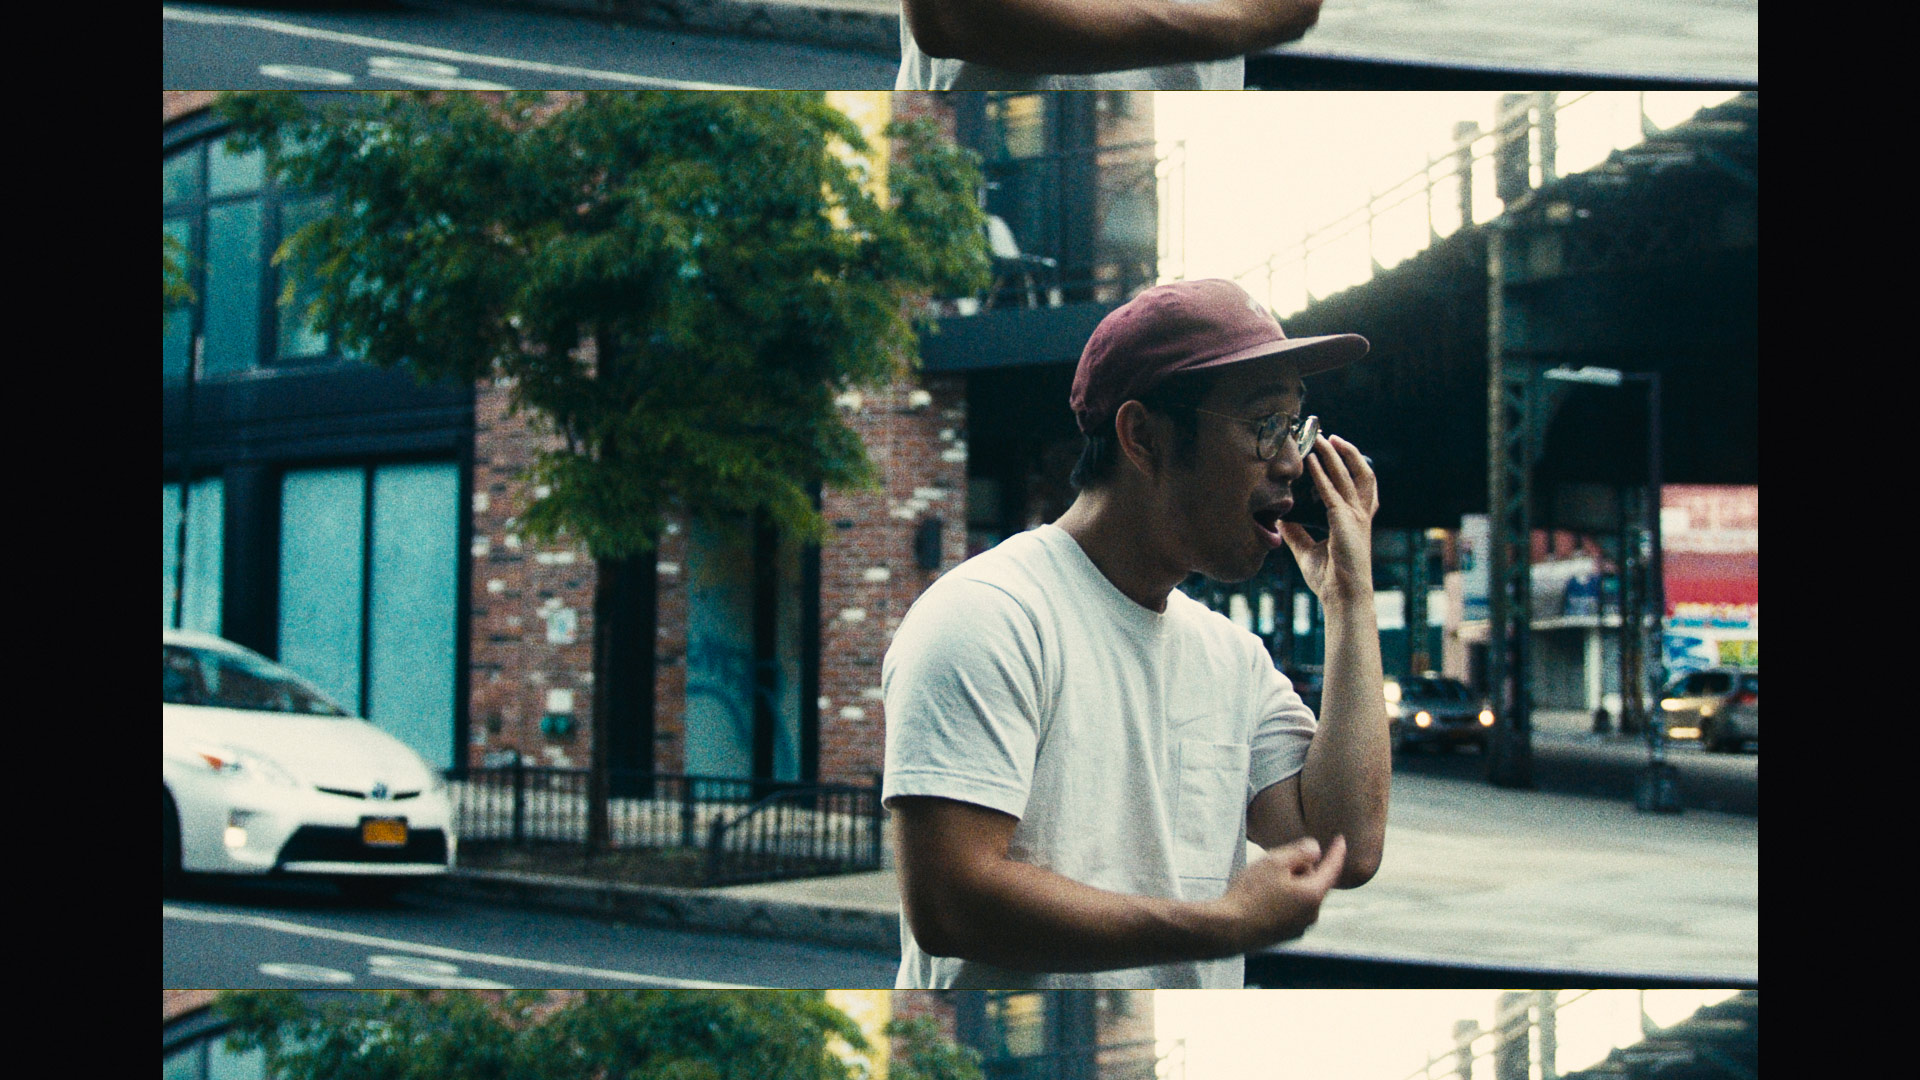
PREVIEW
Sprocket holes, dirty mattes, edge codes combined
with blur, halation, grain and light leak transitions.


FEATURES
SUMMARY
SPROCKET
HOLES
6 x sprocket hole presets
9 x sprocket hole edges
10 x bleeding edges
DNxHR video loop with alpha
DIRTY
MATTES
82 x dirty mattes in total
4k, PNG, 3840 x 2160 pixel
1.33:1 / 1.66:1 / 1.85:1 /
2.00:1 / 2.35:1
36 x single frames
46 x triple frames
EDGE
CODES
6 x edge codes loop files
DNxHR, 720 x 1920 pixel
video loop with alpha
LIGHT
LEAKS
4 x light leak transitions
DNxHR, 1920 x 1080 pixel
3, 3, 5, 11 seconds long
POWERGRADES
OVERSCAN & TEXTURE
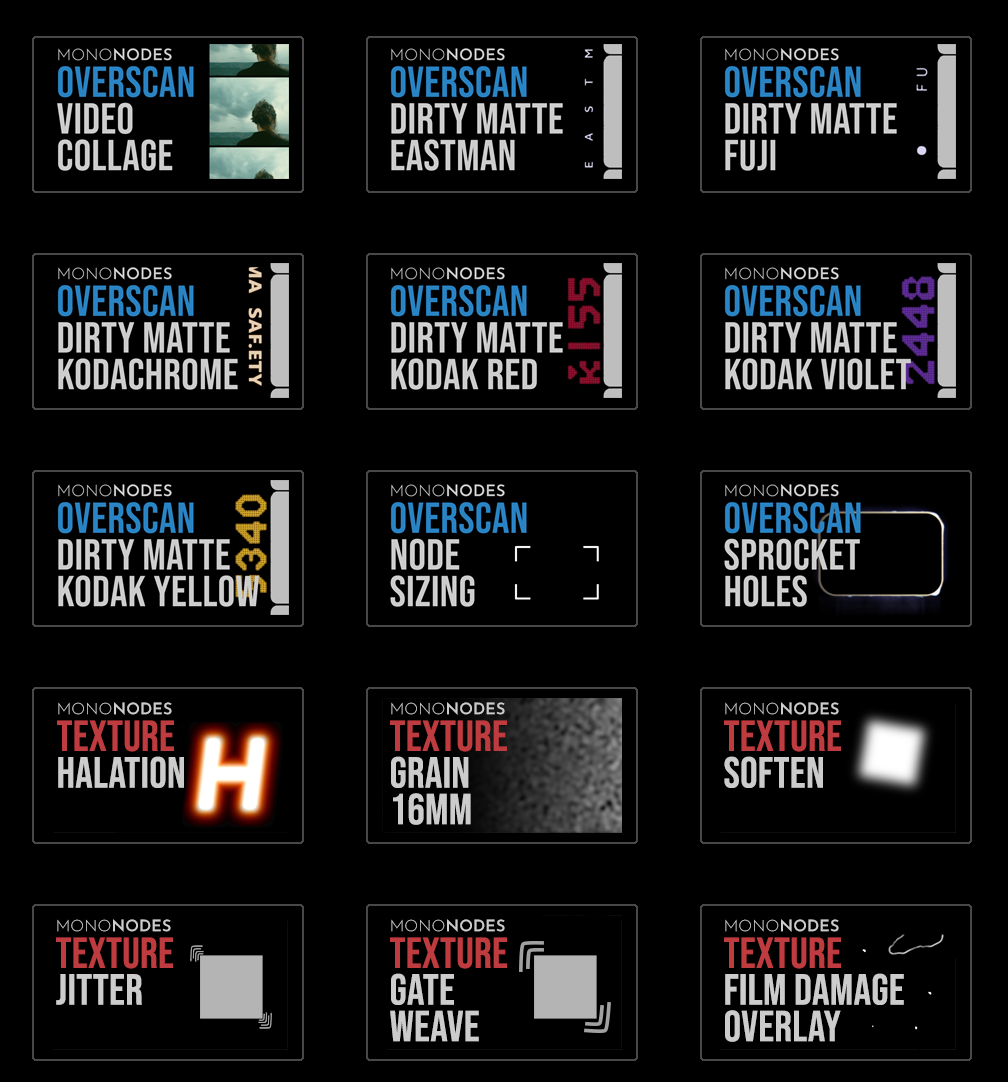
In addition to the “Overscan” PowerGrades I also added some “Texture” PowerGrades to this pack like grain, halation, gate weave, jitter, and film damage overlay. A 20sec video loop file. Same as in the “Film Emulation” pack.
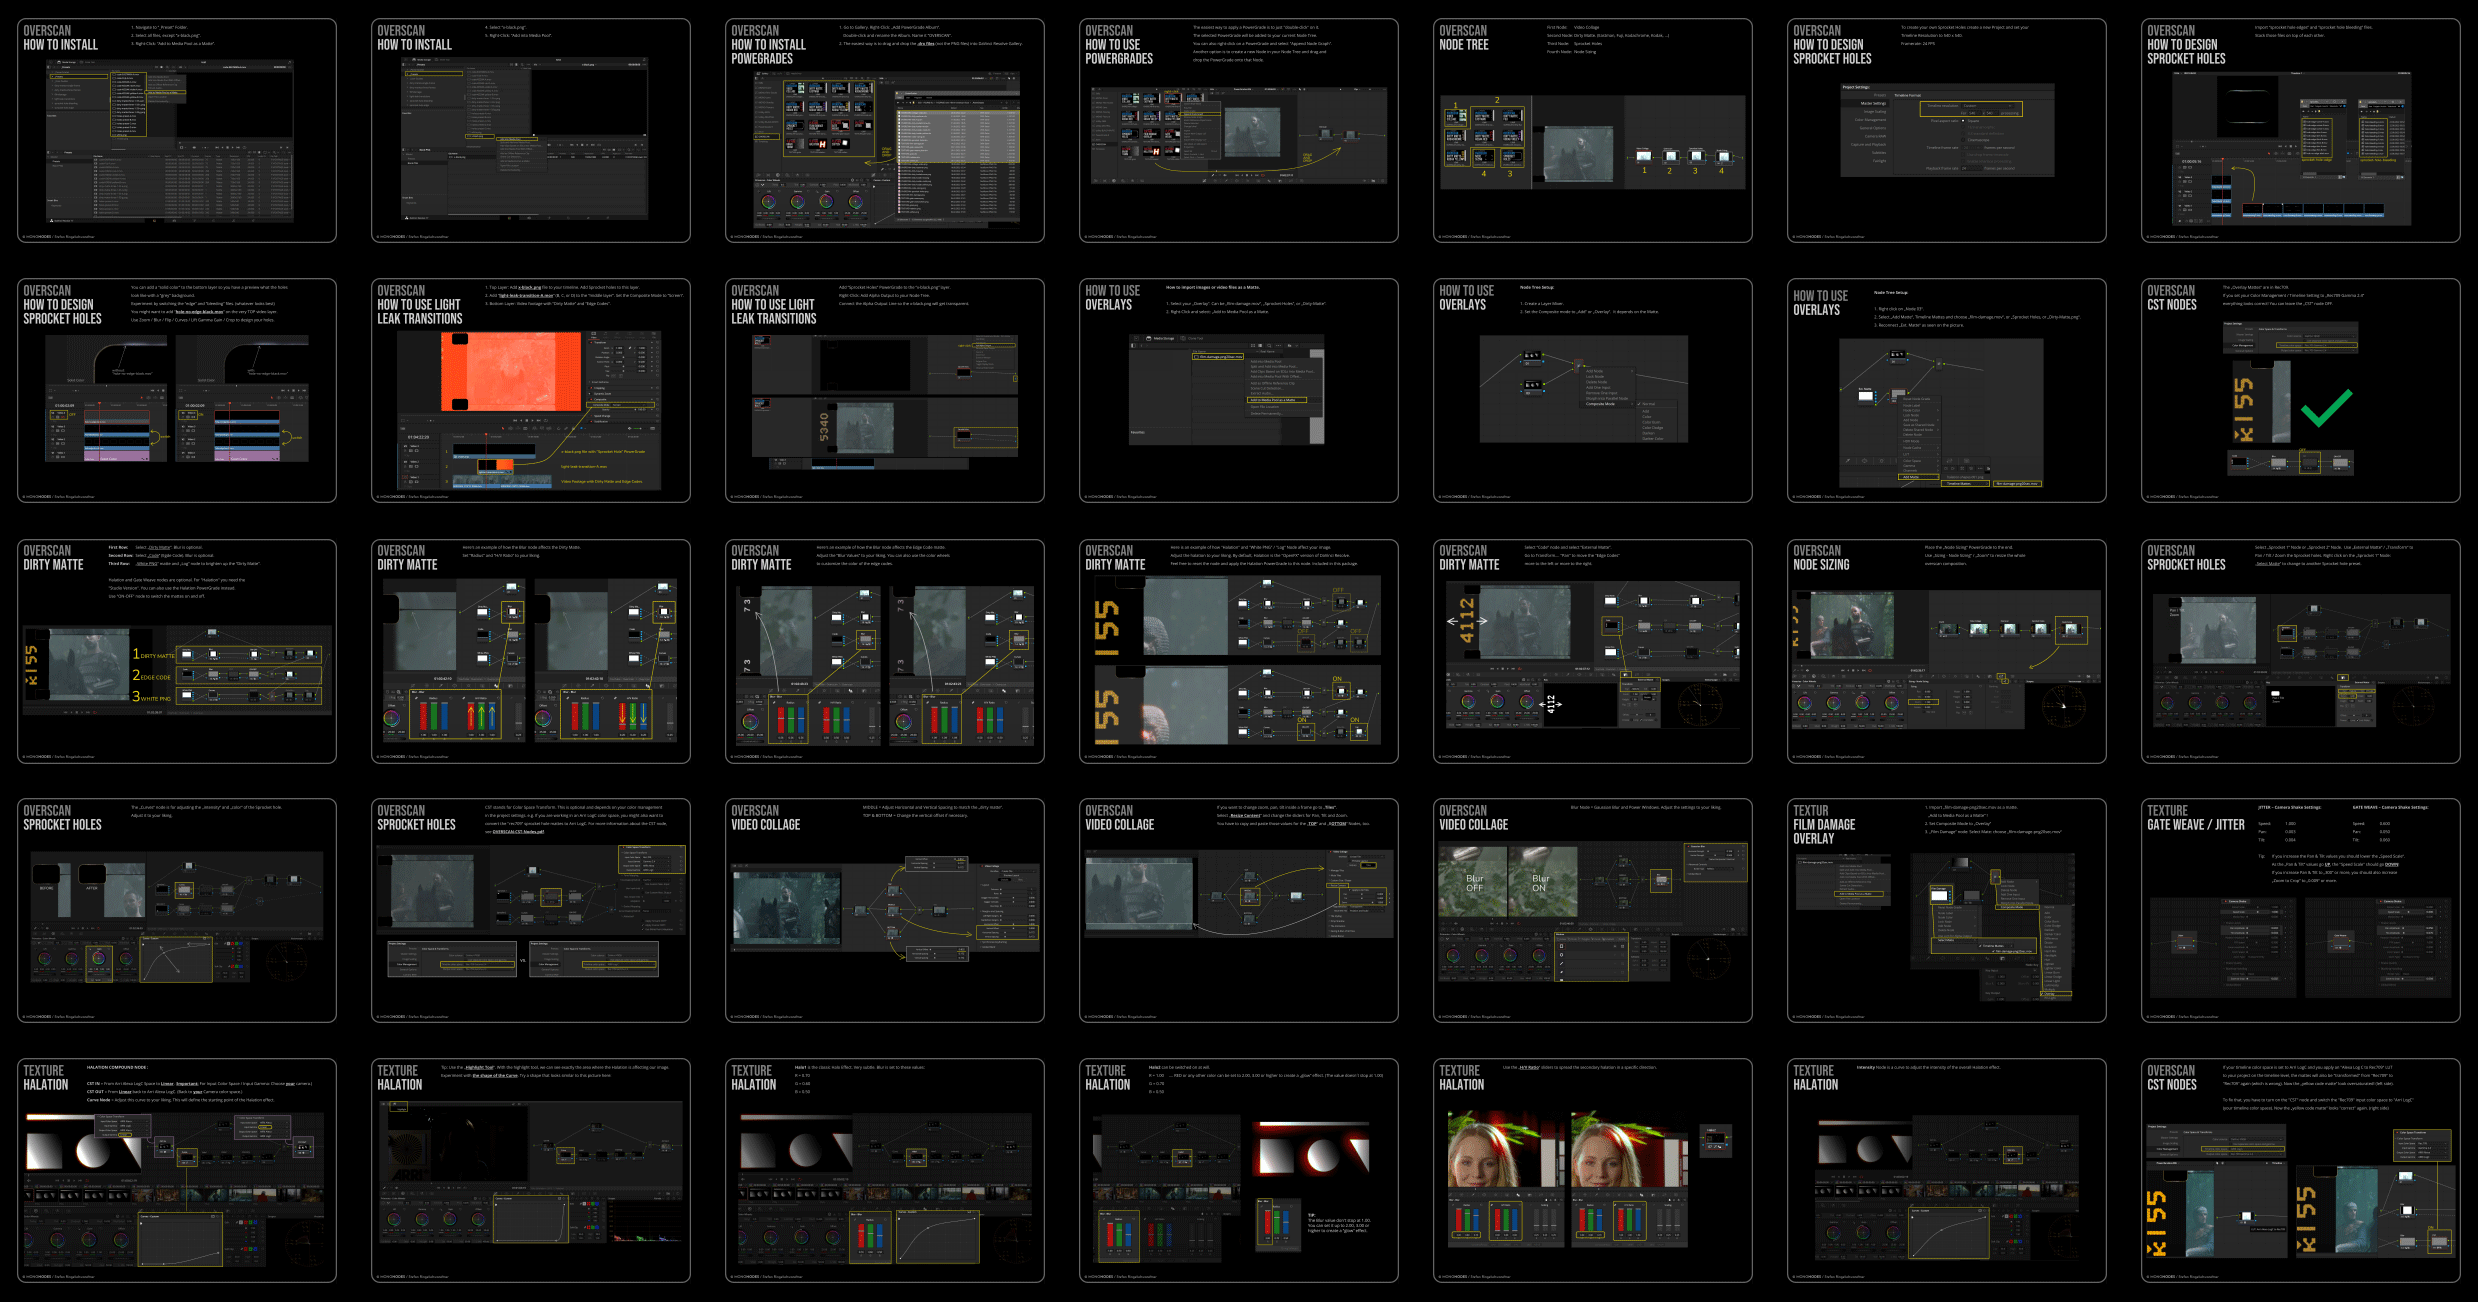
USER GUIDE
35 PAGES
The PDF user guides show you how to install, use and design your own sprocket holes, work with different timeline color spaces and each node structure is explained in detail.
VIDEO
YouTube: https://youtu.be/OPZ0aIA6Idc
Vimeo: https://vimeo.com/747110445
BUY
-
 € 89,00
incl. 19% VAT